|
Application - Inspecting the Electrodes of Lithium-Ion Batteries
Materials generally used for lithium-ion battery electrodes are aluminum (positive electrode) and copper (negative electrode). During charge and discharge, electron transfer occurs between the collector and active material. At this contact point, when the resistance of the active materials becomes significant between the collectors and the interface, efficient electron transfer does not occur, and electric capacity decreases. If too much roughness forms on the collector’s metal foil, it increases the resistance of the active materials between the collectors and the interface and reduces overall electric capacity.
To help ensure that the batteries work properly, manufacturers measure the collectors’ surface roughness to make sure that the roughness falls within a certain range. The data are more reliable when the roughness measurement is performed for a plane, and the measurement range is as large as possible. Conventional contact-type roughness measuring instruments, however, can only perform linear roughness measurement and can damage the metal foil.
A Solution for Noncontact, Planar Roughness Measurement
Measurement using the Olympus LEXT 3D laser scanning microscope
OLS5000 Advantages: No Surface Contact, Dedicated Objective Lenses, Horizontal Data Stitching
- Unlike contact-type roughness gages, noncontact measurements ensure that delicate foil is not damaged during the measurement process. This, in turn, helps prevent data errors caused by damage to the sample.
- The LEXT OLS5000 uses dedicated objective lenses, so you can acquire data that is accurate both in the center of the field of view and the surrounding area.
- Data can be stitched horizontally, enabling data acquisition over a large area.
Since the data from the stitched area is very accurate, the collector’s roughness data can be acquired with higher precision than with conventional measurement methods.
- A lineup of stages having a driving range of 300 mm × 300 mm enables you to measure even a large test object, like a collector used in automotive batteries, without the need to process them for a microscope.
Image

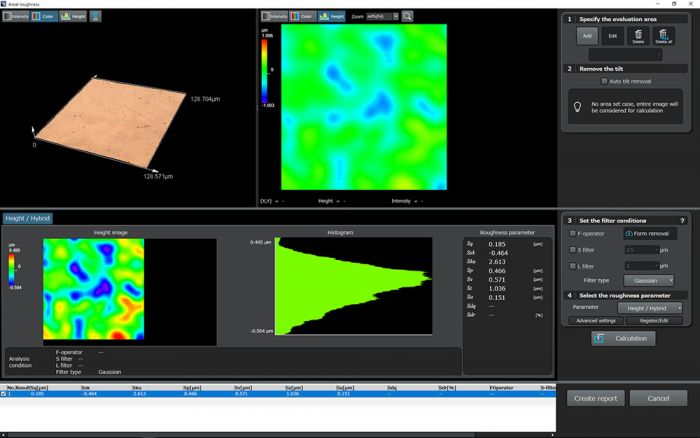
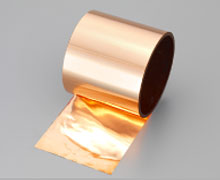
Roughness measurement of the copper foil of a negative electrode collector
When measuring roughness using the Olympus LEXT OLS5000 microscope, the following types of information can be displayed: roughness data, laser microscope 3D pseudocolor images and height information, and optical microscope real-color images. This enables inspectors to confirm the roughness as a number. At the same time, inspectors can understand the state of the collector surface from the numerical data. By observing these images, inspectors can recognize the actual surface texture.


