Overview
Customized Solutions Tailored to Your Needs
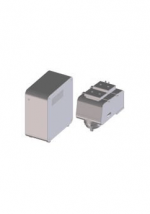
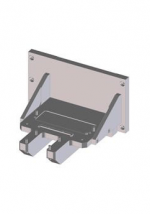
Our mission is to provide you with tailor-made inspection solutions to optimize your workflow. | Leveraging our world-leading product line, we build and create customized hardware and software inspection solutions. Our targeted offerings for microscopes include features that significantly increase the range of samples that you can test. We can also work directly with you on hardware and software systems to boost your automated testing requirements. |
Targeted SolutionsExtend the capability of your inspection equipment with tailor-made solutions for targeted applications. |
| A Tailor-Made ProcessIf you are unable find what you are looking for in our targeted offerings, our fully customized solutions provide more options. You can add dedicated features to your equipment to overcome your application-specific inspection challenges quickly and effectively. Simply send us your customization request using the form below, and our engineers will contact you to discuss a solution. |
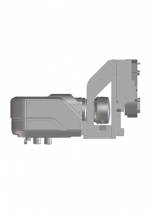
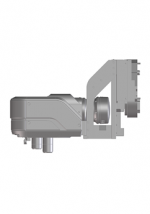
Technical Information for Customized Microscope SolutionsWe provide reference designs (technical information) for system integrators who use our customized solutions to design and develop products. Below you can find 3D and 2D CAD drawings to study the layout of the microscope solutions, support software to verify the remote-control operation of the systems and confirm the sending and receiving of commands, and instruction manuals with a list of external communication control commands and their functions. Please carefully read the following disclaimer and agree to the terms of use before downloading the information.
Discover how our customized solutions can help you — contact us today. Note:
|
Industrial Laser Microscopes
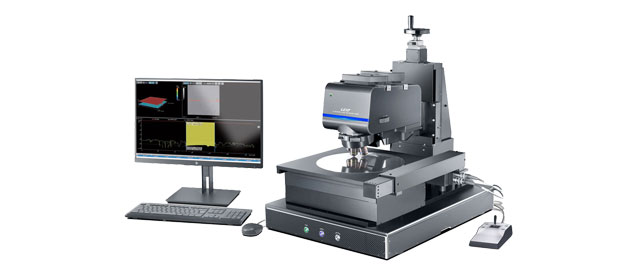
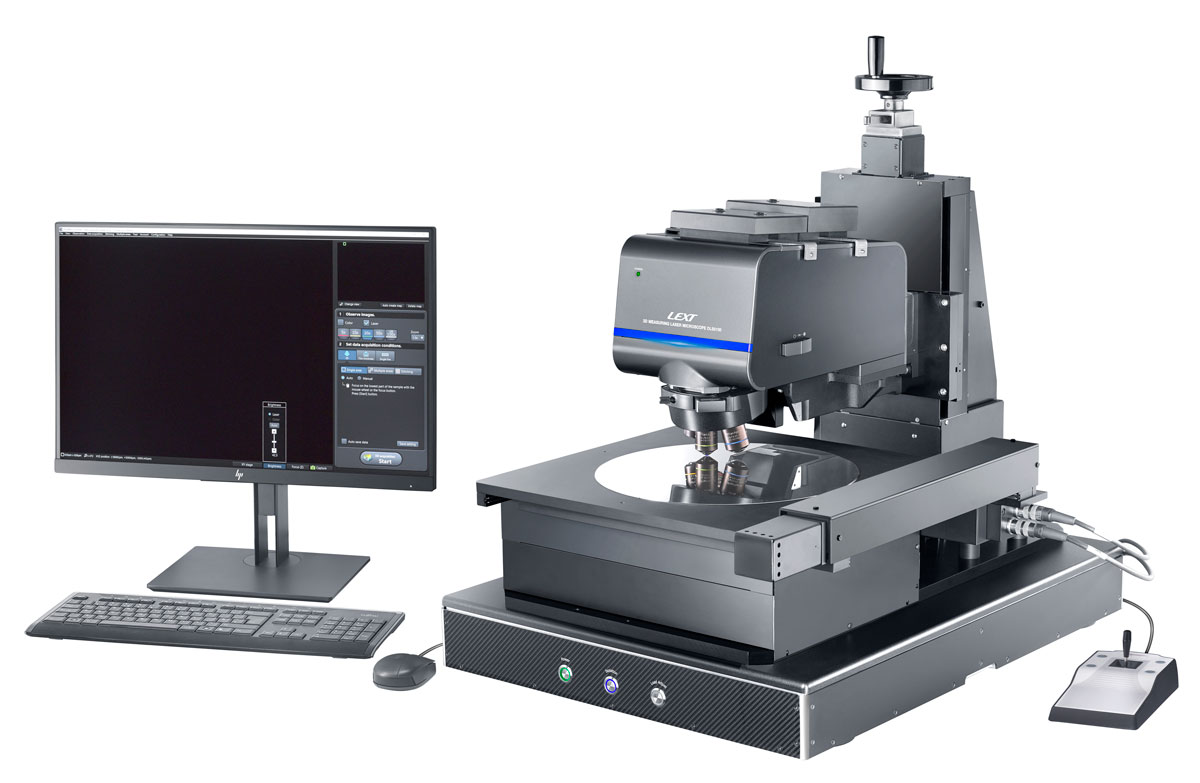
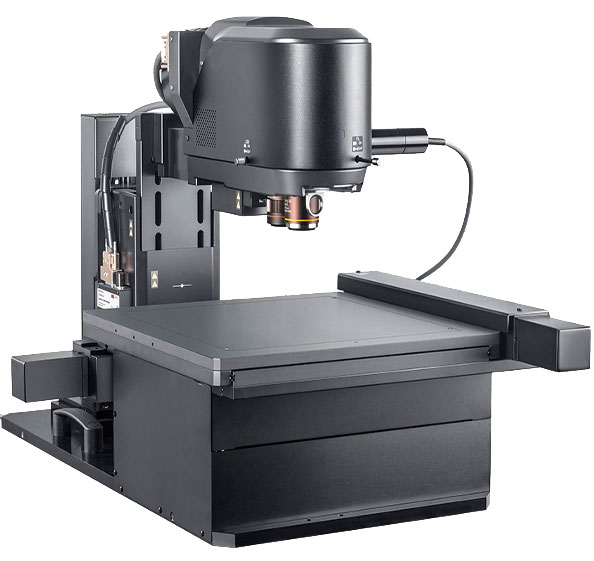
Capability Beyond the ConventionalImplement all the advanced features of the LEXT™ OLS5100 laser scanning microscope for material analysis of large and heavy samples. |
|
The OLS5100 laser scanning microscope combines exceptional accuracy and optical performance with smart tools that make the system easy to use. Add customization options to enable a full range of advanced measurements and functions. |
Customize Your Industrial Laser Scanning Microscope
- Heavy Duty Stages
- Large Bridge Stands
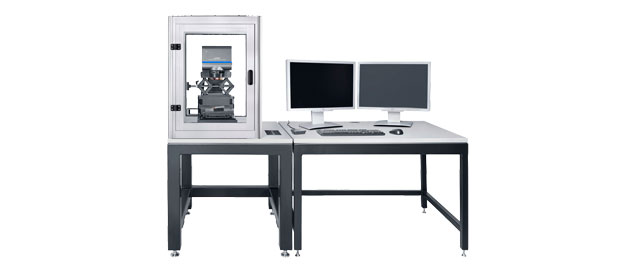
- High-Stability Workstations
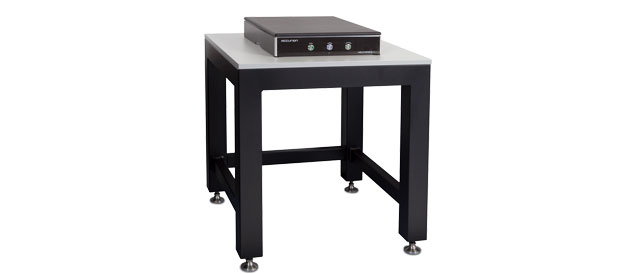
- Stable Stone Top Stand
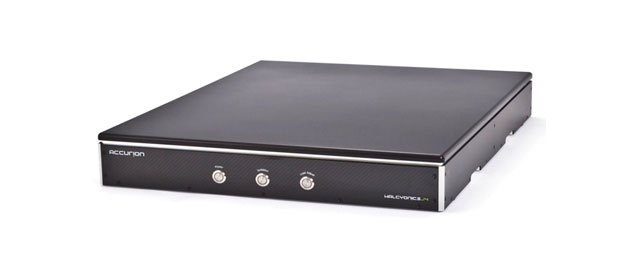
- Active Antivibration Desktop Unit
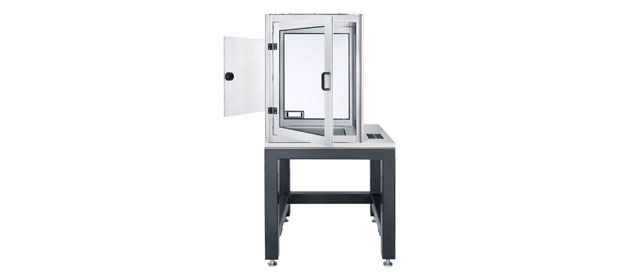
- Environmental Control Boxes
- Custom Fixtures
- Rotatable Vacuum Wafer Holder
- Rotatable Wafer Holder
- Screw Hole Fixtures
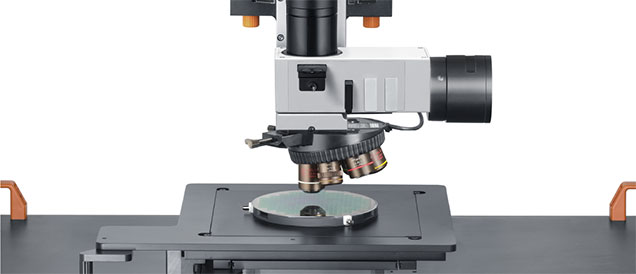
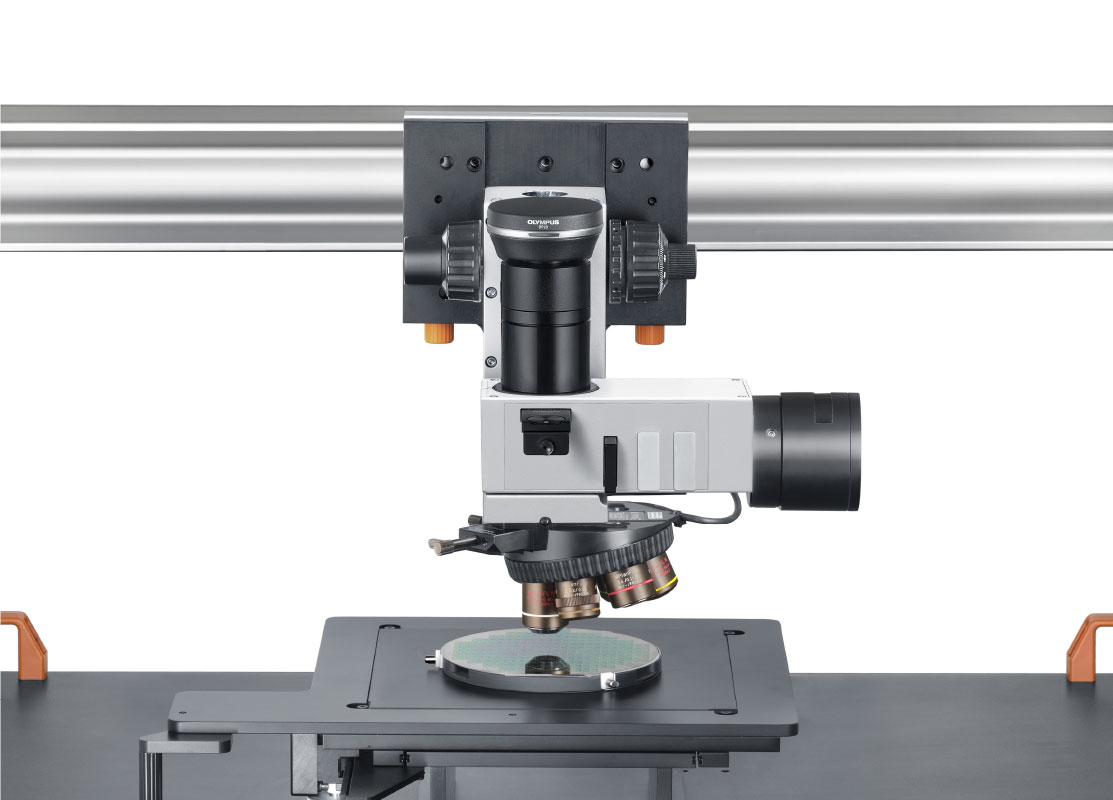
OLS5100-TM Laser Scanning Microscope—Achieve Nanometer-Scale Measurements of Large Samples
The OLS5100 microscope has multiple customization options to enable nm-scale measurements from large electronics such as silicon wafers and PCBs, as well as heavy components including automotive parts. These options include:
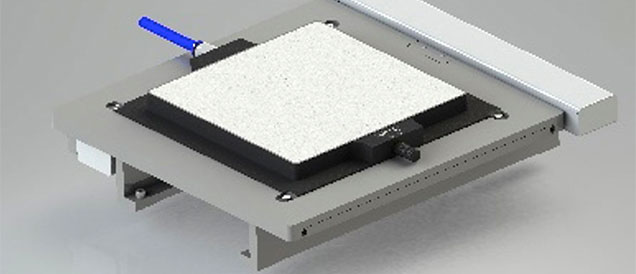
- Motorized stages of up to 300 × 300 mm for the inspection of large and heavy samples
- Stages with higher load capacity of up to 30 kg
- Manual Z-movement for easy measurement of samples of different heights
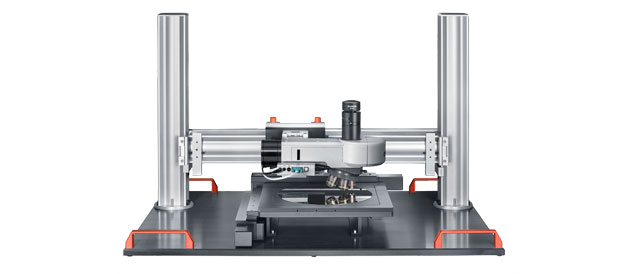
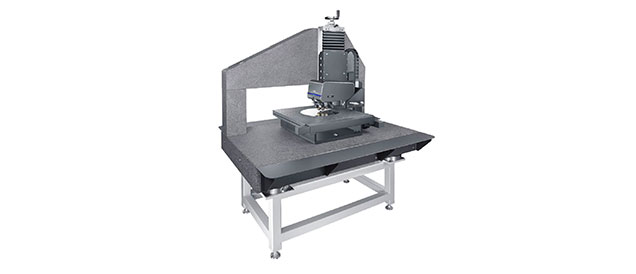
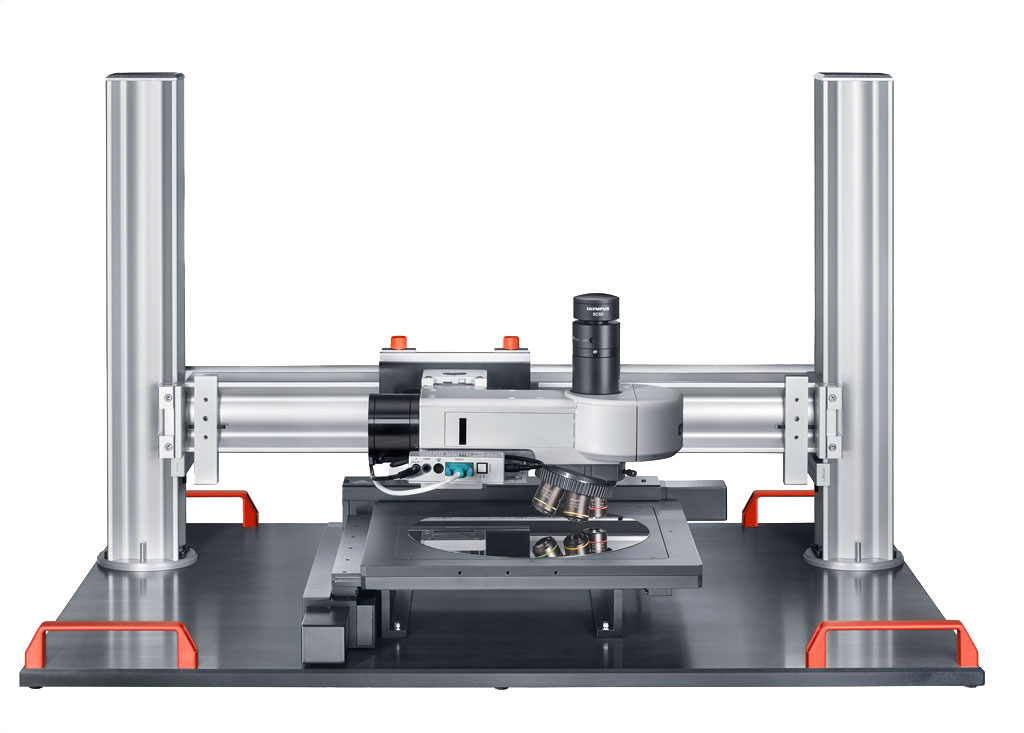
Large Bridge Stand—High Stability for Extra-Large Sample MeasurementStability is a key factor for high-resolution inspection of components such as silicon wafers, electronics, or large automobile parts. The customizable large bridge stand is designed to ensure the precision and accuracy of measurements taken with the OLS5100 microscope. Features include:
|
High-Stability Customizable Workstations–Maximizing Measurement PrecisionAchieving optimal measurement precision during nm scale inspection of samples such as electronics requires equipment that can minimize the effect of external vibrations. Our high-stability workstations enable precision nm-scale inspection. The workstations include:
These workstation components can used to customize a complete turnkey solution or purchased individually based on your requirements. |
Stable Stone Top Stand—Optimized Working EnvironmentAchieving suitable environmental conditions for optimal precision when conducting nm-scale inspection of electronics or other objects can be challenging. The stone top stand helps ensure operators can obtain reliable measurements in high resolution.
Active antivibration units may be integrated seamlessly into the microscope stand―a highly compact solution―or fitted with an antivibration desktop unit depending on your inspection needs. |
Active Antivibration Desktop Unit—Eliminate Small Vibrations for Higher PrecisionFor applications that require nm-scale resolution, such as wafer inspection, even light footsteps or minor noise can affect measurement accuracy. The active antivibration desktop unit is designed to eliminate external vibrations and has multiple features that increase stability and measurement precision:
|
Environmental Control Boxes―A Powerful Tool for Cleanroom InspectionMicroscope shielding provides an ambient working environment that enhances measurement accuracy and reduces scanning sound when using the standard LEXT systems. To help users maintain efficient inspection workflows with shielding, the environmental control box has multiple innovative design features:
|
Microporous Vacuum Chuck—Optimal Fixturing for Delicate SamplesAccurate inspection of thin and flexible items such as RFID films, solar panels, and silicon wafers require sample holders that provide even clamping force and minimal sample deformation. The microporous vacuum chuck maintains the flatness and integrity of delicate samples during inspection. This is achieved using uniform suction via micropores instead of suction holes or grooves.
|
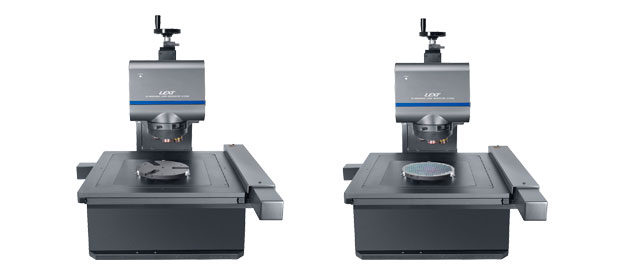
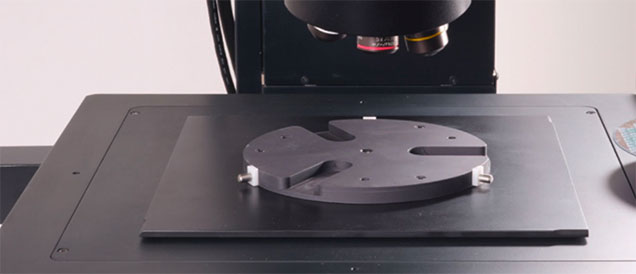
Rotatable Vacuum Wafer Holder—Stable and Secure Wafer FixtureSample holders must provide easy sample navigation and stable fixturing to ensure efficient silicon wafer inspection. The vacuum wafer holder has multiple features that streamline wafer inspection workflows:
|
Rotatable Wafer Holder—Streamlined Wafer InspectionThe rotatable wafer holder provides a straightforward and economic alternative for sample fixation where vacuum suction is not required.
|
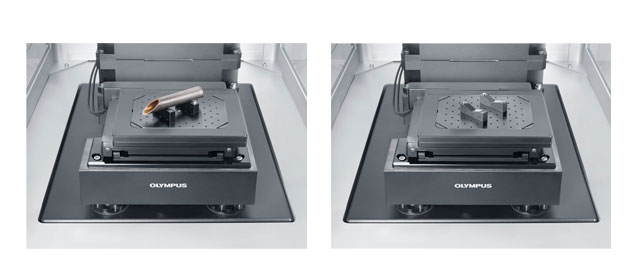
Screw Hole Fixtures —Easy Inspection with Custom FixturesCustom fixtures are often required to hold pipes, cubes, or other irregular objects during inspection. Featuring 68 uniformly distributed M3 thread holes and measuring 150 mm × 110 mm × 5.5 mm, the insert with screw holes can accommodate a wide variety of custom features for versatile sample fixturing |
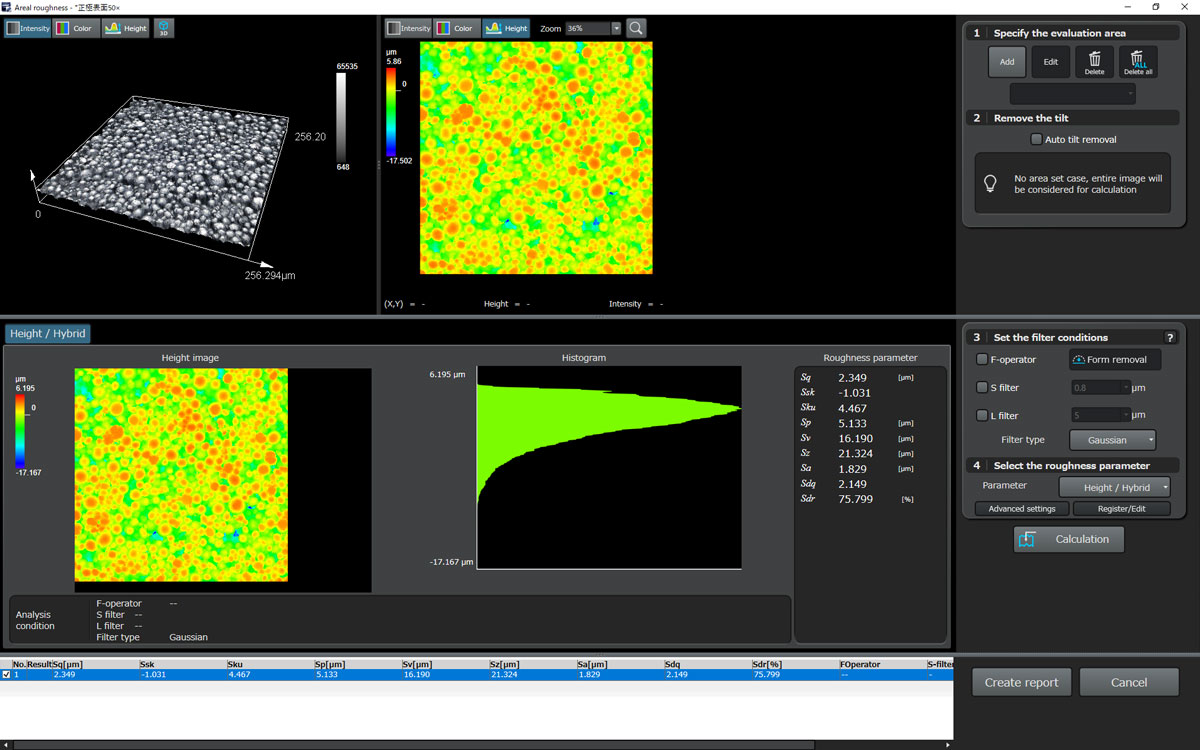
Application NoteAutomating Area Roughness Measurements of Critical Automotive ComponentsInternal combustion engine components must be manufactured according to strict tolerances and exacting surface finish standards to achieve optimal engine performance. The OLS5100 3D laser scanning microscope can perform high-precision, noncontact surface area roughness measurements. As a result, it is well suited to the quality control of automotive components. |
|
An engine component manufacturer approached Evident with the requirement to improve their surface area roughness measurement workflow. Evident collaborated with the manufacturer to co-create a highly automated, customized solution using the LEXT microscope. The complete solution fully automated the following tasks:
Automating this workflow significantly improved productivity and reduced operator error. In addition, precision measurements must be performed under controlled environmental conditions. For this application, the manufacturer also required the local temperature and background vibration to be automatically recorded and stored in their MES server. Evident ensured that this feature was integrated into their system. |
Digital Microscopes
Capability Beyond the ConventionalExpand the capabilities of your DSX1000 digital microscope with custom components for inspecting large and tall samples. |
|
The DSX1000 digital microscope combines ease of use with advanced features to streamline your inspection workflow. Enhance your digital microscope with tailored solutions for inspecting large and tall samples. |
Customize Your Digital Microscope |
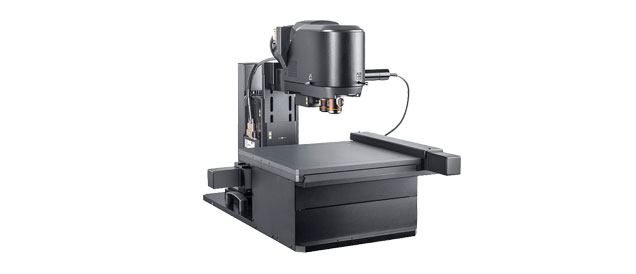
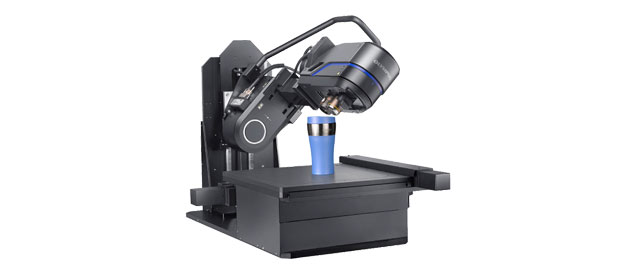
Upright FramesHigh-Magnification Measurements from Large Samples The customized DSX1000 upright frame enables accurate measurements from large or heavy samples. |
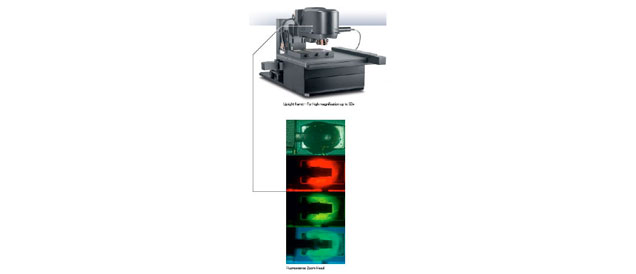
Fluorescence Zoom HeadSee More with Fluorescence Reveal more defects during inspection. Applications include measuring the critical dimensions of silicon wafers or identifying cracks in circuit board soldering. |
Tilting FramesPrecise Measurement of Large Samples from Multiple Angles Our tilting frame streamlines your inspection and provides enhanced insights from bulky samples. |
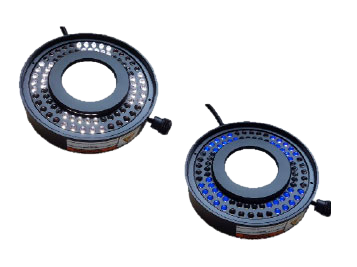
Product HighlightSegmented LED Light Ring for Detailed Near-3D InspectionInspection applications such as forensic document examination, crack detection, or examination of paint and varnishes can be improved by using different wavelengths of light. | |
Evident developed segmented LED light rings for the DSX1000 microscope to reveal the fine details of your sample during inspection:
|
Semiconductor Microscopes
Capability Beyond the ConventionalUnlock the full potential of an automated semiconductor inspection with custom microscope hardware and software. |
|
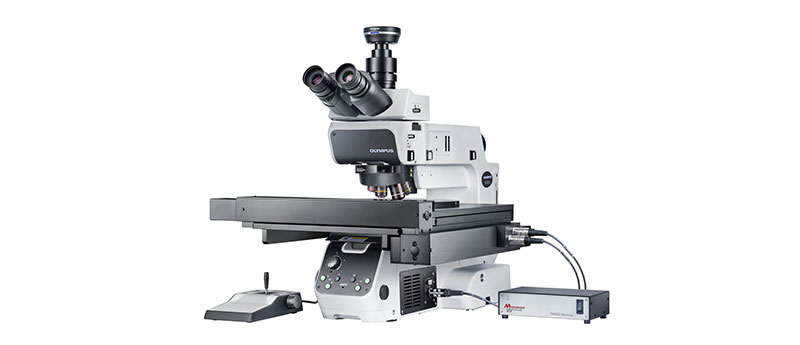
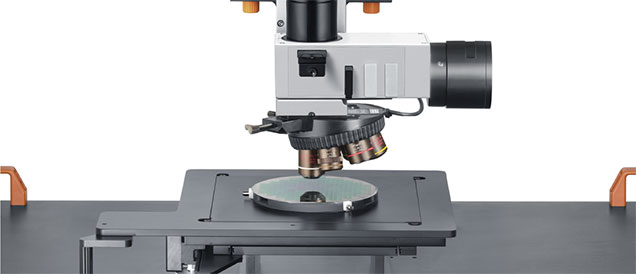
The MX63 and MX63L semiconductor microscope systems offer quality observations for up to 300 mm wafers, flat panel displays, printed circuit boards, and other large samples. These ergonomic and user-friendly systems feature a modular design for diverse applications. To streamline your inspection, the MX63 series can be customized with:
|
Customize Your Semiconductor Microscope |
Full MotorizationDiscover our motorized X-Y stages and Z-axis for automated semiconductor inspection. |
Enhanced ImagingUse transmitted IR light for inspection through silicon samples, such as chip damage inspection and short circuit detection. |
Custom Sample HoldersChoose from a range of sample holders that can be customized for specific applications. |
Customized Software to Optimize Your Inspection WorkflowsMaximize all the advantages of a motorized stage with customized software solutions. Our PRECiV™ software can be customized for your specific workflow. |
For example, the Navigate on Wafer customized solution offers a multiposition measurement workflow. Watch the video to learn how this solution defines the wafer layout and navigates to various points on the wafer for imaging. |
Contact Us to Discuss Your Requirements |
Light Microscopes
Capability Beyond the ConventionalExpand the capabilities of your light and stereo microscopes with versatile stands for inspecting larger samples. |
|
Light microscopes are used for quality control and detailed examination of newly developed materials, electronic devices, metals, and chemicals. Stereo microscopes offer a clear stereoscopic view with comfortable and ergonomic operation. Customized stands for light and stereo microscopes provide high stability for increased measurement precision, with motorized Z-drive to streamline the inspection of large samples. |
Customize Your Light and Stereo Microscopes
|
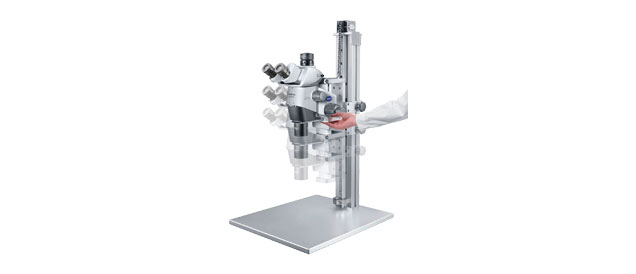
Single Column StandsEasy Adjustment for Large Sample Inspection The ability to rapidly adjust the height of the microscope is key for efficient inspection, when taking measurements of samples with variable size. |
Application NoteAcquiring More Measurements in Less Time
|

