- Overview
- Suggested Models
- Operability
- Height Measurement
- Measurement Support System
- Specifications
- Resources
Overview
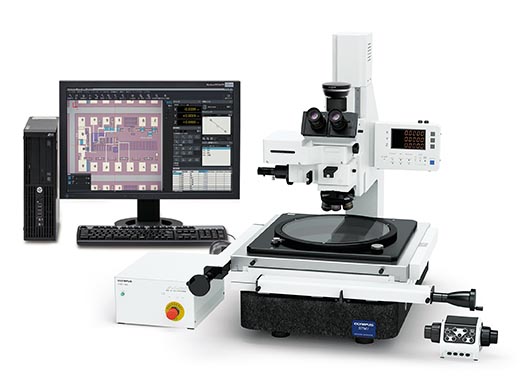
A Microscope that Measures Up to
|
|
|---|
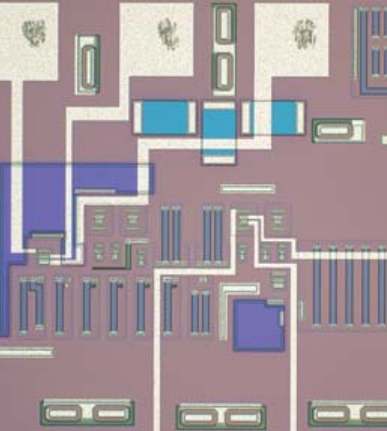
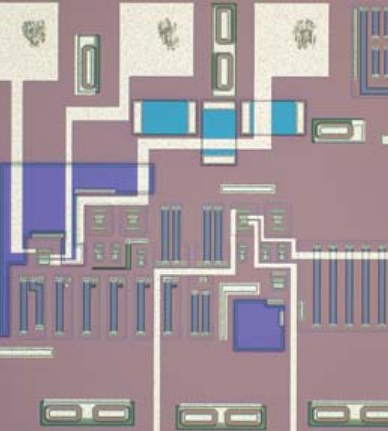
Refined Optical PerformanceThe STM7 series uses the same UIS2 infinity-corrected optical system found in state-of-the-art optical microscopes. |
|---|
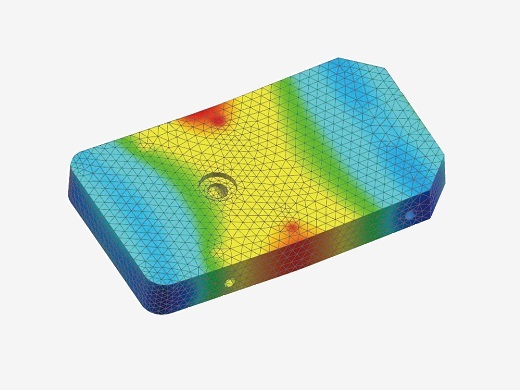
STM7-LF FEM analysis | Reliable Measurements with a Stone Stage-Mounting PlateTo further improve measurement accuracy, the STM7 series uses a highly durable, vibration-resistant frame with a granite surface plate. This stability enables sub-micron level measurements with minimal error. |
|---|
User-Friendly, High-Precision, 3-Axis MeasurementAs modern manufacturing technology becomes increasingly miniaturized and precise, highly accurate measurements are even more essential—not only along the XY axis, but also along the Z-axis. Olympus responded by creating the first reflective active, confocal autofocus system. | 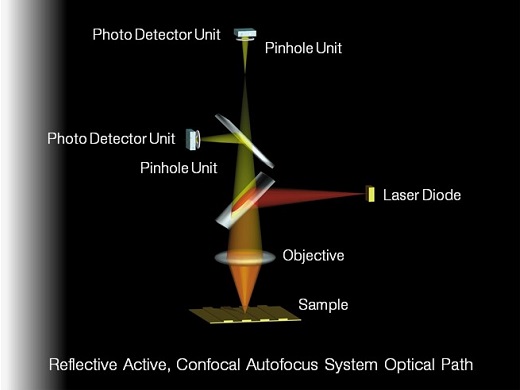 |
|---|
| Dependable Quality Based On a Strict Traceability SystemThe accuracy of Olympus’ measuring microscopes is controlled by a strict traceability system, and Olympus even offers traceable calibration at the time of installation. |
|---|
Suggested Models
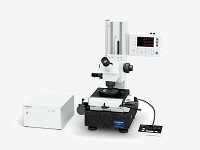
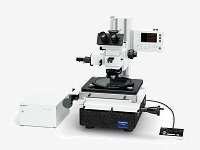
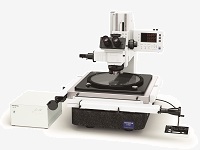
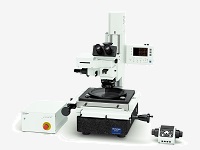
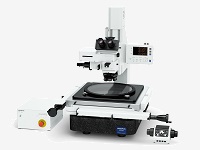
Reliable Modular SystemsFive configurations provide you with flexibility to choose the features that you need. |
| Manual Models | Motorized Models | |||||||
STM7-SF | STM7-MF | STM7-LF | STM7-MFA | STM7-LFA | ||||
 |  |  |  |  | ||||
STM7-CS100 | STM7-CS200 | STM7-CS300 | STM7-CS200 | STM7-CS300 | ||||
 |  |  |  |  | ||||
See Specification Chart
| STM7-SF | STM7-MF | STM7-LF | STM7-MFA | STM7-LFA | |
| Z-axis focus | Manual | Manual | Motorized | ||
| Standard | BF or BF/DF | BF or BF/DF | BF or BF/DF | ||
| Option | DIC/POL | DIC/POL | DIC/POL | ||
| Measurement objectives Brightfield |  |  |  | ||
| Focus navigator STM7-FN |  |  |  | ||
| Autofocus unit STM7-AF | - | - |  | ||
| Measurement support software STM7-BSW |  |  |  | ||
| Measurement support software (Multiple Image Alignment /MIA and extend Focus Image/EFI) STM7-ASW-ME |  |  |  | ||
OBSERVATION METHOD
BF: Brightfield
DF: Darkfield
DIC: Differential interference contrast
POL: Polarized light
 : Option
Operability
Stages that Fit Your Samples |
Common Problems
| STM7 Solutions
|
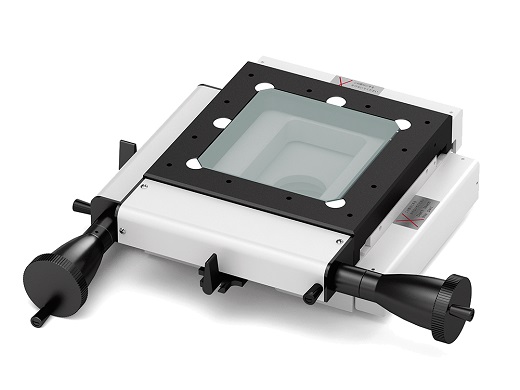
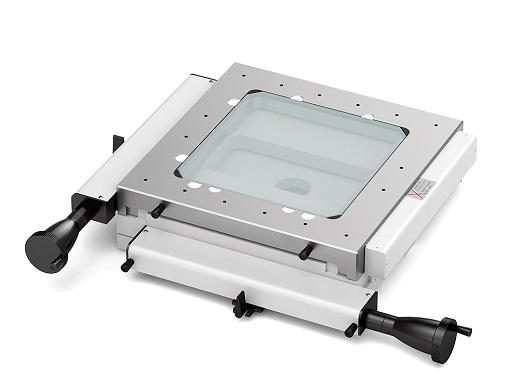
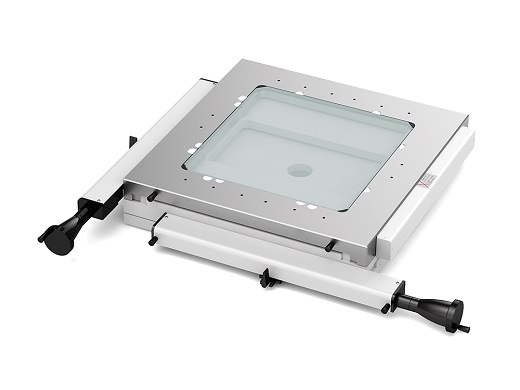
Maximum Measurement Stroke 300 mm x 300 mmThree stages are available, each with a different measurement stroke - 100 mm x 100 mm, 200 mm x 200 mm, and 300 mm x 300 mm. Whether your samples are large or small, we offer a stage that fits your application. |
STM7-CS100 |
STM7-CS200 |
STM7-CS300 |
Broad Range of Magnifications and Working Distances |
Common Problems
| STM7 Solutions
|
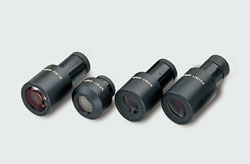
Measuring ObjectivesThe objectives’ very long working distance helps you be confident when focusing on samples with large peaks and troughs and minimizes the chance that the objective comes in contact with the sample. Furthermore, their low-magnification capability enables wide areas to be observed in a single view. |
|
|
|---|
Brightfield image |
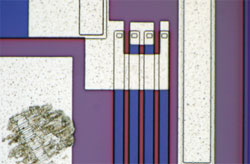
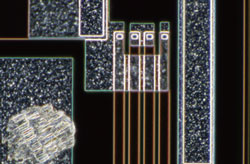
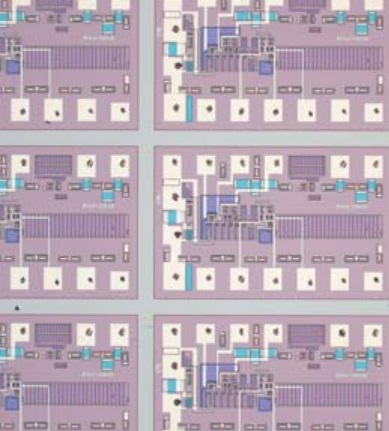
Darkfield image | Metallurgical ObjectivesMetallurgical objectives enable high-magnification, high resolution observation comparable to that of optical microscopes. What’s more, these objectives can be used for brightfield, darkfield, and DIC observation. |
|---|
Revolutionary Control Unit Refines Usability |
Common Problems
| STM7 Solutions
|
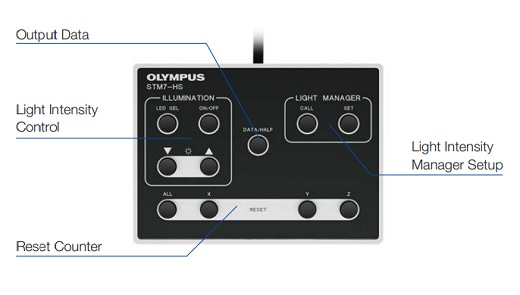
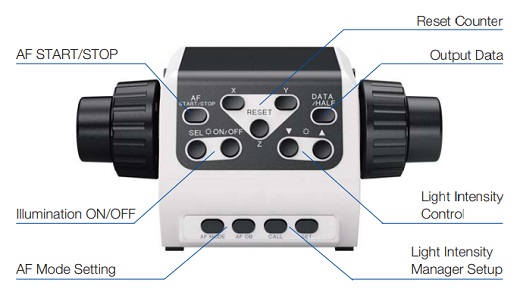
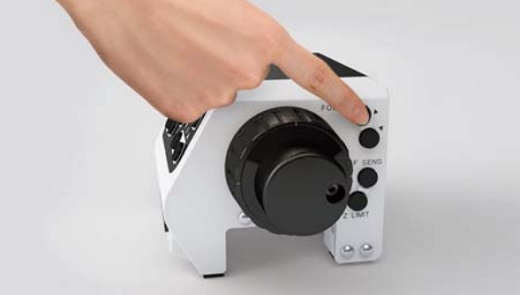
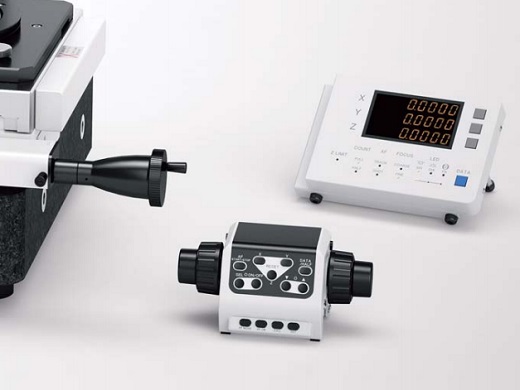
ControllersWith the STM7 series, a single controller makes it possible to perform virtually all measuring microscope operations, including use of readout reset, illumination control, focusing, and autofocus. For efficiency and convenience, the unit can be placed wherever you wish and operated easily with one hand. |
For Manual Z-Axis Focusing Models: STM7-HS Hand Switch |
For Motorized Z-Axis Focusing Models: STM7-MCZ Focus Controller |
|---|
Control BoxThe power supply and transmission for each unit are combined in a single control box. This maximizes the workspace even when a range of optional functions, such as the focus navigator, are added. |
Manual and Motorized Focus OptionsManual and motorized focus control options are available. Choose the model that addresses your needs in terms of samples and measurement content, regardless of stage size - all frames incorporate a linear scale for the Z-axis that enables 3-axis measurement. |
Manual Z-Axis Focus ModelsManual models offer excellent cost performance with familiar handle operation that enables rapid vertical movement for users who measure samples with a variety of heights. |
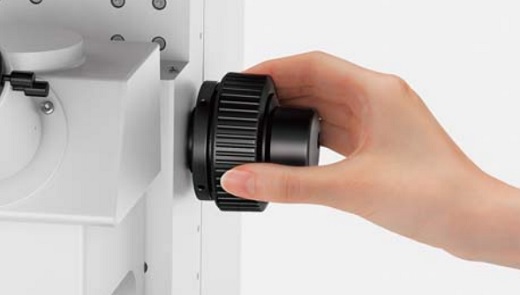
Motorized Z-Axis Focus ModelsThe motorized unit improves operability and reduces handling fatigued caused by making repeated focus and height measurements. The coaxial knobs for coarse and fi ne movement offer a feeling similar to manual operation, while the models can also be equipped with an autofocus unit. |
Automatic Light Intensity Adjustment
|
Common Problems
| STM7 Solutions
|
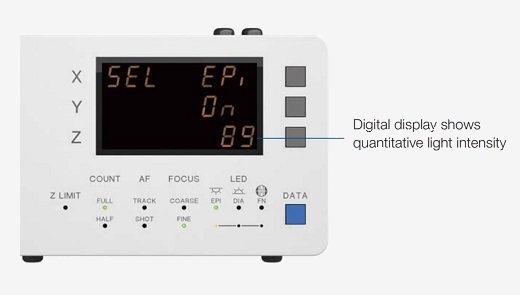
Precisely Control Light Intensity Values with a Quantitative Digital DisplayThe STM7 series displays light intensity using quantitative digital display, enabling observations to be made under consistent illumination conditions. |
|
5X Intensity 50 |
20X Intensity 70 |
100X Intensity 120 | No More Manual AdjustmentsThe light intensity manager can be used with the coded revolving nosepiece configuration. The coded revolving nosepiece automatically detects when you change objectives. This allows the illumination method and light intensity to be registered for each objective and adjusted automatically during measurements when the objective is switched. Now, there is no need to manually adjust light intensity, which used to be required with every switch between magnifications. |
|---|
Check Measurement Results and Equipment Status Fast with a Detachable Digital Readout |
Common Problems
| STM7 Solutions
|
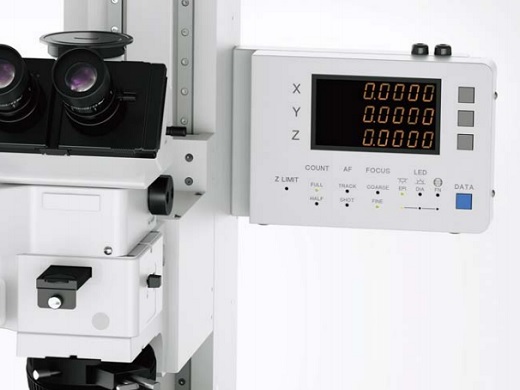
Fast, Visual Status CheckThe indicator displays the device status and settings. The minimum X-, Y-, and Z-axis values can be switched between 0.1 μm and 1 μm, and the display units can be switched between mm, μm, inches and mil. |
Digital readout attached to the frame |
|---|
Digital readout placed on a desk | Detachable Digital Readout Enables Individual Preference and PlacementWhether attached to the frame or a desk, the placement of the detachable digital readout is up to the individual user. While standing to take measurements, it can be placed on the side of the frame at almost the same height as the site of observation for easy viewing. When operating from a sitting position, such as observation or measurements on a monitor using a digital camera or when using the motorized Z-axis focusing model, simply place the digital readout and hand controller on the desk. |
|---|
Height Measurement
Faster, Simpler, More Accurate Height Measurement |
Common Problems
| STM7 Solutions
|
Simple, Precise Focusing System with Superior RepeatabilityOlympus’ focus navigator delivers highly reproducible height measurement by projecting a pattern within the field of view and identifying vertical deviations. Slight errors can occur in height measurements taken with normal visual observation, even when focus appears to be sharp. The focus navigator, however, enables measurements to be made simply by matching up the marks, reducing operator subjectivity in measurement results. | 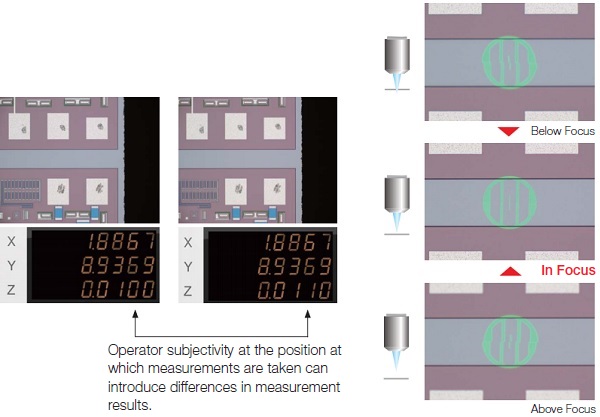 |
|---|
Autofocus Advantage for Fast and Highly Accurate Height Measurement |
Common Problems
| STM7 Solutions
|
Dedicated Autofocus Unit:
|
One-Shot ModeInstantaneously takes autofocus from roughly focused to sharply focused at the center of the field of view. |
TRACK ModeThe TRACK Mode provides autofocus that tracks the peaks and troughs of the sample, even if the stage is moved, keeping the image continually in focus. This advancement greatly improves the efficiency of Z-axis measurements by enabling observations to be made without taking your hands off the X and Y handles. |
Measurement Support System
Measure Complex-Shaped Objects Accurately, Quickly, and Simply |
Measurement Support SystemThe ability to clearly and easily see the output display component of measuring microscopes is essential. Olympus measurement software deliver complex measurements with greater accuracy. The software also enables the use of digital cameras. | 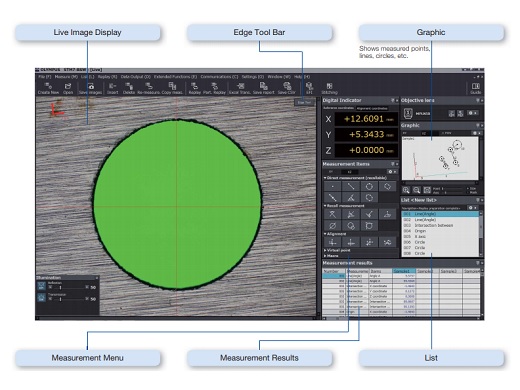 |
|---|
Accessories that Widen the Range of Observation and Measurement |
Coded Revolving NosepieceCombining a coded revolving nosepiece with a digital camera lets you display the objective magnification on-screen during observation and allows you to record that magnification. This convenient feature allows information on your sample and the objective’s magnification to be recorded at the same time when recording a sample. | 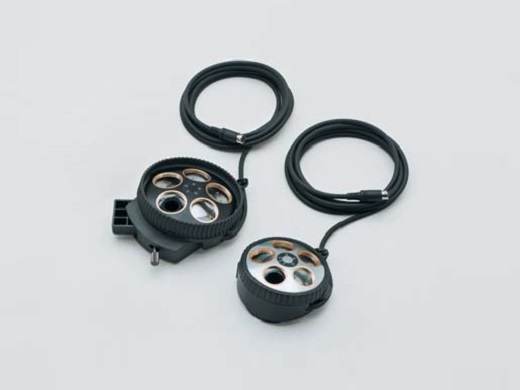 |
|---|
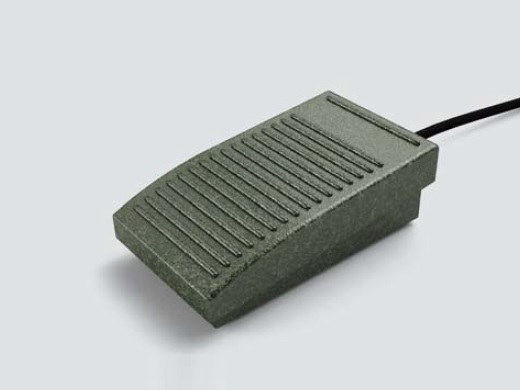 | STM7-FS/ Foot SwitchEnables hands-free transmission of data, allowing operators to complete measurement without taking hands off the X and Y handles. |
|---|
SZ-LW61/ White LED Illumination UnitThis light-weight, space-saving design model provides a long operating life and low power consumption. The cost-effective LED illumination unit is also free from the flickering and brightness fluctuation. | 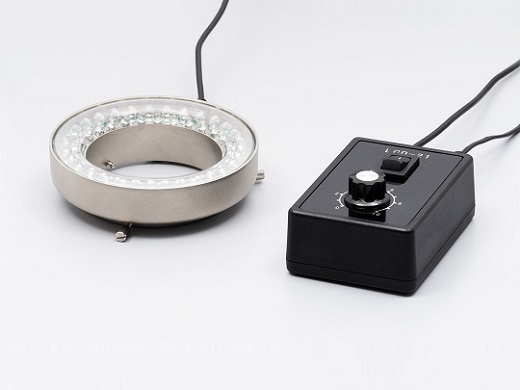 |
|---|
 | SZX2-ILR66+SZX-RHS/ LED Ring Illuminator + Manual Control UnitSZX-RHS manual control unit enables independent illumination of four-segments of the SZX2-ILR66 reflected LED ring illuminator, which provides clear images with high color temperature. The optimal illumination can be selected from 13 patterns. |
|---|
Rotatable StageEnables easy parallel alignment of sample. |
STM7-RS100 |
STM7-RS200 |
STM7-RS300 |
|---|
Specifications
SPECIFICATIONS OF STM7 (Manual Model) |
| Manual Model | |||||
| Small stage | Midsize stage | Large stage | |||
| Microscope body | STM7-SF | STM7-MF | STM7-LF | ||
| Focus | Vertical movement range | 175 mm | 145 mm | ||
| Maximum measurable height |
120 mm (with measurement objective)
175 mm (with metallurgical objective) |
90 mm (with measurement objective)
145 mm (with metallurgical objective) *1 | |||
| Z-axis measurement resolution | 0.1 um | ||||
| Z-axis drive method | Manual coaxial fine/coarse focusing knobs | ||||
| Illumination | LED illumination | White: for reflected light illumination, green: for transmitted light illumination | |||
| Observation tube | MM6-ETR Erect image trinocular tube (100:0/0:100) | ||||
| Eyepiece (F.N.22) | MM6-OCC10X (with cross hairs) , MM6-OC10X | ||||
| Objectives | BF (Bright field) |
MM6C-KMAS
Illumination | |||
|
U-5RES-ESD
Nosepiece | |||||
|
MPLFL5X,10X,LMPLFLN20X,50X,100X
Metallurgical objectives | |||||
| BF (Brightfiels) /DF (Darkfield) |
MM6C-RLAS
Illumination | ||||
|
U-D5BDRES-ESD
Nosepiece | |||||
|
LMPLFLN5XBD,10XBD,20XBD,50XBD,100XBD
Metallurgical objectives | |||||
| LED unit | White color (Reflected) | MM6-ILW | |||
| Green color (Transmitted) | MM6-ILG | ||||
| Stage | STM7-CS100 | STM7-CS200 | STM7-CS300 | ||
| Measuring range | X-axis 100 mm, Y-axis 100 mm | X-axis 200 mm, Y-axis 200 mm | X-axis 300 mm, Y-axis 300 mm | ||
|
Measurement accuracy
(L: measuring length) | (3+2L/100) μm | (3+4L/200) μm | (3+6L/300) μm | ||
| Accuracy assurance weight | 6 kg | 10 kg | 15 kg | ||
| Counter | STM7-DI | ||||
| Number of axes | Three | ||||
| Unit | μm / mm / inch / mil | ||||
| Minimum resolution | 0.1 um | ||||
| Control box | STM7-CB | ||||
| Hand switch | STM7-HS | ||||
| Focus controller | - | ||||
| Interface cable | - | ||||
| Anti-vibration plates | - | STM7-VI | |||
| Power cable | UYCP | ||||
| Dimensions (W x D x H) mm | 466 x 583 x 651 | 606 x 762 x 651 | 804 x 1024 x 686 | ||
| Weight (kg) | 84 kg | 152 kg | 277 kg | ||
| Power consumption |
100-120/220-240V - 50/60Hz
0.3A/0.2A |
100-120/220-240V - 50/60Hz
0.3A/0.2A |
100-120/220-240V - 50/60Hz
0.3A/0.2A | ||
*1 When using the large frame STM7-LF/STM7-LFA, a specimen whose height is 100 mm or less can be placed at the position backward from the light axis by 180 mm or more.
OBJECTIVES WORKING DISTANCE
| Objective | 1X | 3X | 5X | 10X | 20X | 50X | 100X | ||
| Measuring objectives | MM6-OB series | 59.6 | 76.8 | 65.4 | 50.5 | - | - | - | |
| Metallurgical objectives | MPLFLN series | Brightfield | - | - | 20.0 | 11.0 | 3.1 | 1.0 | 1.0 |
| LMPLFLN series | Long working distance | - | - | 22.5 | 21.0 | 12.0 | 10.6 | 3.4 | |
| MPLFLN-BD series | Brightfield/darkfield | - | - | 12.0 | 6.5 | 3.0 | 1.0 | 1.0 | |
| LMPLFLN-BD series | Brightfield/darkfield, long working distance | - | - | 15.0 | 10.0 | 12.0 | 10.6 | 3.3 | |
STM7-BSW SYSTEM REQUIREMENTS
| Item | |
| CPU | Intel Core i3 Processors 3 GHz or more with an STM7-CU camera, an Intel Core i5 or equivalent or higher is required with DP23/DP28 cameras |
| Memory | 4 GB or more with an STM7-CU camera, whereas 8 GB is required and 16 GB is recommended with DP23/DP28 cameras |
| HD available space | 100 GB or more hard disk space for installation SSD hard disk is recommended for high speed image acquisition |
| Graphic card | Graphic card available for resolution 1980 x 1080 and 32 bit color |
| Drive | DVD Drive |
| PC input device | 2-button mouse (3-button mouse with a wheel is recommended), keyboard |
| Operating system | Microsoft Windows 10 Pro/Pro for Workstations (64 bit) |
| Web browser | Internet Explorer 11 |
SPECIFICATIONS OF STM7 (Motorized Model) |
| Motorized Model | ||||
| Midsize stage | Large stage | |||
| Microscope body | STM7-MFA | STM7-LFA | ||
| Focus | Vertical movement range | 175 mm | 145 mm | |
| Maximum measurable height |
120 mm (with measurement objective)
175 mm (with metallurgical objective) |
90 mm (with measurement objective)
145 mm (with metallurgical objective) *1 | ||
| Z-axis measurement resolution | 0.1 um | |||
| Z-axis drive method |
Motorized
| |||
| Illumination | LED illumination | White: for reflected light illumination, green: for transmitted light illumination | ||
| Observation tube | MM6-ETR Erect image trinocular tube (100:0/0:100) | |||
| Eyepiece (F.N.22) | MM6-OCC10X (with cross hairs) , MM6-OC10X | |||
| Objectives | BF (Bright field) |
MM6C-KMAS
Illumination | ||
|
U-5RES-ESD
Nosepiece | ||||
|
MPLFL5X,10X,LMPLFLN20X,50X,100X
Metallurgical objectives | ||||
| BF (Brightfield) /DF (Darkfield) |
MM6C-RLAS
Illumination | |||
|
U-D5BDRES-ESD
Nosepiece | ||||
|
LMPLFLN5XBD,10XBD,20XBD,50XBD,100XBD
Metallurgical objectives | ||||
| LED unit | White color (reflected) | MM6-ILW | ||
| Green color (Transmitted) | MM6-ILG | |||
| Stage | STM7-CS200 | STM7-CS300 | ||
| Measuring range | X-axis 200 mm, Y-axis 200 mm | X-axis 300 mm, Y-axis 300 mm | ||
|
Measurement accuracy
(L: measuring length) | (3+4L/200) μm | (3+6L/300) μm | ||
| Accuracy assurance weight | 10 kg | 15 kg | ||
| Counter | STM7-DI | |||
| Number of axes | Three | |||
| Unit | μm / mm / inch / mil | |||
| Minimum resolution | 0.1 um | |||
| Control box | STM7-CBA | |||
| Hand switch | - | |||
| Focus controller | STM7-MCZ | |||
| Interface cable | U-IFCBL200 | U-IFCBL200 | ||
| Anti-vibration plates | STM7-VI | |||
| Power cable | UYCP | |||
| Dimensions (W x D x H) mm | 606 x 762 x 811 | 804 x 1024 x 844 | ||
| Weight (kg) | 159 kg | 284 kg | ||
| Power consumption | 00-120/220-240V 50/60Hz 0.6A/0.35A | 100-120/220-240V 50/60Hz 0.6A/0.35A | ||
*1 When using the large frame STM7-LF/STM7-LFA, a specimen whose height is 100 mm or less can be placed at the position backward from the light axis by 180 mm or more.
OPTION
| Objectives | Measurement objectives |
MM6-OB series
(1X /3X /5X /10X) |
| Focus navigator | Focus navigator unit | STM7-FN |
| Green LED unit | MM6-ILG | |
| Autofocus | Autofocus unit | STM7-AF |
| DIC | U-DICR DIC slider for reflected light | U-DICR |
| Software/Camera*1 | Measurement Support Software | STM7-BSW |
| Camera | Digital camera Low | STM7-CU |
| Digital camera Middle | DP23-CU | |
| Digital camera High | DP28-CU | |
| TV adapter | C-mount camera port tube with 0.5X lens | U-TV0.5XC-3 |
| C-mount camera port tube with 0.35X lens | U-TV0.35XC-2 | |
| Rotatable stage | For 100 x 100 mm | STM7-RS100 |
| For 200 x 200 mm | STM7-RS200 | |
| For 300 x 300 mm | STM7-RS300 | |
| ND filter | ND filter (Transmittance 6%) | U-25ND6 |
| ND filter (Transmittance 25%) | U-25ND25 | |
| DIC | DIC/Polarizer | U-PO3 |
| DIC/Analyzer | U-AN360-3 | |
| Software | MIA, EFI optional software | STM7-ASW-ME |
| Foot switch | STM7-FS | |
| Power supply unit | MM6-ILPS-2 | |
| Stage micrometer | OB-M/OB-MM | |
*1 Supported cameras vary depend on the version of STM7-BSW.
Ver.1.3.3 or earlier: STM7-CU
Ver.1.4.1 or later: DP23/DP28
Resources
Application NotesSolutions |
