Overview
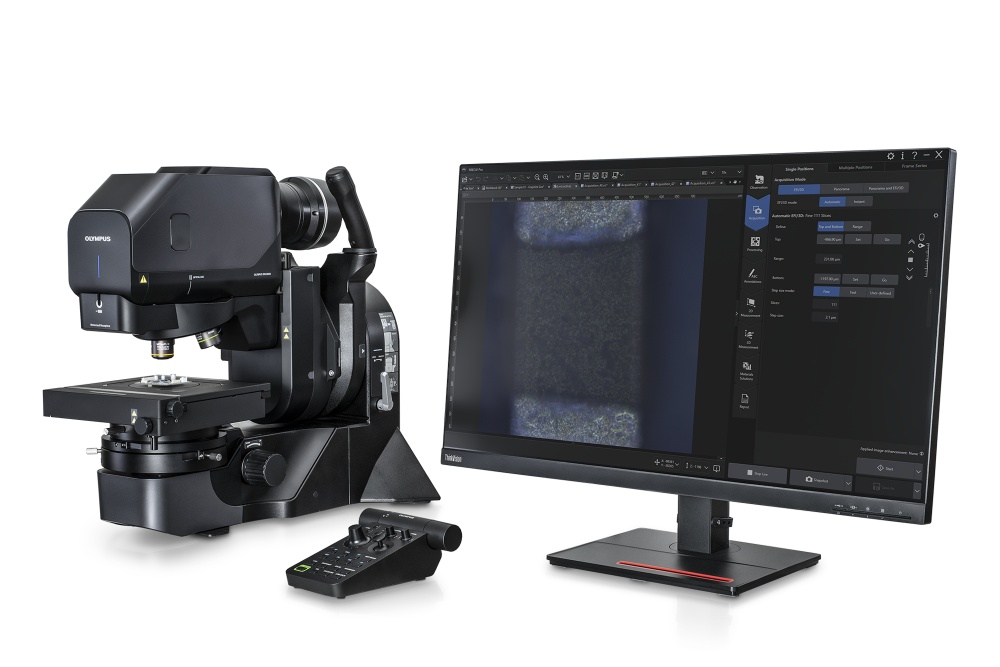
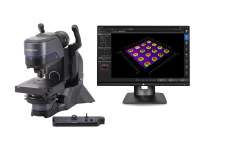
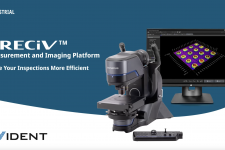
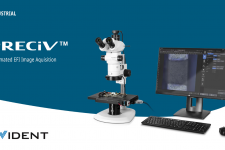
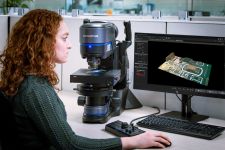
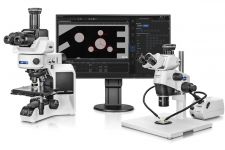
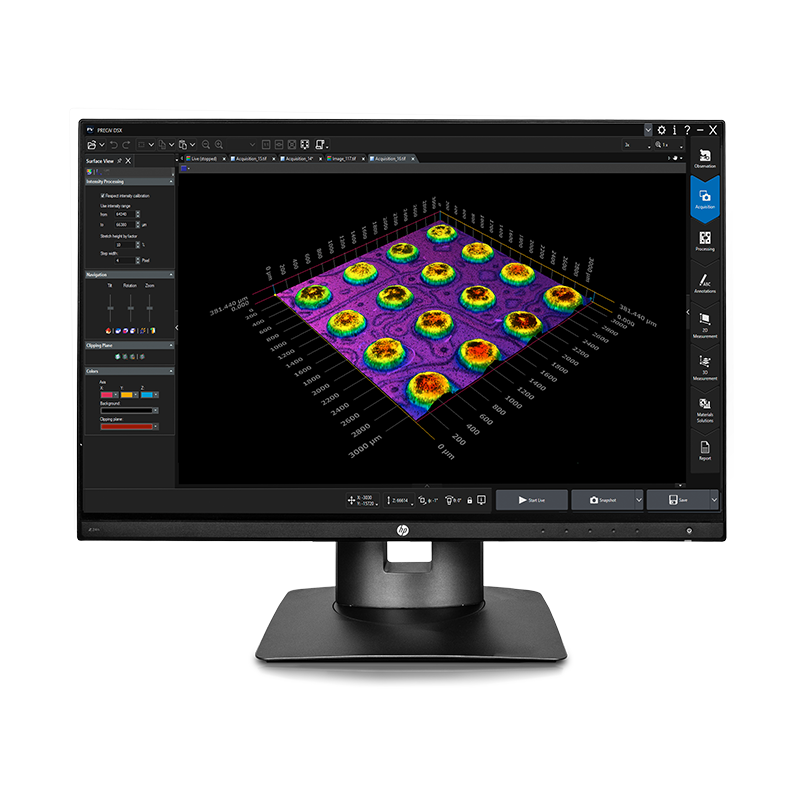
PRECiV™ Imaging Microscopy PlatformInspect. Measure. Analyze.Easily perform repetitive 2D/3D measurements and advanced image analysis during production, quality control, and inspection operations.
|  |
PRECiV PackagesPRECiV software enables you to efficiently perform precise, repetitive measurements or conduct reproducible complex image analysis during your manufacturing process from R&D to final inspection. Take advantage of the software’s powerful capabilities for automated optical inspection and advanced 3D measurement. Custom solutions are also available to expand PRECiV software’s functionality to meet your unique needs. PRECiV software is scalable and offers dedicated packages for conventional and digital microscopes.
| |||||||||||
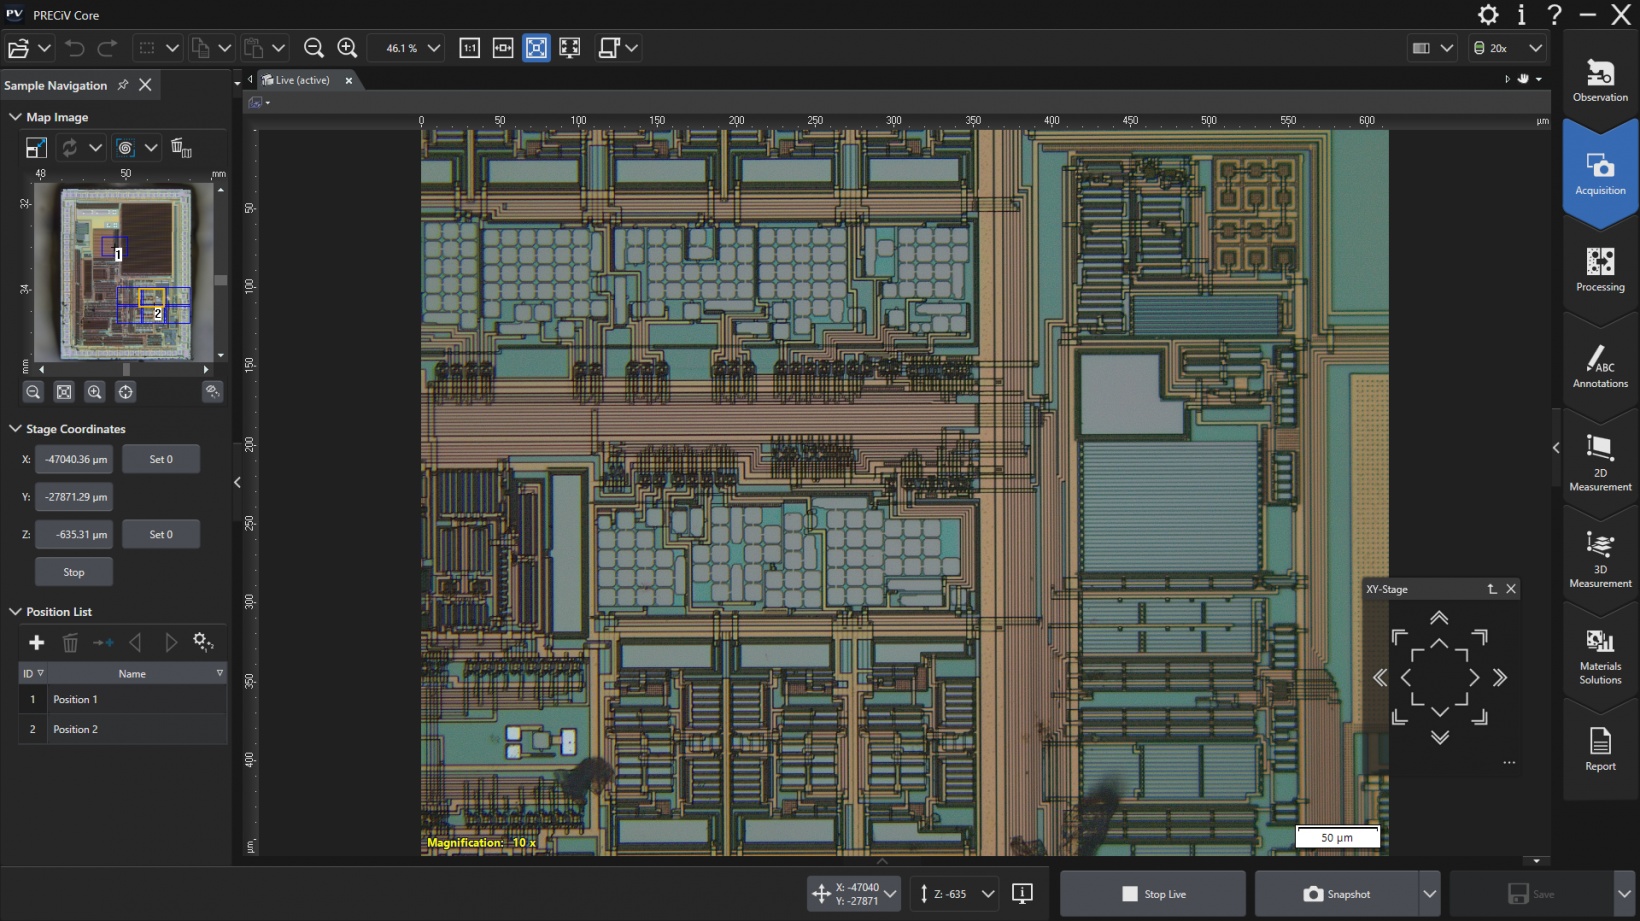
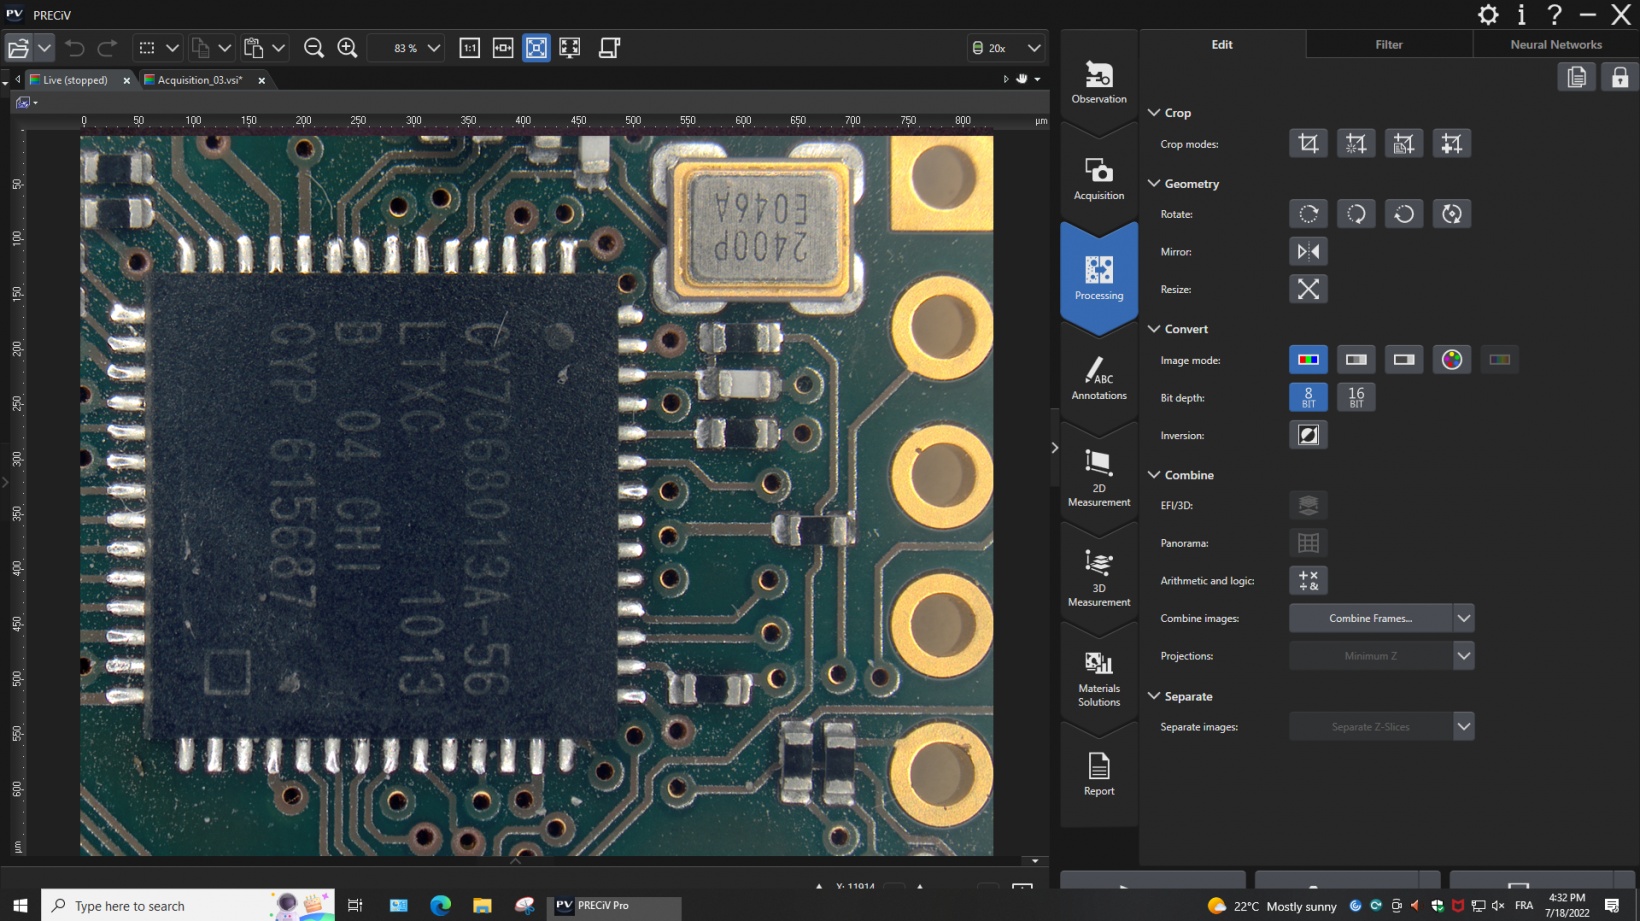
Intuitive Software Expands Your Microscope’s CapabilitiesThe PRECiV interface provides simple workflows while keeping the option for full functionality. Easily select between the predefined inspection in EZ mode for less experienced users and the flexible inspection mode for expert users. View the interface on an ultra-high-definition (UHD) monitor for an even deeper immersion into the microscope world. The software connection to your network lets the team immediately exchange data and information.
|
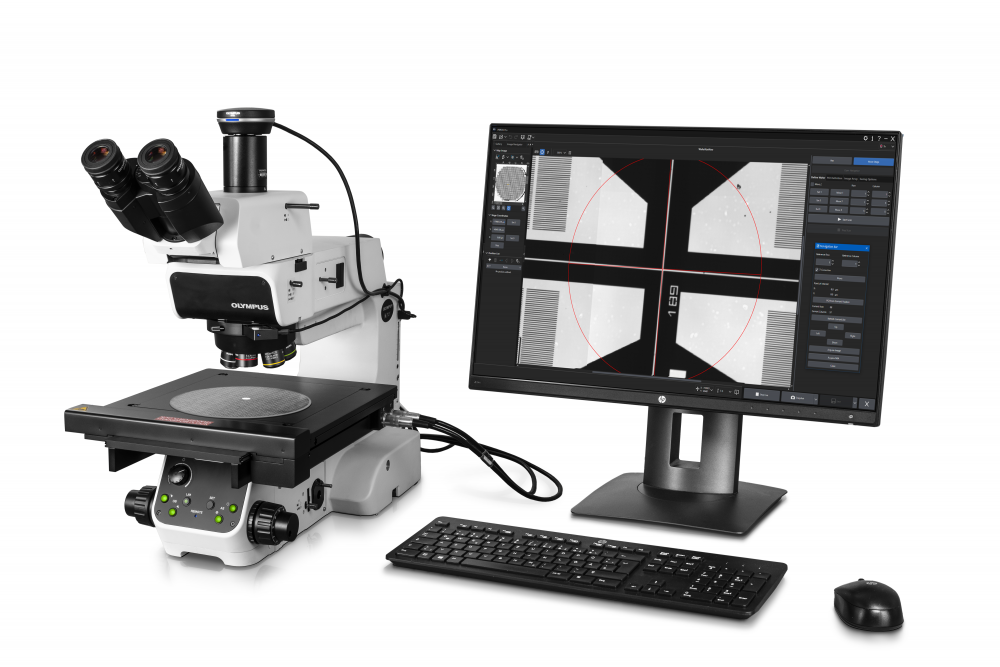
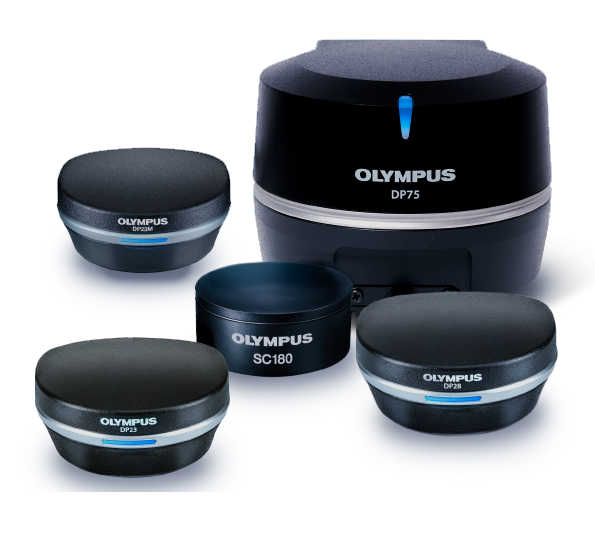
Versatile Software to Control Your Microscope and Analyze ImagesPRECiV software is a comprehensive imaging and measurement solution for your microscopy lab. Instead of switching between one software program to control your microscope or its motorized components and one for image analysis, PRECiV enables you to seamlessly do both using the same software. PRECiV software can control all our digital and conventional industrial microscopes, their coded functions, our motorized nosepieces, and our digital microscope cameras via the same interface.
|
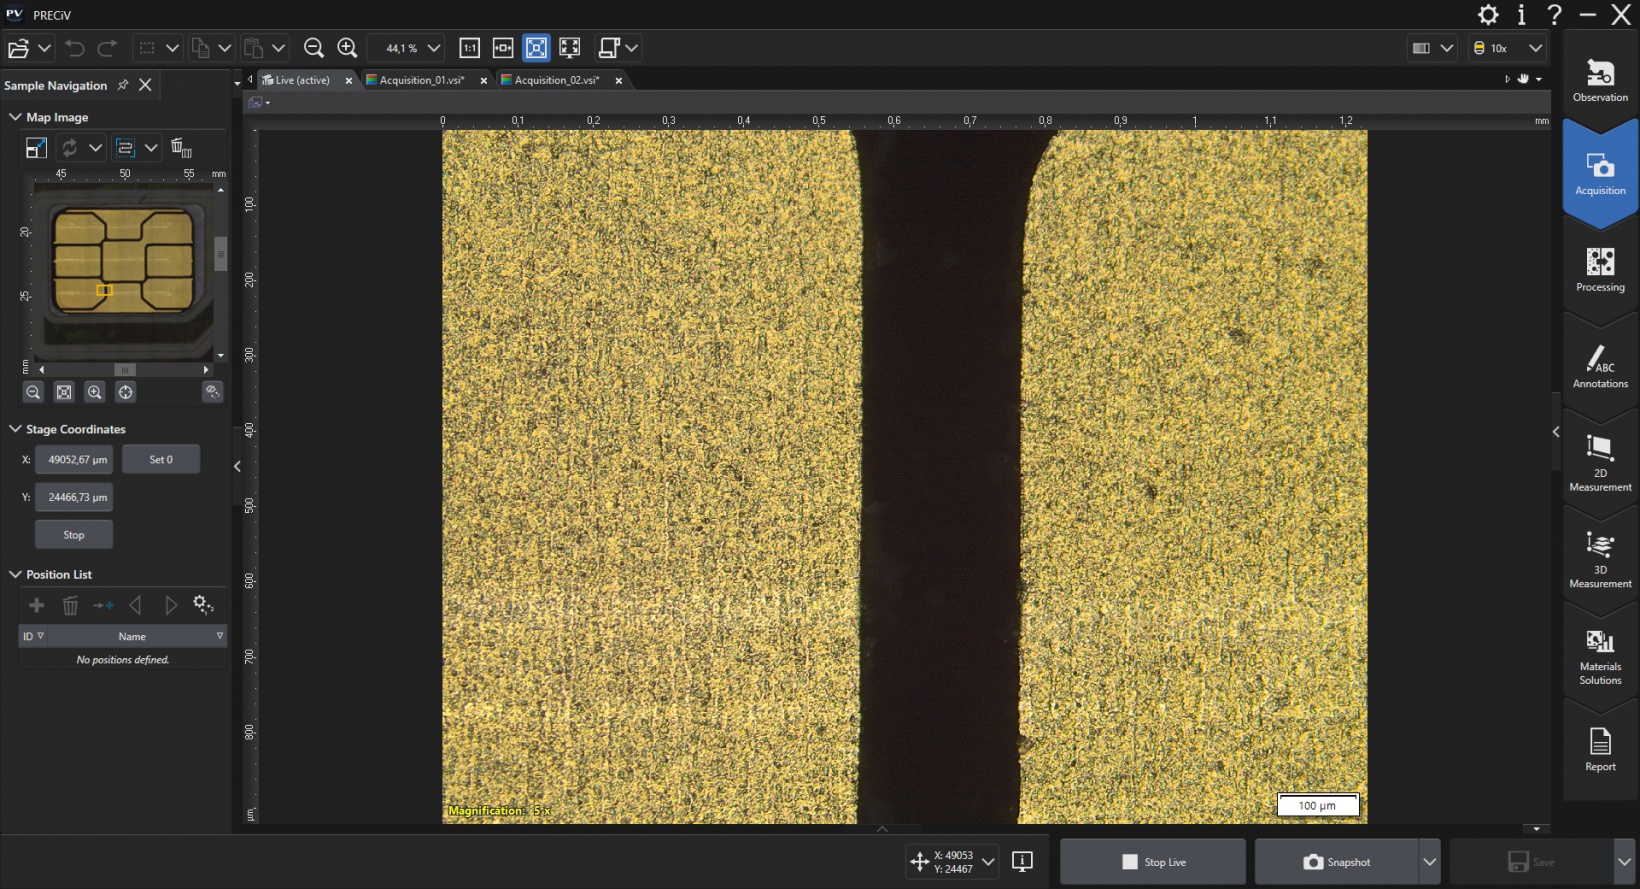
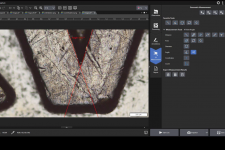
Repetitive 2D/3D Measurements and AnalysisPRECiV software enables users in production, quality control, and inspection to make precise, repetitive 2D/3D measurements and complex image analysis to obtain results that comply with the latest industrial standards.
|
PRECiV Optional Modules—Customize the Software to Your NeedsPRECiV optional modules integrate directly into the software, enabling you to customize it with measurement and analysis solutions tailored to your application and needs, such as metallography and motorization.
|
5 Advantages of PRECiV Software Over Conventional Imaging Platforms
|
PRECiV Capture
PRECiV™ CaptureEntry-Level Package with Core FeaturesPRECiV™ Capture is our entry-level package for customers who want to acquire digital images and make basic 2D measurements, transforming their existing microscopes into digital workstations for applications like incoming goods inspection. |  |
Designed for Conventional MicroscopyPRECiV Capture is used with our manual and semi-motorized microscope systems and microscope cameras as well as accessories that enable a range of imaging conditions, including brightfield, darkfield, polarization, and anti-halation. When you install PRECiV Capture, all the necessary drivers are also installed. This makes it easy to change which products you’re using. Supported Microscope FramesPRECiV Capture supports:
Integrated Camera Control
| ||||||||||||||||||||||||||||||||||||||||||||||||||||||||||||||||||||||||||||||||||||||||||||||||||||||||||||||||||||||||||||||||||||||||||||||||||||||||||||
Reveal More with Infrared ImagingInfrared (IR) imaging is a fundamental tool for quality control and R&D. IR mode enables nondestructive inspection through silicon layers of packaged products during the back-end stage of fabrication. PRECiV Capture supports:
|
|
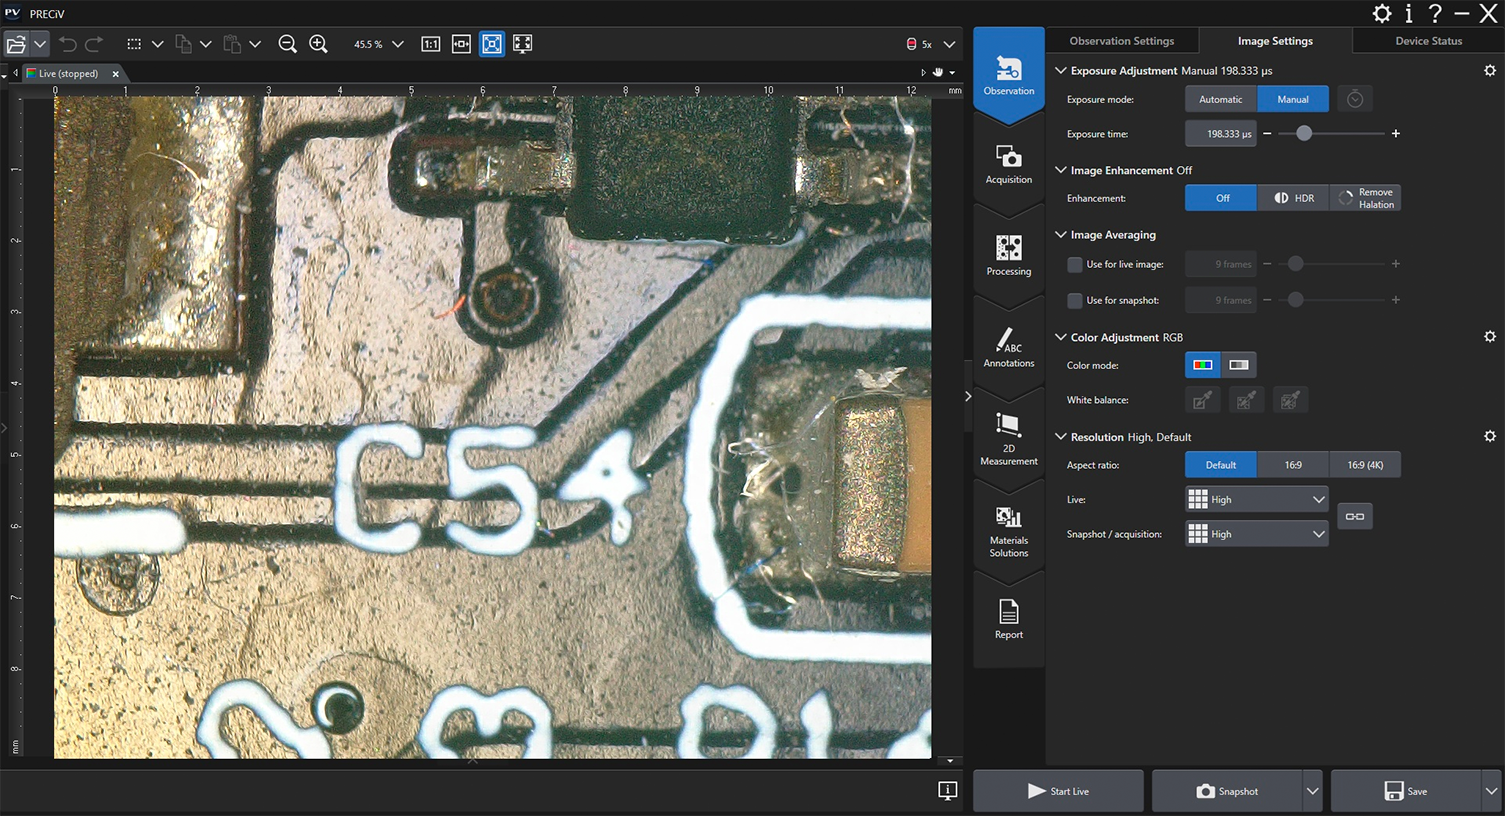
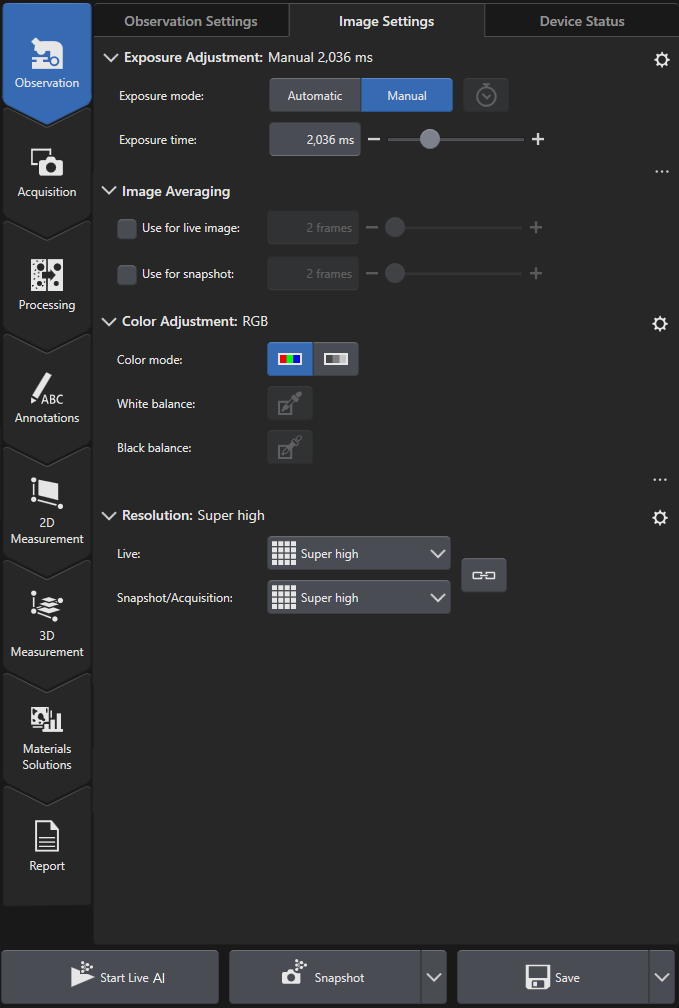
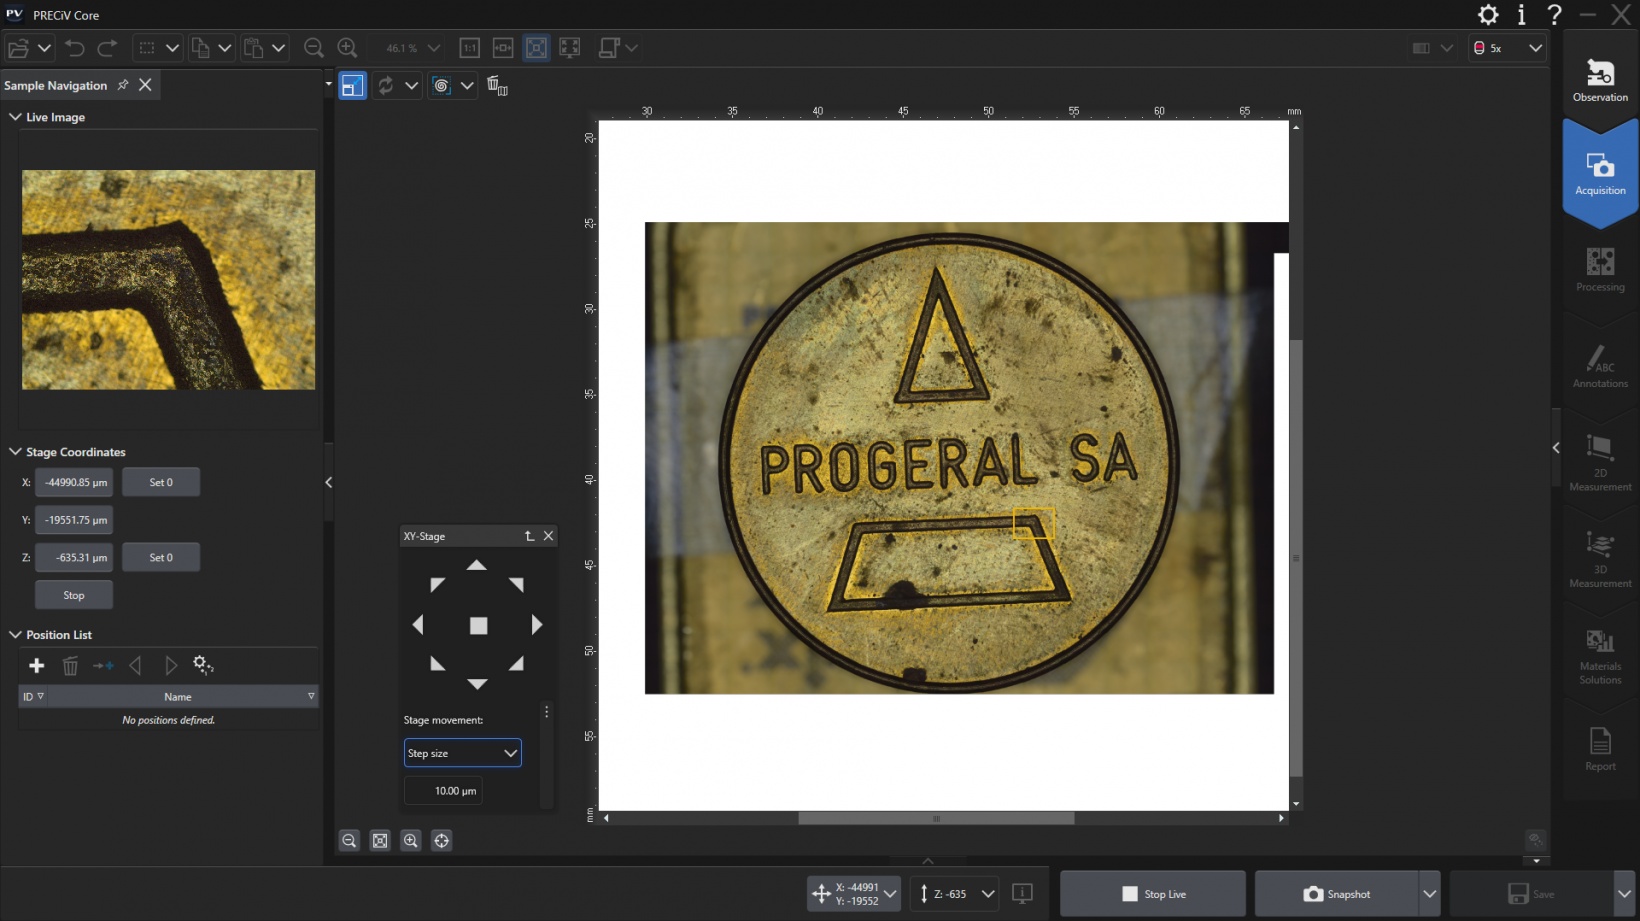
| Real-Time Image AcquisitionAll PRECiV packages come with digital live processing technology that enable you to, for example, zoom in on a live image to proof details or make interactive measurements. Acquiring high-quality images is easy as the software’s automatic exposure control, live histogram display, and over-exposure indicator helps ensure that the entire dynamic range of the camera is used while minimizing blooming or glare artifacts. The focus indicator enables you to select a region of interest and bring it into focus. The digital zoom—operated with the mouse wheel—enables you to quickly check the live image window to be sure the camera has captured the desired details—all before you actually acquire and save the image. As a result, images are produced with maximum fidelity and reproducibility, independent of the user. |
|---|
Live Image FunctionsPRECiV Capture software’s live image functions, like live overlay and live zoom, enable you to interact with the automatically calibrated live image and perform various annotations. |
Powerful Imaging ToolsDuring live observation or post-acquisition image analysis, PRECiV Capture offers several image-enhancing tools that advance your inspection capabilities and increase your probability of detection. PRECV Capture supports:
All imaging filters can also be applied on 4K and larger images. Robust color rendering and resolution provide the high-quality images required for industrial applications. PRECiV Capture also has convenient tools that enable you to optimize the live image, including live high dynamic range (HDR), anti-glare, a digital reticle, and a focus aid. | |
|---|---|
Enhanced ContrastHigh dynamic range (HDR) imaging improves contrast in difficult conditions (very bright areas and very dark areas in the same image). All cameras supported by PRECiV software can be used in this mode, and dedicated cameras have an available live mode. |
Basic MeasurementsPRECiV Capture software enables precise, repetitive two-dimensional interactive measurements on a live or recorded image through a combination of a simple user interface and powerful functions. Supported measurements include distance, angles, rectangles, circles, ellipses, polygons, circle-to-circle distance, angle ruler, and line ruler. Measurement results can be easily compiled in a workbook. |
PRECiV Core
PRECiV™ CoreFocused on Image QualityPRECiV™ Core is ideal for customers in QA labs and inspection rooms with a strong focus on images. PRECiV Core balances cost and features, adding extended focus images and measurement export capabilities for an excellent value. |  |
Designed for Conventional MicroscopyPRECiV Core works with our manual and semi-motorized microscope systems, microscope cameras, and accessories that enable a range of imaging conditions, including brightfield, darkfield, polarization, and anti-halation. When you install PRECiV Core and any optional modules, all the necessary drivers are also installed. This makes it easy to change which products you’re using. Supported Microscope FramesPRECiV Core supports:
Integrated Camera Control
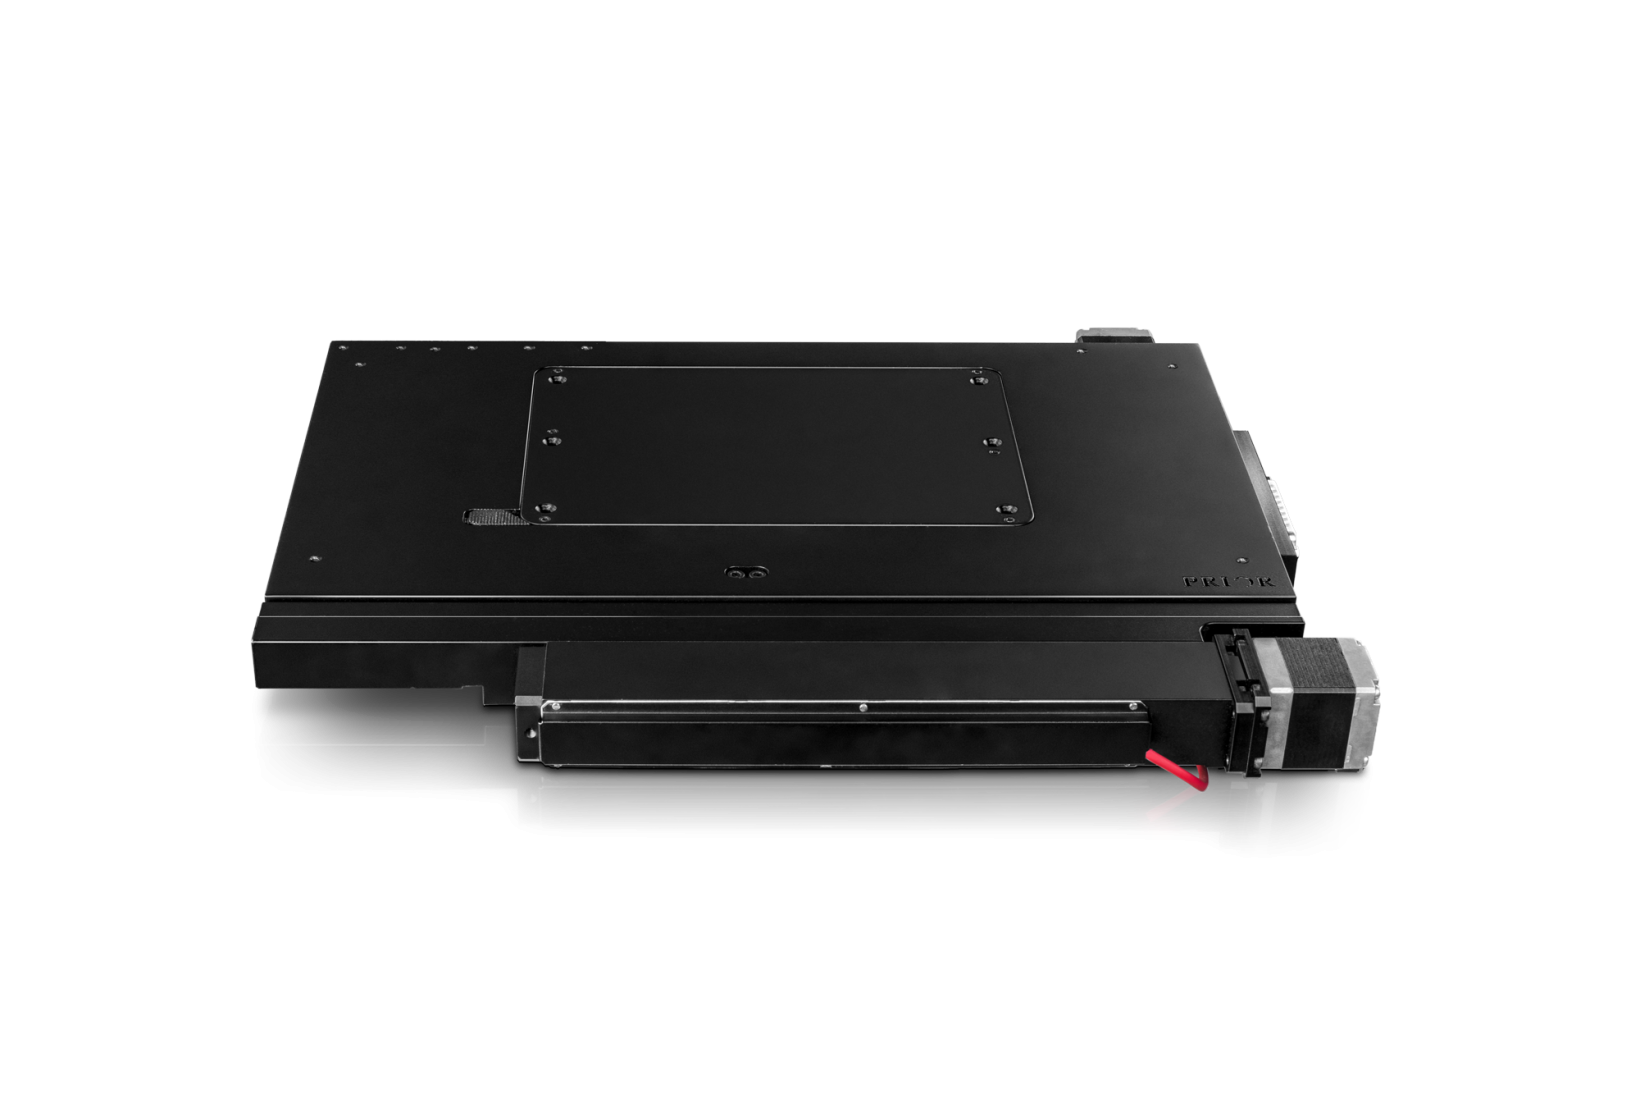
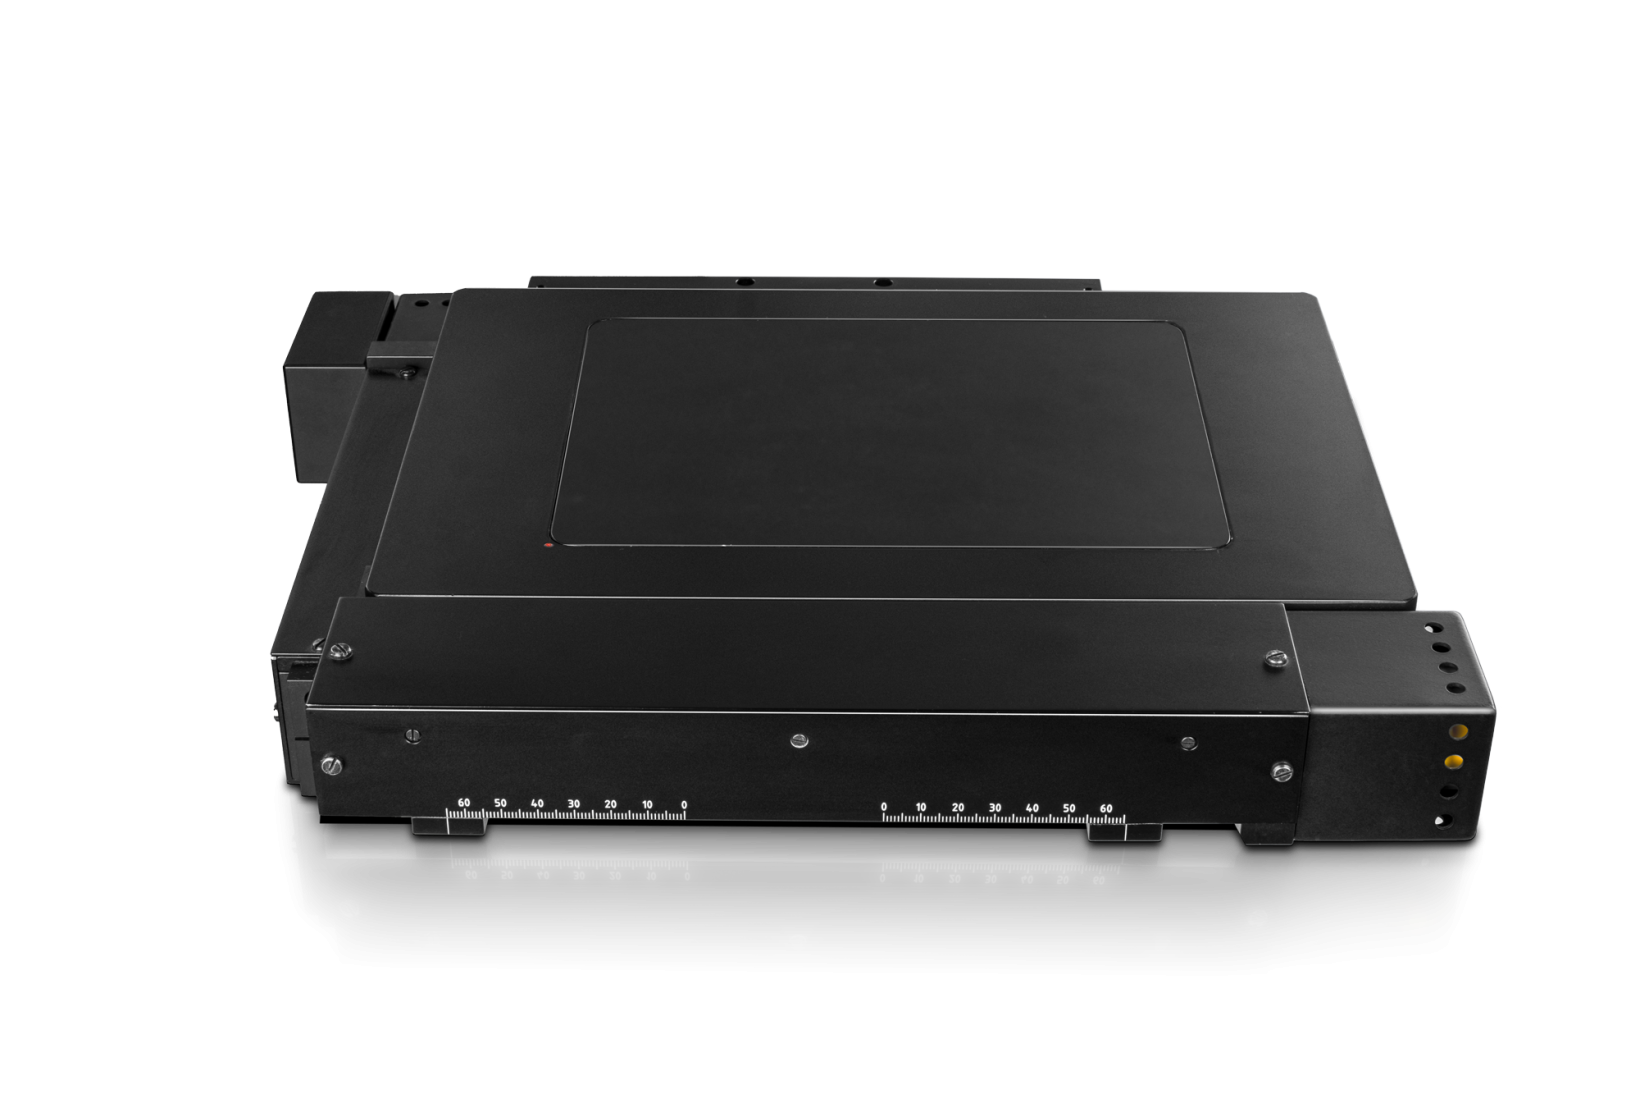
Supported Motorized Stages
*Virtual COM port (driver needs to be installed, supplied on the PRECiV setup disk) Customized Software Solutions for X, Y, Z Motorized StagesSpecially developed customized software solutions expand the X, Y, Z motorization.
| |||||||||||||||||||||||||||||||||||||||||||||||||||||||||||||||||||||||||||||||||||||||||||||||||||||||||||||||||||||||||||||||||||||||||||||||||||||||||||||||||||||||||||||||||||||||||||||||||
| Real-Time Image AcquisitionAcquiring high-quality images is easy as the software’s automatic exposure control, live histogram display, and the over-exposure indicator helps ensure that the entire dynamic range of the camera is used while minimizing blooming or glare artifacts. The focus indicator enables you to select a region of interest and bring it into focus. The digital zoom—operated with the mouse wheel—enables you to quickly check the live image window to be sure the camera has captured the desired details—all before you actually acquire and save the image. As a result, images are produced with maximum fidelity and reproducibility, independent of the user. |
|---|
Powerful Imaging ToolsDuring live observation or post-acquisition image analysis, PRECiV Core offers several image-enhancing tools that advance your inspection capabilities and increase your probability of detection. PRECiV Core supports:
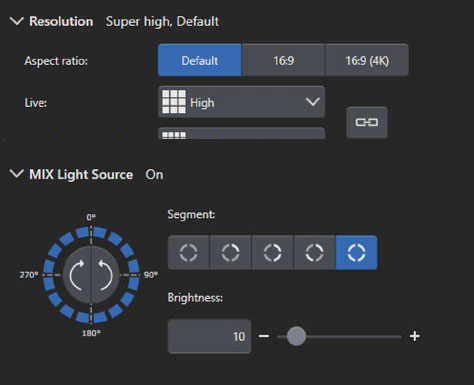
All imaging filters can also be applied on 4K and larger images. Robust color rendering and resolution provide the high-quality images required for industrial applications. PRECiV Core also has convenient tools that enable you to optimize the live image, including live high dynamic range (HDR), anti-glare, a digital reticle, and a focus aid. Enhanced ContrastHigh dynamic range (HDR) imaging improves contrast in difficult conditions (very bright areas and very dark areas in the same image). All cameras supported by PRECiV software can be used in this mode, and dedicated cameras have an available live mode. MIX ObservationPRECiV Core supports MIX observation. This technique combines directional darkfield illumination, which uses a circular LED to illuminate one or more quadrants at a given time, and brightfield illumination, fluorescence, or polarization, enabling users to highlight defects and differentiate raised surfaces from depressions that are normally difficult to see with conventional microscopes. MIX observation helps reduce a sample’s halation and is useful for visualizing a sample’s surface texture.
|
Keep Everything in Focus with Manual and Instant EFI ModesWhen analyzing thick samples, PRECiV Core features instant extended focus |
Basic MeasurementsPRECiV Core software enables precise, repetitive two-dimensional interactive measurements on a live or recorded image through a combination of a simple user interface and powerful functions. Supported measurements include distance, angles, rectangles, circles, ellipses, polygons, circle-to-circle distance, angle ruler, and line ruler. Measurement results can be easily compiled in a workbook and exported to Microsoft Excel. |
|---|
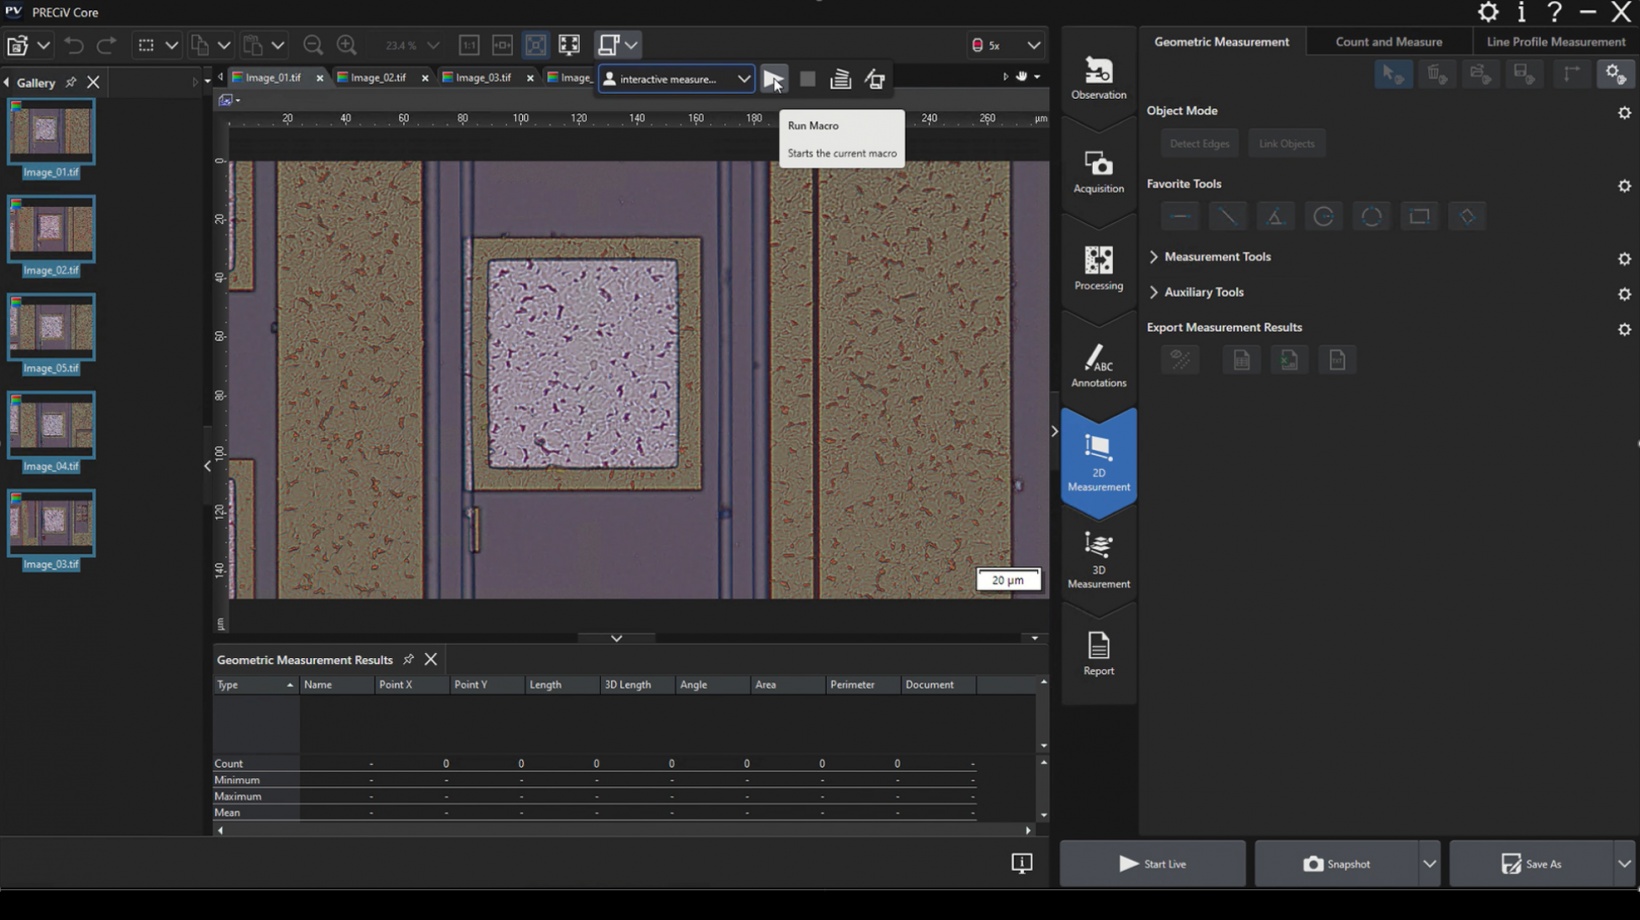
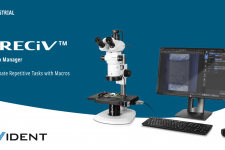
Automate Repetitive Tasks with MacrosMacros (succession of simple operations) can be recorded and applied on single images or on series of multiple images automatically. Use the macro recorder to record and play macros easily. |
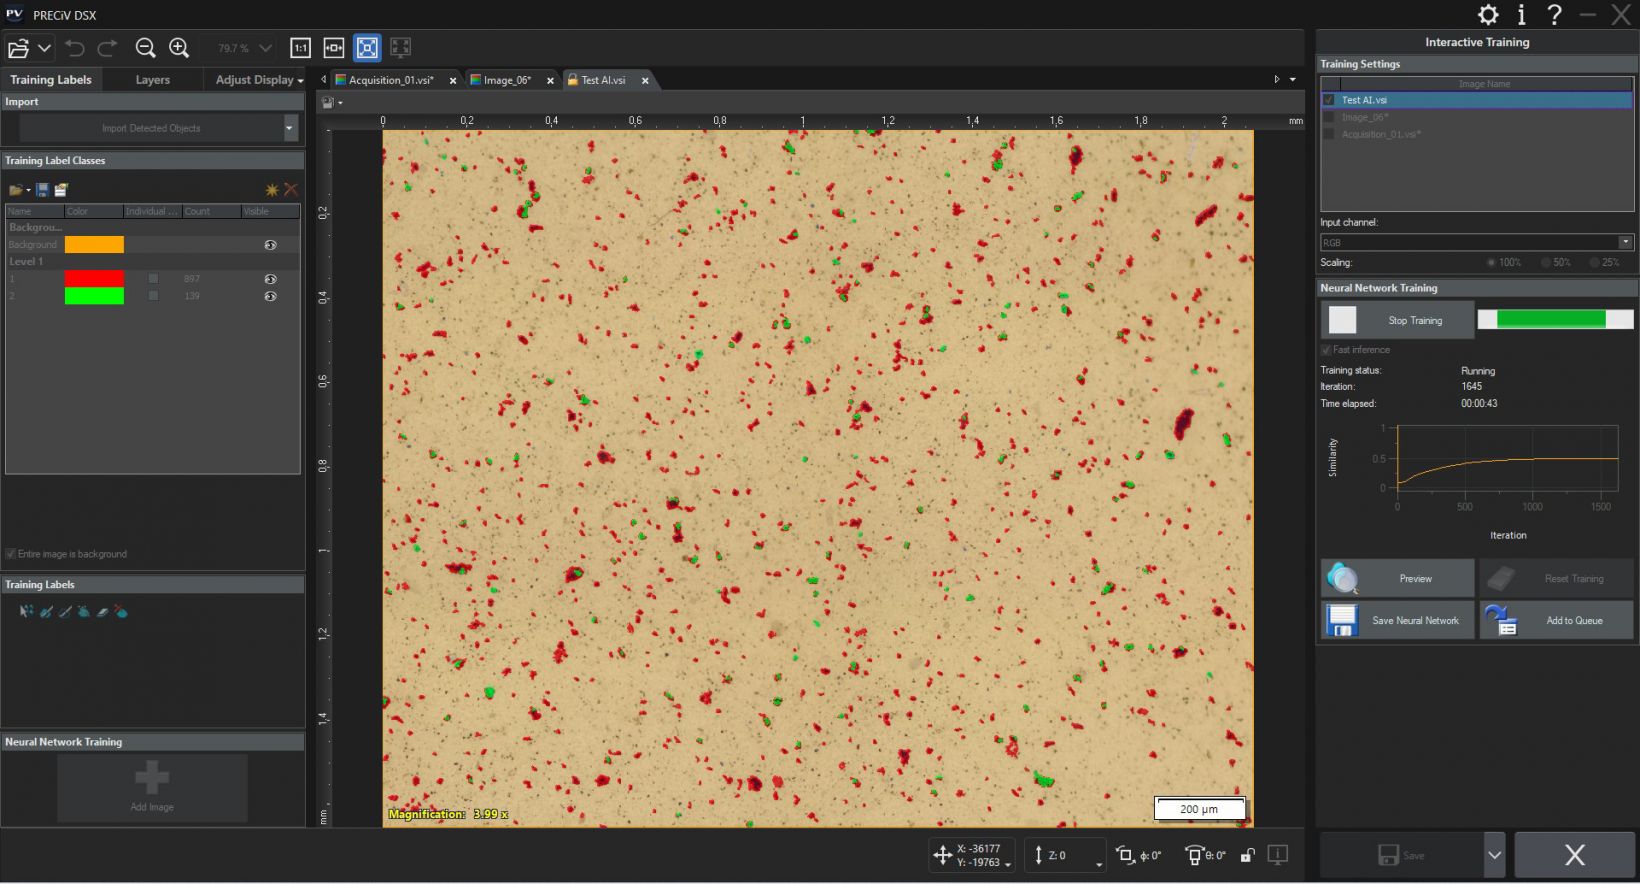
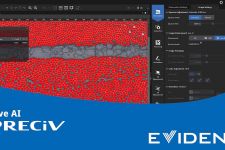
Enhance your Microscopy Experience Using AIPRECiV software with TruAI deep-learning technology offers image analysis beyond classical algorithms. You can apply a trained neural network to your samples for higher reproducibility and more robust analysis. Choose between semantic or instance segmentation methods for improved neural network training, enabling you to tackle difficult applications in just one step. Live AILive AI* is a powerful tool for everyday use. It displays detected features directly on the live image using an overlay. This lets you easily screen the sample for any wanted or unwanted blobs without altering the image itself. Live AI can also be used to improve the image quality, such as removing unwanted scratches, for enhanced analysis. As an option, PRECiV TruAI technology can also count the defects it identifies on the live image as well.** * Using the optional neural network training module. |
|---|
Neural Network Integration (AI)PRECiV software’s AI can be used on a PC even when it is offline.* The training is performed on the supplied dataset, and the resulting quality of the AI analysis depends on the images provided for the training.
*PRECiV AI technology does not use generative AI. PRECiV AI is independent from the network and can be used on a PC that is disconnected. |
|
PRECiV Core Optional Modules |
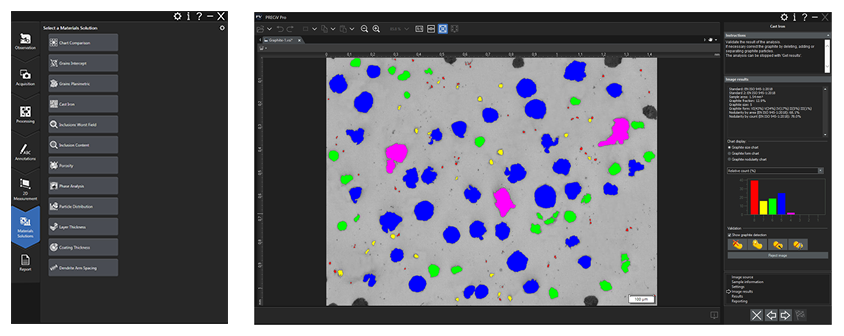
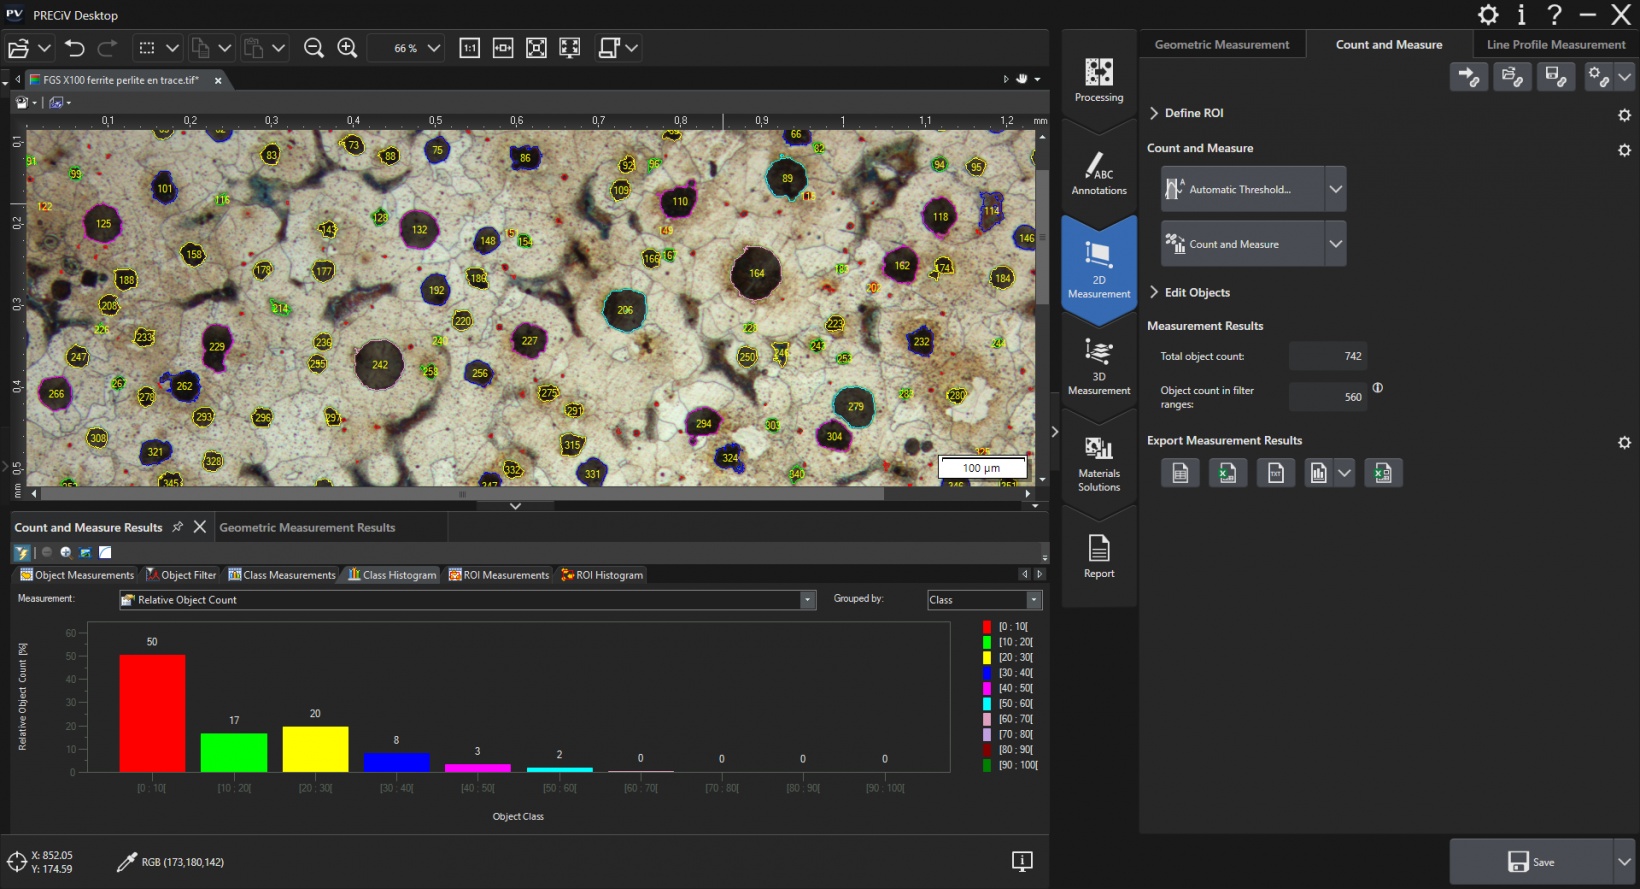
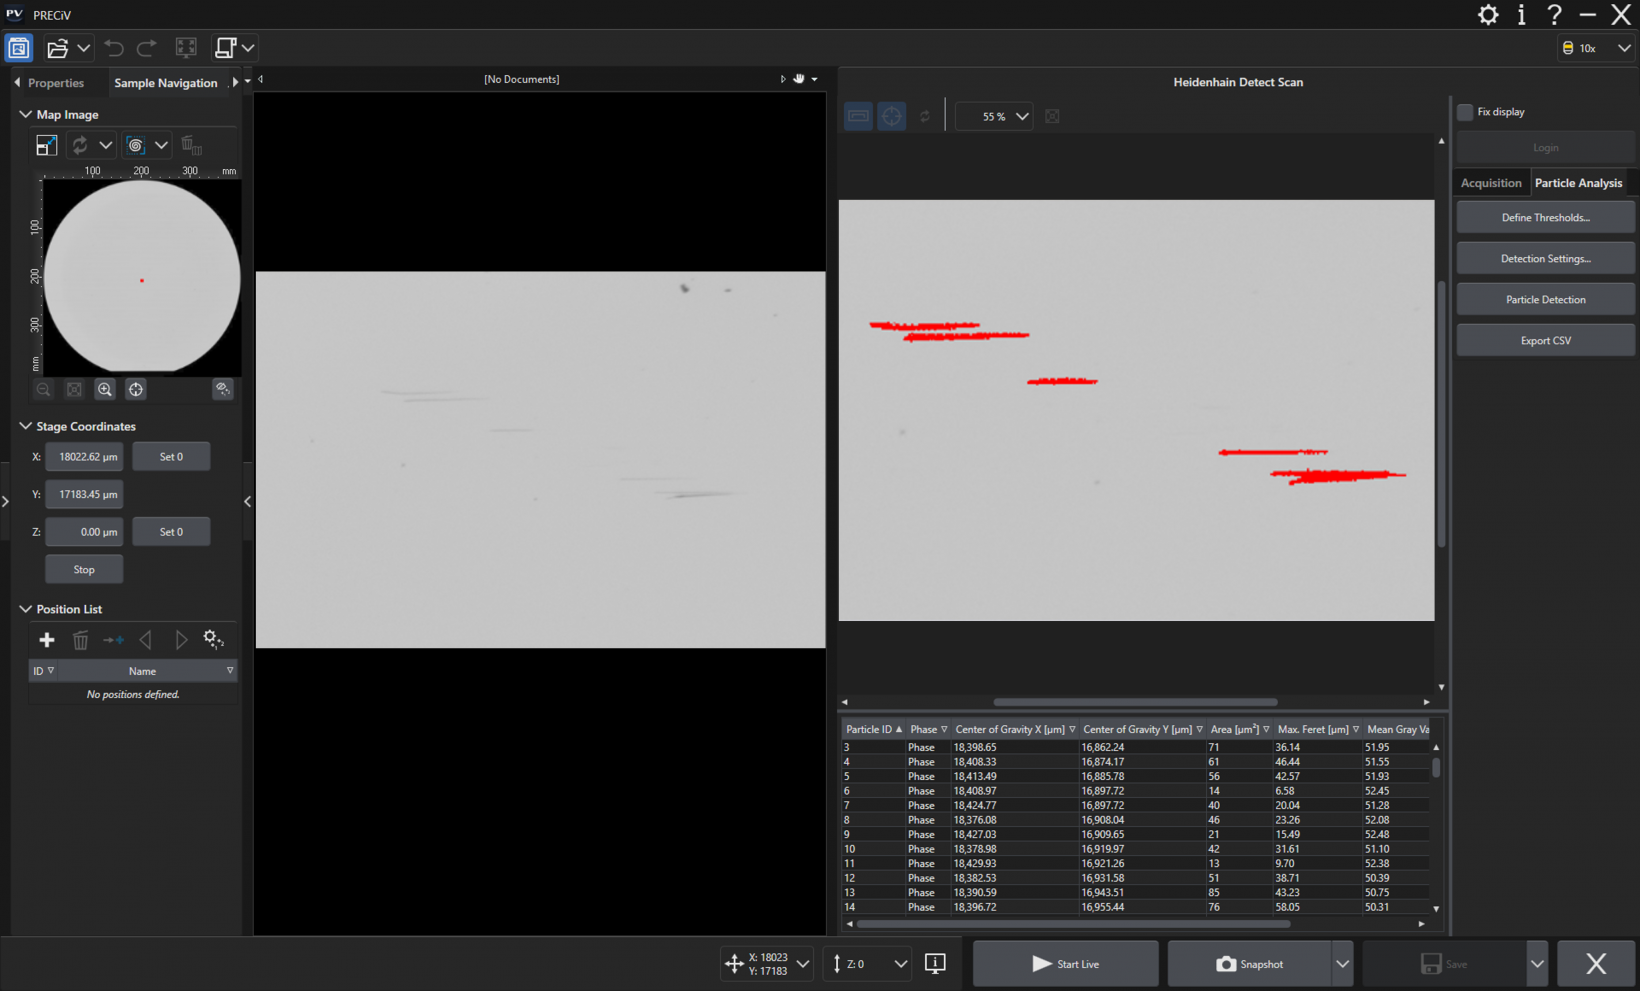
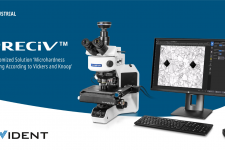
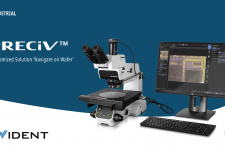
3D Acquisition—Coded and motorized Z-control with height mapping capabilities. Motorization—Control industrial and material science manual and semi-automated microscopes and motorized devices. Customized Software Solutions—Software solutions supporting X, Y, Z motorized stages (Macro to Micro, Navigate on Wafer, Measuring with stage). Neural Network Training—Train neural networks using semantic (for well separated or when object separation is irrelevant) or instance (for objects that touch, like grains) segmentation methods. 3D Analysis Application—3D line profile measurements, advanced 3D measurements, and surface roughness analysis of 3D images. Count and Measure—Detecting objects and measuring size distribution are among the most important applications in digital imaging. The PRECiV Count and Measure solution uses advanced threshold methods to reliably separate objects, such as particles and scratches, from the background. Grain Sizing—Steel manufacturers use this solution for measuring and controlling grain size after cross-sectioning, polishing, or etching steel samples. Grain Sizing Intercept is based on overlaying test lines and counting the number of intercepts with grain boundaries, while Grain Sizing Planimetric reconstructs boundaries for each grain and conducts grain sizing with the area percentage of the second phase. Non-Metallic Inclusions—Steel manufacturers use this solution for measuring and controlling the shape and size of nonmetallic inclusions (oxide, alumina, sulfide, or silicate) in steel. Cast Iron—Casting manufacturers who need to measure and control the graphite nodularity and check the mechanical characteristics of their cast products use this solution. Layer Thickness—One or multiple layers of a cross-sectioned sample can be measured using the Layer Thickness solution. The shapes are defined, and the layers automatically measured. Measurement Sequence—This solution is used to perform interactive measurements with different measurement tools in a predefined sequence. Porosity—This solution enables pores to be measured either for area fraction or the number of surface pores using regions of interest (ROIs) (circular, triangular, rectangular, and polygonal) and thresholds. Particle Distribution—This solution is used to create particle size distribution histograms and tables from multiple images or image series. Coating Thickness—This solution enables the measurement of coating thickness from top-view images using the Calotest method. Phase Analysis—This feature offers an integrated solution to perform phase analysis on a selection of various regions of interest (ROIs) including triangles, circles, rectangles, and polygons. Dendrite Arm Spacing—This solution is used to manually or automatically determine the mean dendrite arm spacing in cast aluminum. Chart Comparison on Selected Standards for Grain Sizing, Graphite Sizing, Non-Metallic Inclusions, and Hardened Metals—A live or still image can be overlaid onto standard charts for comparison. Function preview is available. |
PRECiV Pro
PRECiV™ ProRobust Measurement and ReportingPRECiV™ Pro has the complete set of features and functions, making it the most powerful and versatile version of the software. The Pro version has the tools required for customers in QA/QC, failure analysis, and anyone who needs to produce analytical reports and measurements to validate a sample or production lot. | 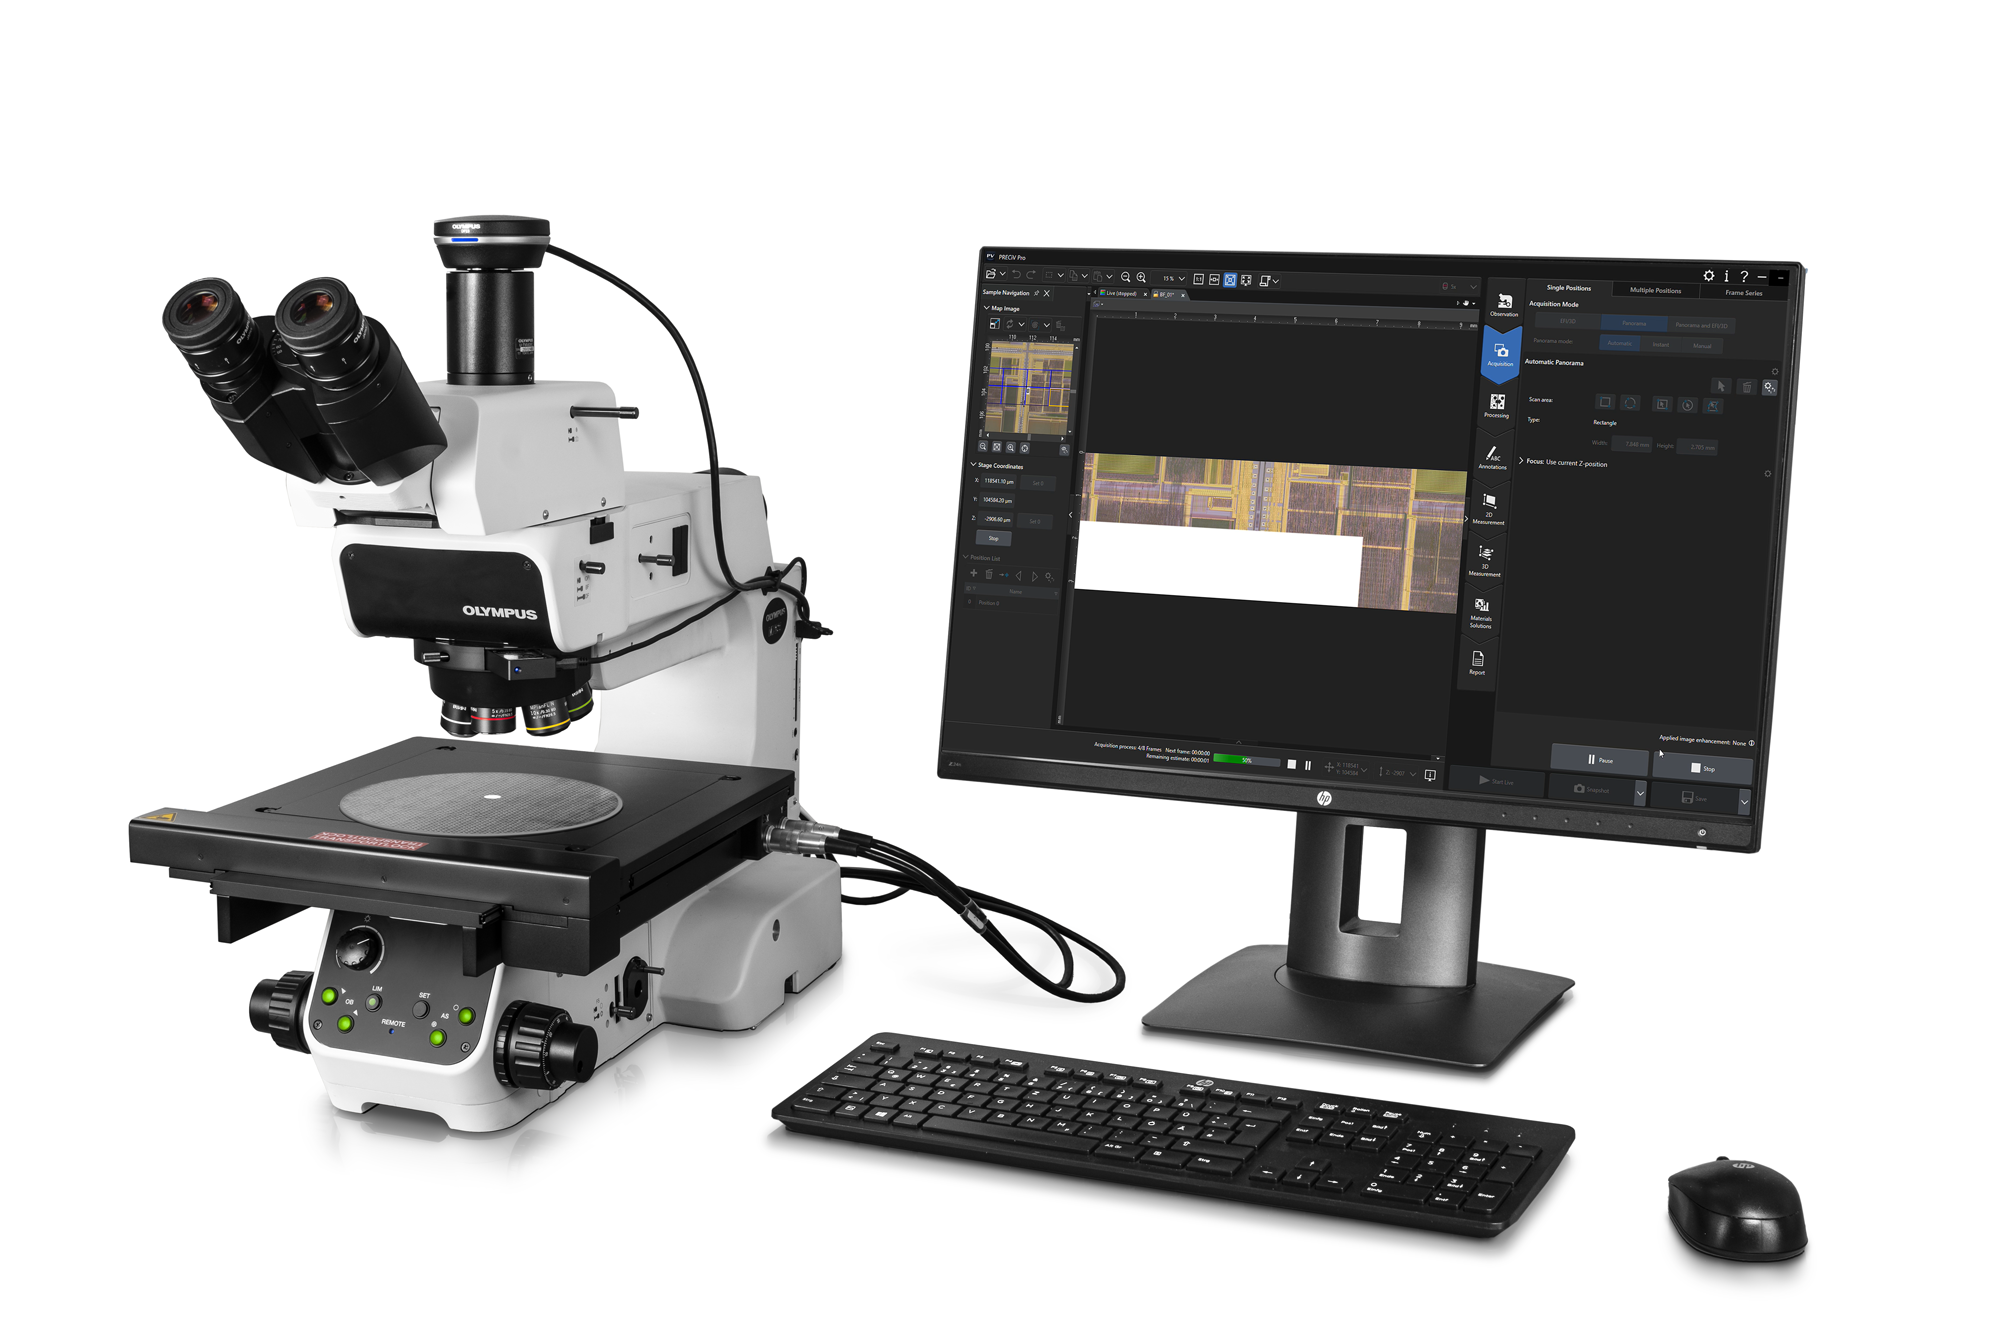 |
Designed for Conventional MicroscopyPRECiV Pro works with our manual and semi-motorized microscope systems, microscope cameras, and accessories that enable a range of imaging conditions, including brightfield, darkfield, polarization, and anti-halation. When you install PRECiV Pro and any optional modules, all the necessary drivers are also installed. This makes it easy to change which products you’re using. Supported Microscope FramesPRECiV Pro supports:
Integrated Camera Control
Supported Motorized Stages
*Virtual COM port (driver needs to be installed, supplied on the PRECiV setup disk) Customized Software Solutions for X, Y, Z Motorized Stages
| |||||||||||||||||||||||||||||||||||||||||||||||||||||||||||||||||||||||||||||||||||||||||||||||||||||||||||||||||||||||||||||||||||||||||||||||||||||||||||||||||||||||||||||||||||||||||||||||||
| Real-Time Image AcquisitionAll PRECiV packages come with digital live processing technology that enable you to, for example, zoom in on a live image to proof details or make interactive measurements. Acquiring high-quality images is easy as the software’s automatic exposure control, live histogram display, and the over-exposure indicator helps ensure that the entire dynamic range of the camera is used while minimizing blooming or glare artifacts. The focus indicator enables you to select a region of interest and bring it into focus. The digital zoom—operated with the mouse wheel—enables you to quickly check the live image window to be sure the camera has captured the desired details—all before you actually acquire and save the image. As a result, images are produced with maximum fidelity and reproducibility, independent of the user. |
|---|
Video Recording and Time-Lapse ImagingYou can easily record videos or use the time-lapse acquisition mode to acquire and process time-lapse series. |
Powerful Imaging ToolsDuring live observation or post-acquisition image analysis, PRECiV Pro offers several image-enhancing tools that advance your inspection capabilities and increase your probability of detection. PRECiV Pro supports:
All imaging filters can also be applied on 4K and larger images. Robust color rendering and resolution provide the high-quality images required for industrial applications. PRECiV Pro also has convenient tools that enable you to optimize the live image, including live high dynamic range (HDR), anti-glare, a digital reticle, and a focus aid. Enhanced ContrastHigh dynamic range (HDR) imaging improves contrast in difficult conditions (very bright areas and very dark areas in the same image). All cameras supported by PRECiV Pro can be used in this mode, and dedicated cameras have an available live mode. MIX ObservationPRECiV Pro supports MIX observation. This technique combines directional darkfield illumination, which uses a circular LED to illuminate one or more quadrants at a given time, and brightfield illumination, fluorescence, or polarization, enabling users to highlight defects and differentiate raised surfaces from depressions that are normally difficult to see with conventional microscopes. MIX observation helps reduce a sample’s halation and is useful for visualizing a sample’s surface texture.
|
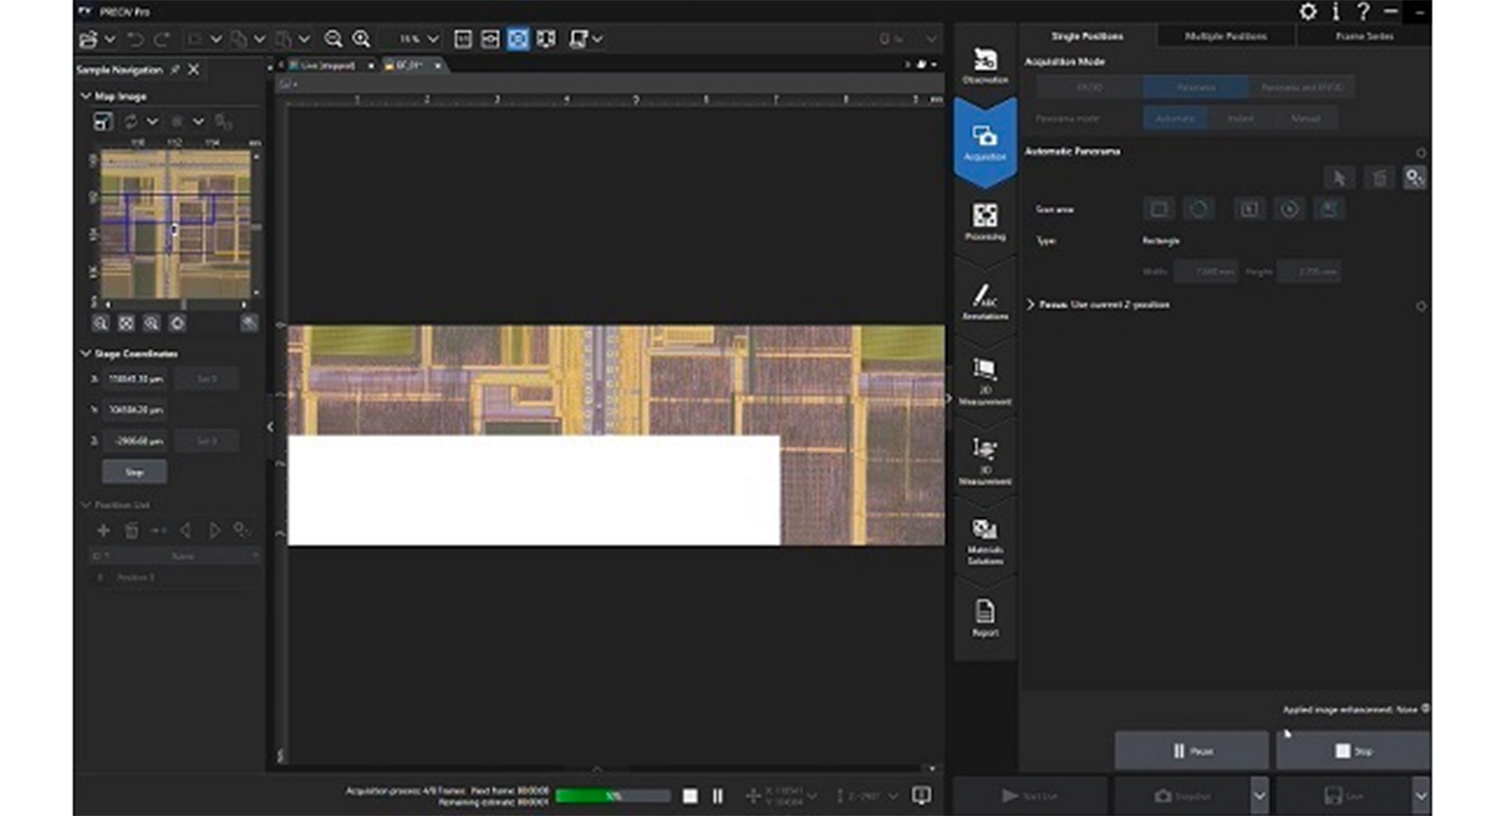
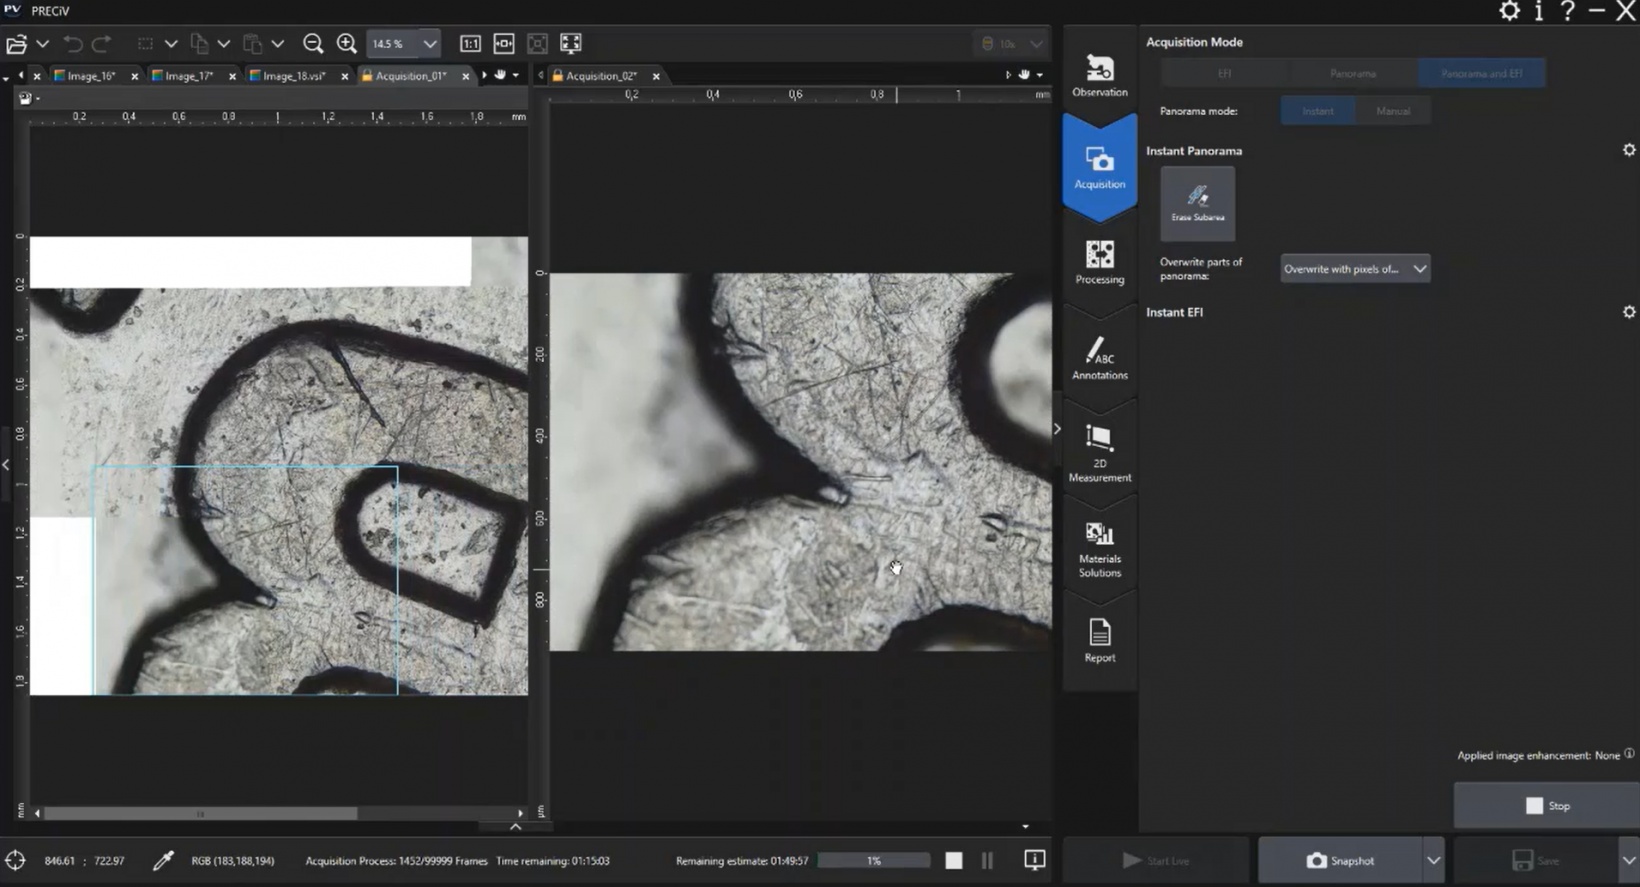
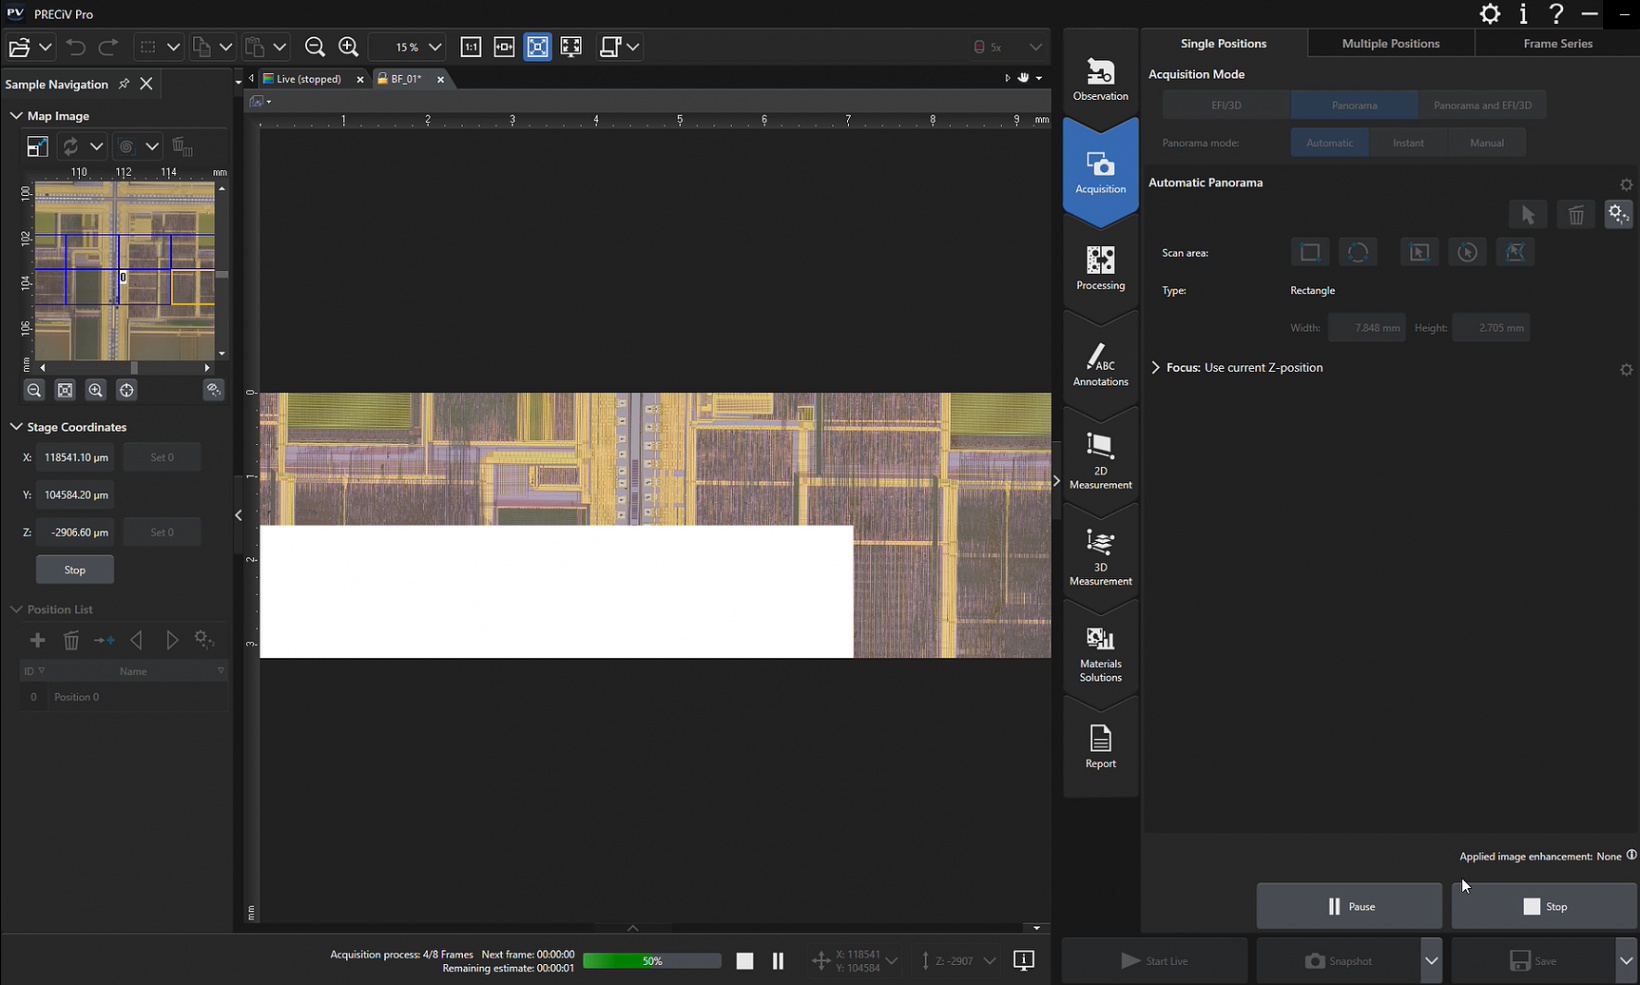
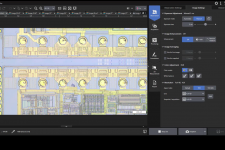
Acquire Combined Panorama and EFI ImagesThe extended focus imaging (EFI) function enables you to obtain fully in-focus images by serially acquiring multiple images at different focal planes with manual and motorized devices. In manual mode, the panorama function enables you to acquire images larger than the microscope’s field of view by moving the stage across the sample manually or using an automated stage. Using PRECiV Pro software, you can now combine the instant EFI and panorama functions—even for manual microscope stages—while keeping both hands on the microscope. A colored frame indicator shows the quality of each image being stitched together, while a split screen shows the live image and stitched image side by side. With motorized devices, the acquisition of such combined panorama and EFI images runs completely automatically.* * Requires the optional Motorization or 3D Acquisition modules.
|
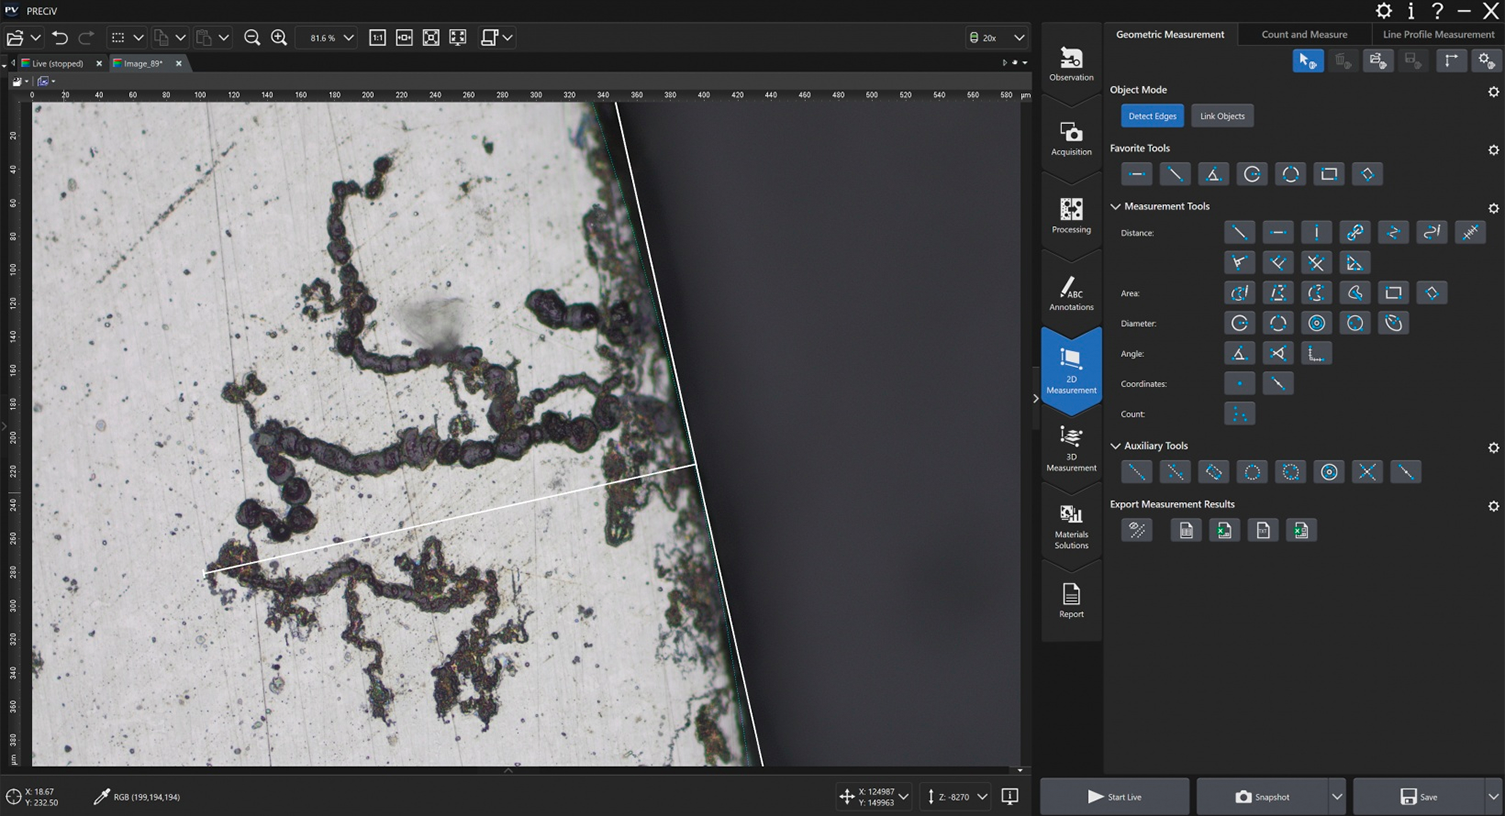
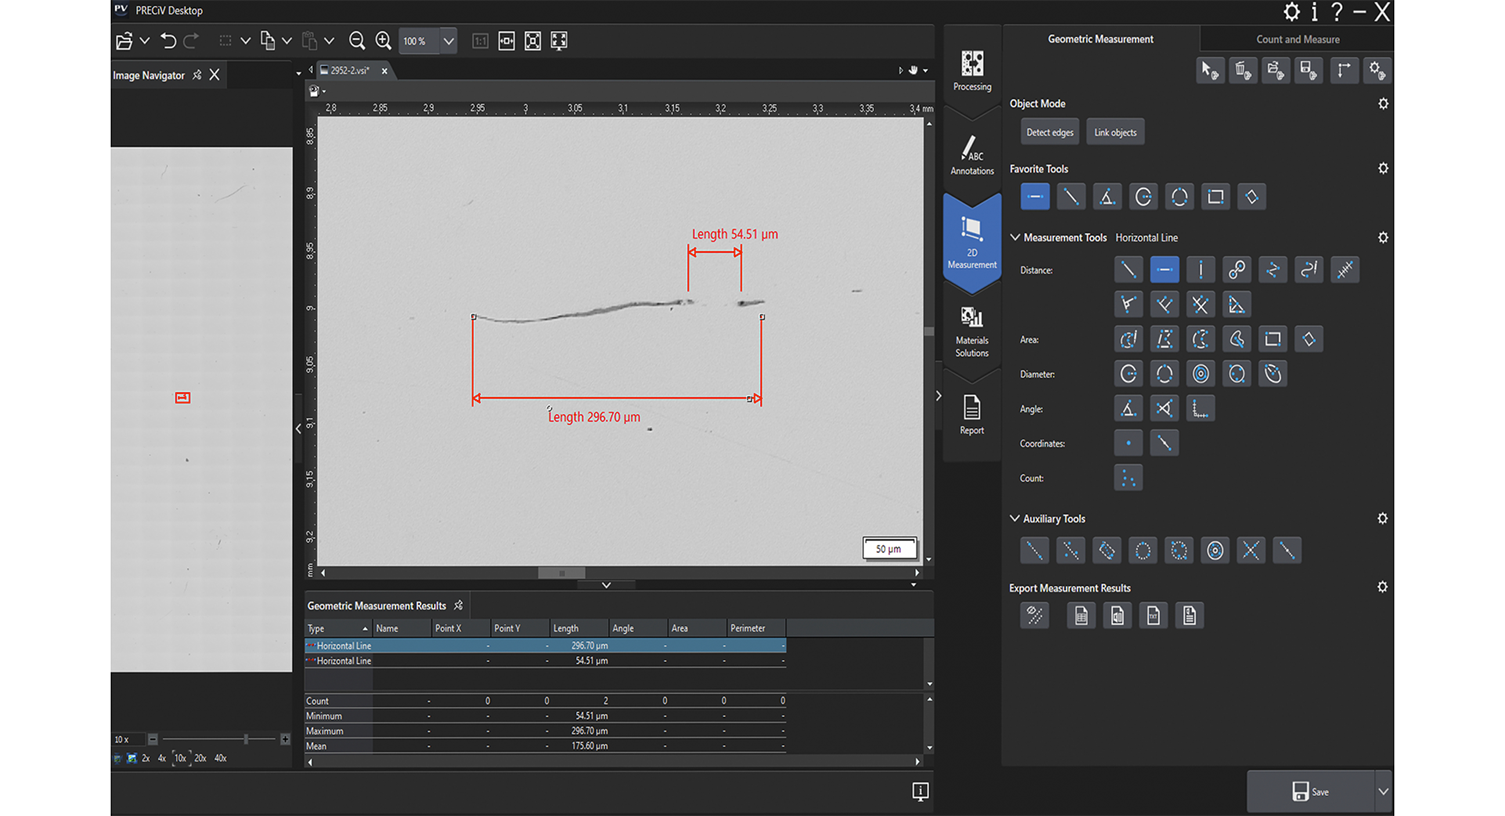
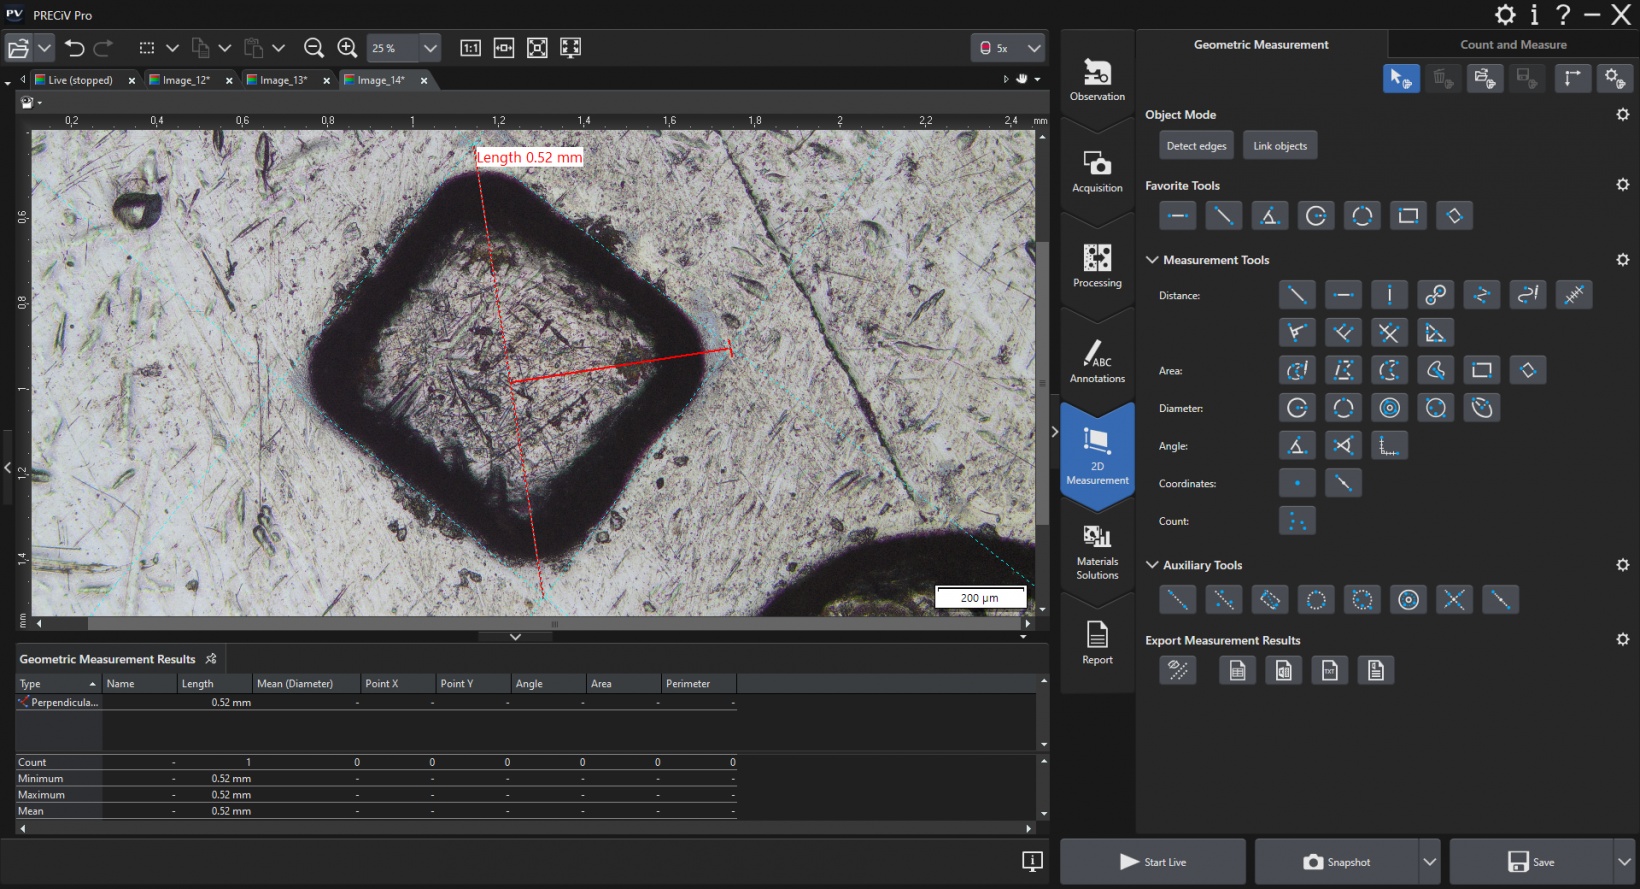
Advanced Interactive MeasurementsPRECiV Pro enables precise, repetitive two-dimensional measurements on a live or recorded image through a combination of a simple user interface and powerful functions like auto edge detection, which makes it easy to reliably measure the distance between points. Other helpful measurement features include:
Measurement results can be compiled in a workbook and easily exported to Excel. |
|---|
Automate Repetitive Tasks with MacrosMacros (succession of simple operations) can be recorded and applied on single images or on series of multiple images automatically. Use the macro recorder to record and play macros easily. |
Enhance your Microscopy Experience Using AIPRECiV software with TruAI deep-learning technology offers image analysis beyond classical algorithms. You can apply a trained neural network to your samples for higher reproducibility and more robust analysis. Choose between semantic or instance segmentation methods for improved neural network training, enabling you to tackle difficult applications in just one step. Live AILive AI* is a powerful tool for everyday use. It displays detected features directly on the live image using an overlay. This lets you easily screen the sample for any wanted or unwanted blobs without altering the image itself. Live AI can also be used to improve the image quality, such as removing unwanted scratches, for enhanced analysis. As an option, PRECiV TruAI technology can also count the defects it identifies on the live image as well.** * Using the optional neural network training module. |
|---|
Neural Network Integration (AI)PRECiV software’s AI can be used on a PC even when it is offline.* The training is performed on the supplied dataset, and the resulting quality of the AI analysis depends on the images provided for the training.
*PRECiV AI technology does not use generative AI. PRECiV AI is independent from the network and can be used on a PC that is disconnected. |
|
Professional report that summarizes particle count data, including image details using digital zooming | Efficient Report CreationCreating a report often takes longer than capturing the image and taking the measurements. PRECiV Pro provides intuitive report creation to repeatedly produce smart and sophisticated reports based on predefined and customized templates. Editing is simple, and reports can be exported to Microsoft Word, Excel, or PowerPoint. |
|---|
PRECiV Pro Optional Modules |
3D Acquisition—Coded and motorized Z-control with height mapping capabilities. Motorization—Control industrial and material science manual and semi-automated microscopes and motorized devices. Customized Software Solutions—Software solutions supporting X, Y, Z motorized stages (Macro to Micro, Navigate on Wafer, Measuring with stage). Neural Network Training—Train neural networks using semantic (for well separated or when object separation is irrelevant) or instance (for objects that touch, like grains) segmentation methods. 3D Analysis Application—3D line profile measurements, advanced 3D measurements, and surface roughness analysis of 3D images. Count and Measure—Detecting objects and measuring size distribution are among the most important applications in digital imaging. The PRECiV Count and Measure solution uses advanced threshold methods to reliably separate objects, such as particles and scratches, from the background. Grain Sizing—Steel manufacturers use this solution for measuring and controlling grain size after cross-sectioning, polishing, or etching steel samples. Grain Sizing Intercept is based on overlaying test lines and counting the number of intercepts with grain boundaries, while Grain Sizing Planimetric reconstructs boundaries for each grain and conducts grain sizing with the area percentage of the second phase. Non-Metallic Inclusions—Steel manufacturers use this solution for measuring and controlling the shape and size of nonmetallic inclusions (oxide, alumina, sulfide, or silicate) in steel. Cast Iron—Casting manufacturers who need to measure and control the graphite nodularity and check the mechanical characteristics of their cast products use this solution. Layer Thickness—One or multiple layers of a cross-sectioned sample can be measured using the Layer Thickness solution. The shapes are defined, and the layers automatically measured. Measurement Sequence—This solution is used to perform interactive measurements with different measurement tools in a predefined sequence. Porosity—This solution enables pores to be measured either for area fraction or the number of surface pores using regions of interest (ROIs) (circular, triangular, rectangular, and polygonal) and thresholds. Particle Distribution—This solution is used to create particle size distribution histograms and tables from multiple images or image series. Coating Thickness—This solution enables the measurement of coating thickness from top-view images using the Calotest method. Phase Analysis—This feature offers an integrated solution to perform phase analysis on a selection of various regions of interest (ROIs) including triangles, circles, rectangles, and polygons. Dendrite Arm Spacing—This solution is used to manually or automatically determine the mean dendrite arm spacing in cast aluminum. Chart Comparison on Selected Standards for Grain Sizing, Graphite Sizing, Non-Metallic Inclusions, and Hardened Metals—A live or still image can be overlaid onto standard charts for comparison. Function preview is available. |
PRECiV DSX
PRECiV™ DSX for Digital MicroscopesPRECiV DSX enables you to control our DSX series digital microscopes, including DSX2000 and DSX1000 systems. The software streamlines your inspection workflow with control of macro-to-micro observation, multiple observation methods at the push of a button, and easy objective lens changes. |  |
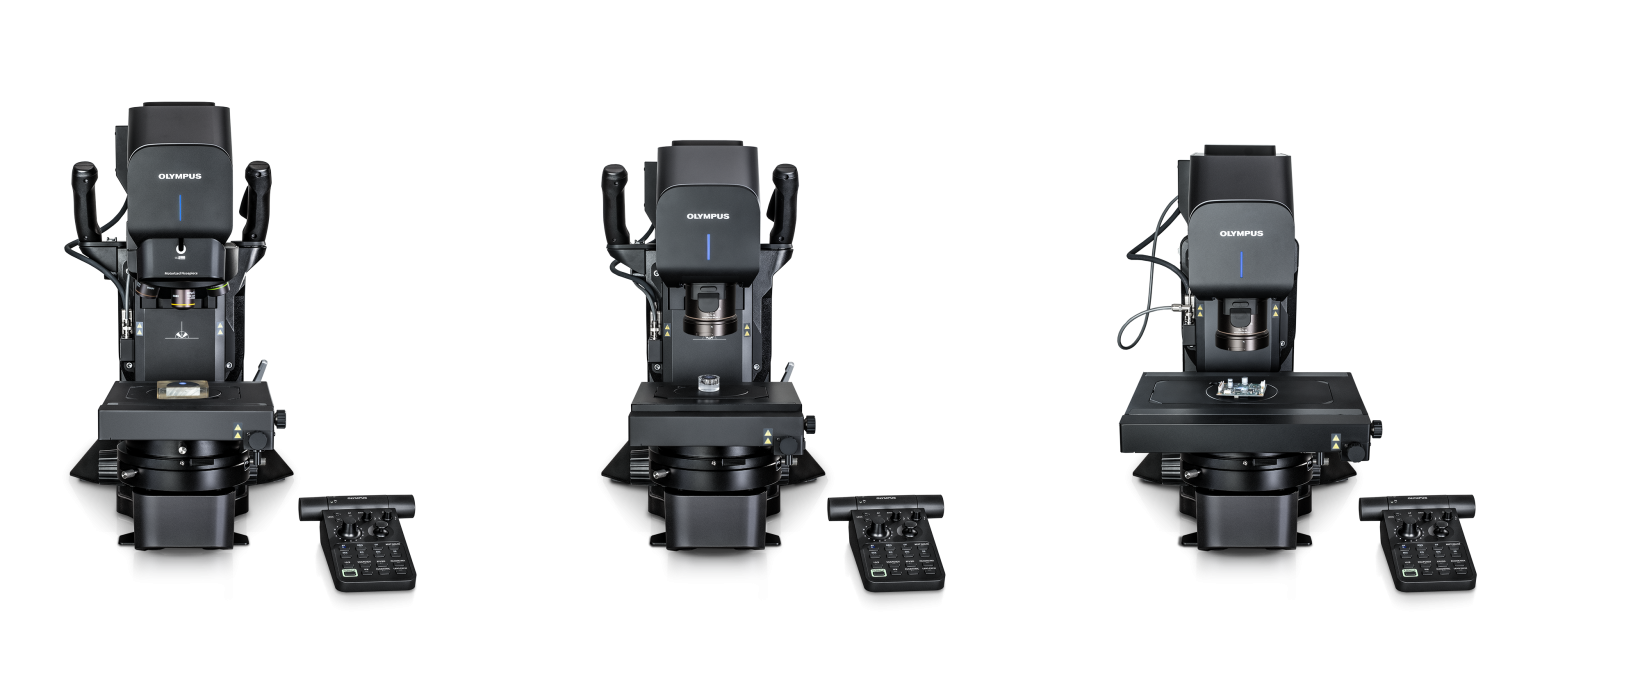
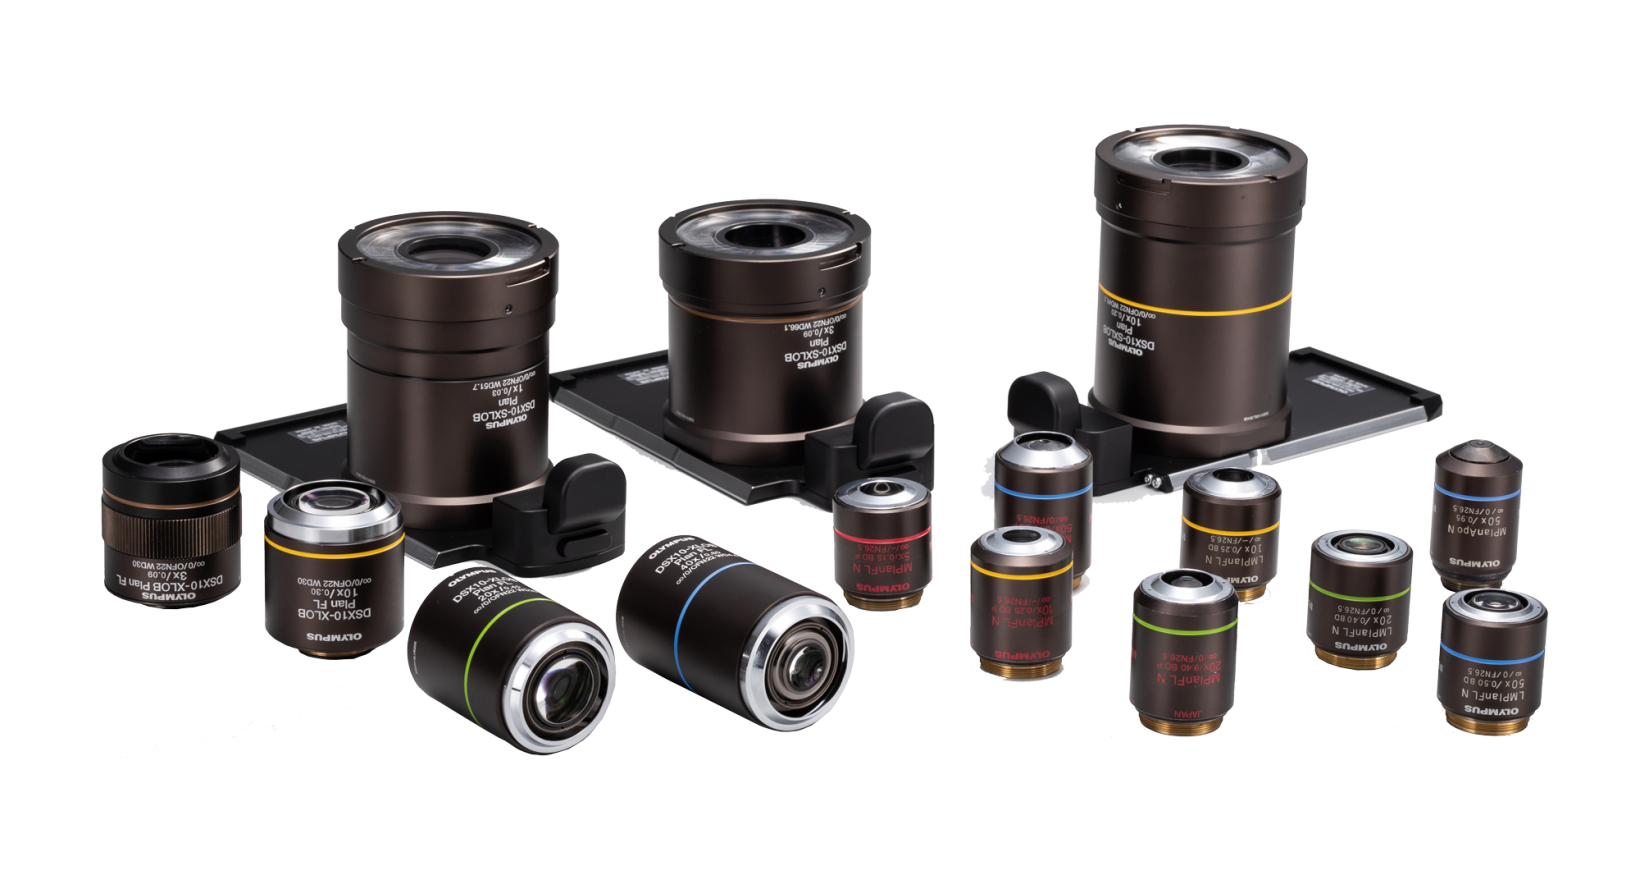
Supports Your Modular Microscope SetupPRECiV DSX supports all DSX series digital microscope models and associated accessories. Supported Hardware
|
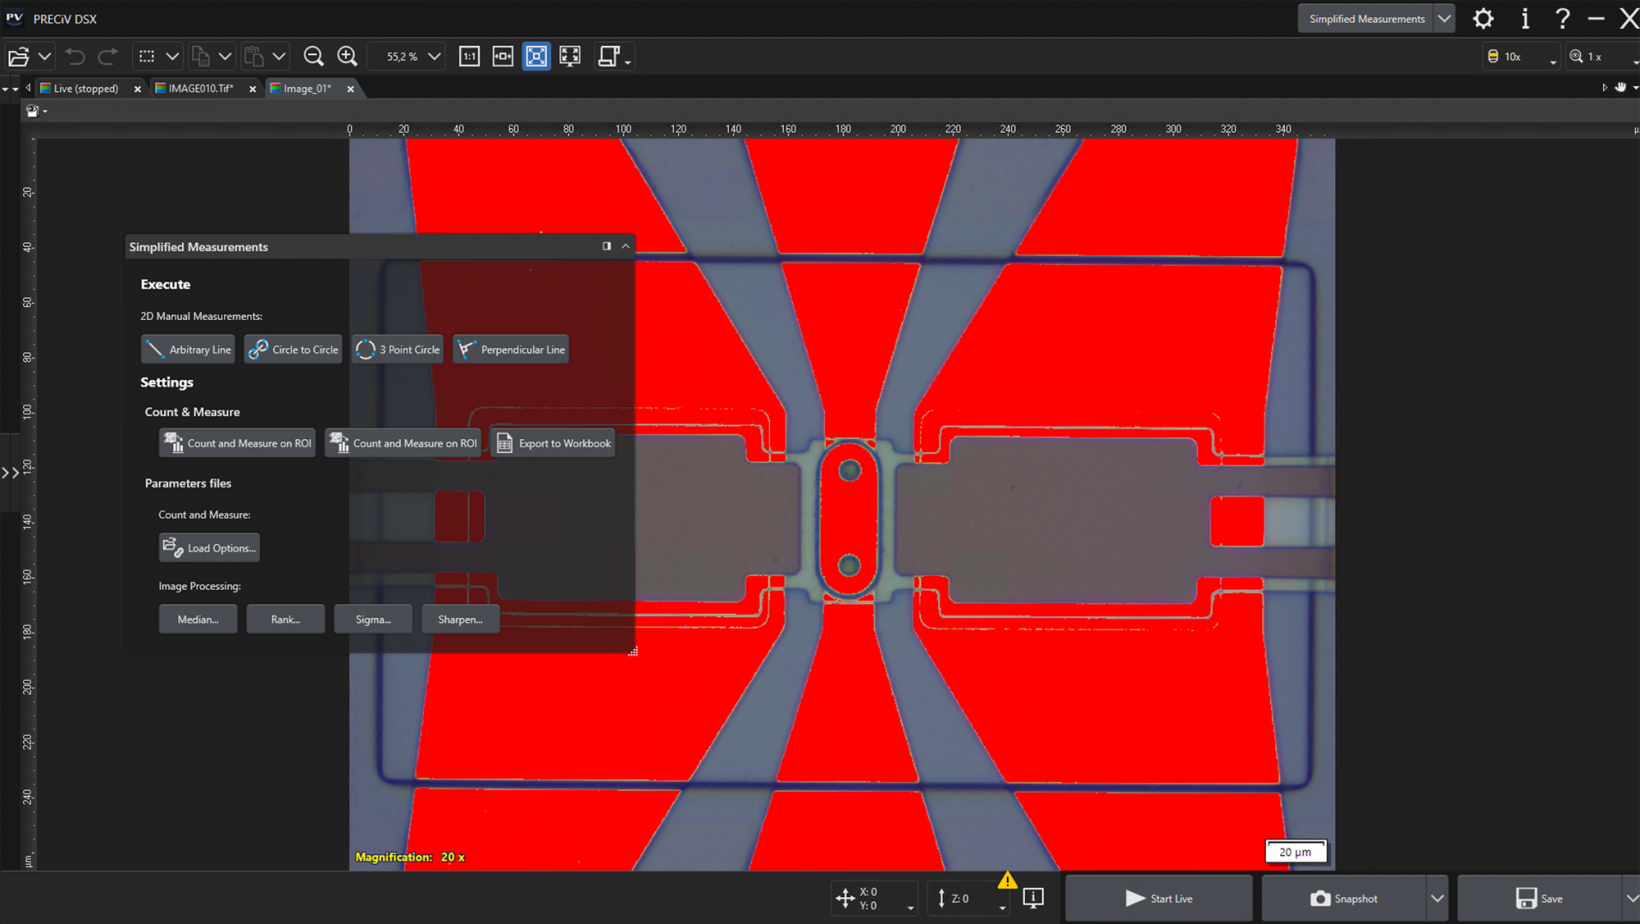 | Requires Minimal TrainingBy following a predefined inspection in EZ mode, everyone on the team can perform an efficient microscopy analysis with minimal training. The PRECiV DSX interface also offers full control to expert users in the flexible inspection mode for more advanced analyses. |
|---|
Advanced Interactive MeasurementsPRECiV DSX enables precise, repetitive two-dimensional measurements on a live or recorded image through a combination of a simple user interface and powerful functions like auto edge detection, which makes it easy to reliably measure the distance between points. Other helpful measurement features include:
|
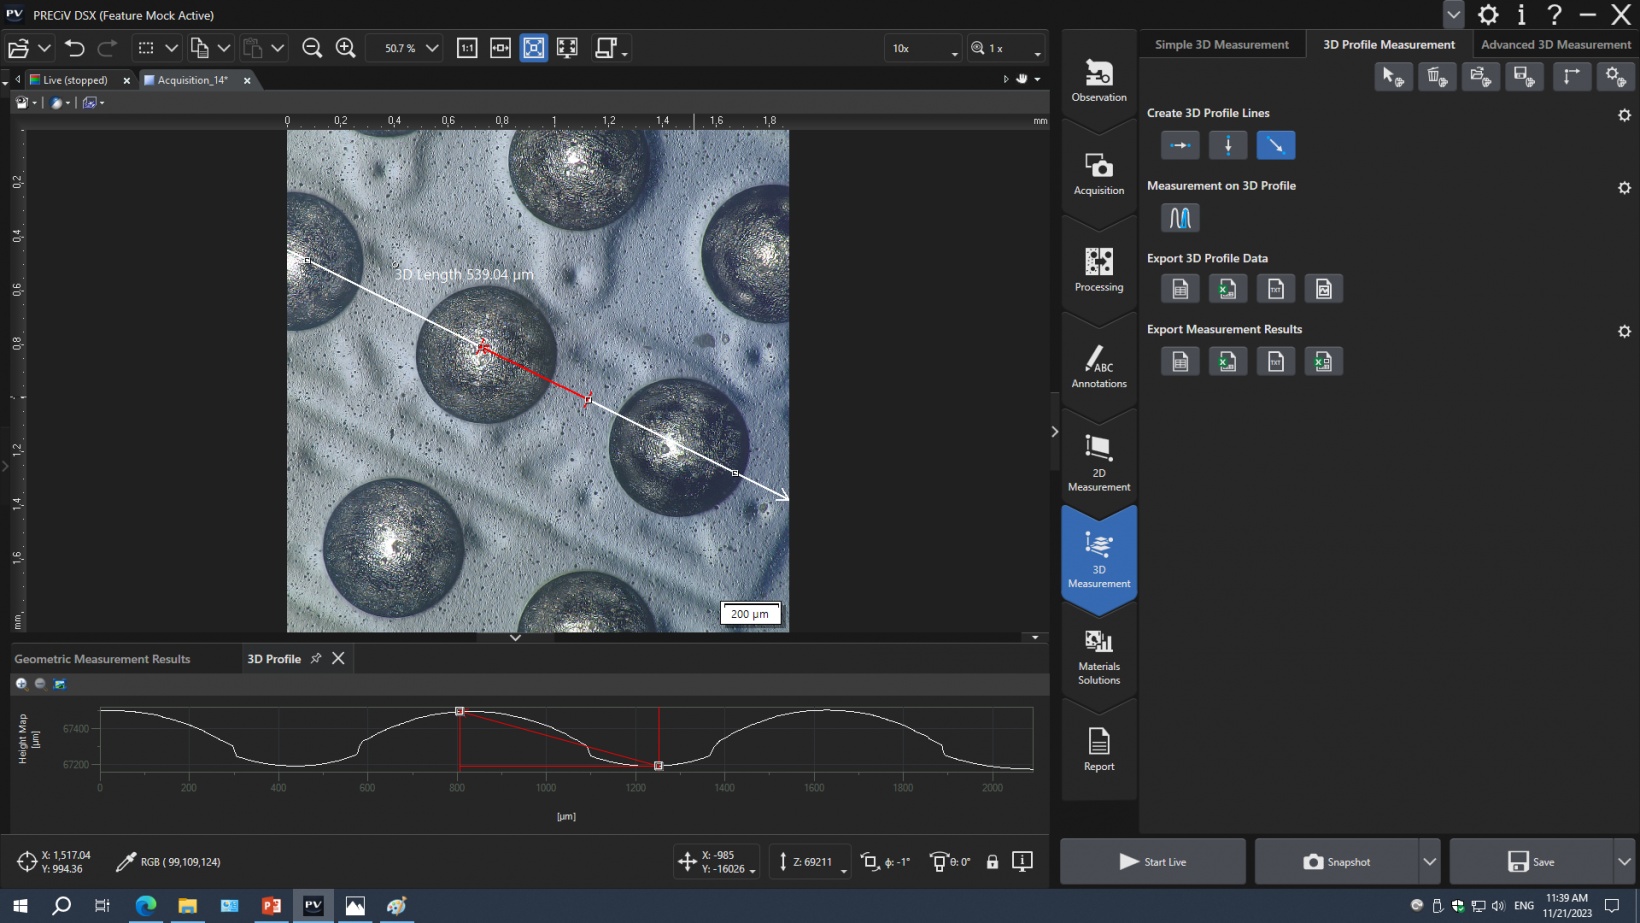
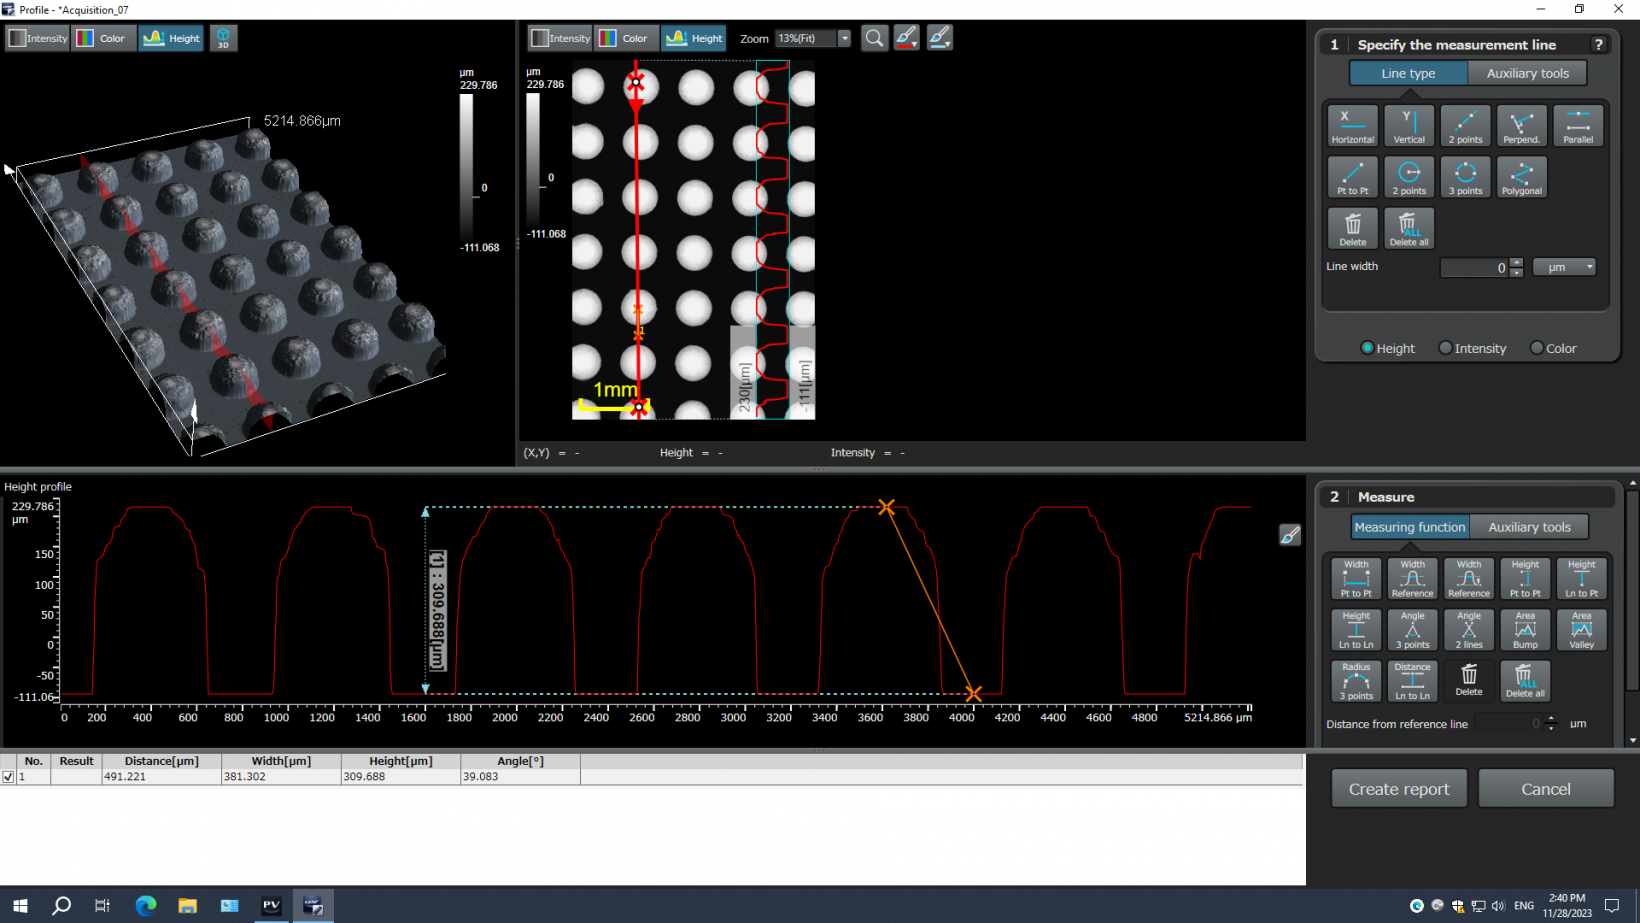
Simple and Advanced 3D MeasurementsSimple 3D measurements (line profile) are available in PRECiV DSX on all images with height information. For advanced measurements (surface roughness, volume measurement), PRECiV DSX can export images directly to the 3D analysis application for further processing and analysis.
|
Acquire Combined Panorama and EFI ImagesThe extended focus imaging (EFI) function enables you to obtain fully in-focus images by serially acquiring multiple images at different focal planes with manual and motorized devices. The panorama function enables you to acquire images larger than the microscope’s field of view. With PRECiV DSX you can calculate EFI and panorama images offline based on previously acquired images. |
Enhance your Microscopy Experience Using AIPRECiV software with TruAI deep-learning technology offers image analysis beyond classical algorithms. You can apply a trained neural network to your samples for higher reproducibility and more robust analysis. Choose between semantic or instance segmentation methods for improved neural network training, enabling you to tackle difficult applications in just one step. Live AILive AI* is a powerful tool for everyday use. It displays detected features directly on the live image using an overlay. This lets you easily screen the sample for any wanted or unwanted blobs without altering the image itself. Live AI can also be used to improve the image quality, such as removing unwanted scratches, for enhanced analysis. As an option, PRECiV TruAI technology can also count the defects it identifies on the live image as well.** * Using the optional neural network training module. |
|---|
Neural Network Integration (AI)PRECiV software’s AI can be used on a PC even when it is offline.* The training is performed on the supplied dataset, and the resulting quality of the AI analysis depends on the images provided for the training.
*PRECiV AI technology does not use generative AI. PRECiV AI is independent from the network and can be used on a PC that is disconnected. |
|
PRECiV DSX Optional Modules |
Neural Network Training—Train neural networks using semantic (for well separated or when object separation is irrelevant) or instance (for objects that touch, like grains) segmentation methods. 3D Analysis Application—3D line profile measurements, advanced 3D measurements, and surface roughness analysis of 3D images. Count and Measure—Detecting objects and measuring size distribution are among the most important applications in digital imaging. The PRECiV Count and Measure solution uses advanced threshold methods to reliably separate objects, such as particles and scratches, from the background. Grain Sizing—Steel manufacturers use this solution for measuring and controlling grain size after cross-sectioning, polishing, or etching steel samples. Grain Sizing Intercept is based on overlaying test lines and counting the number of intercepts with grain boundaries, while Grain Sizing Planimetric reconstructs boundaries for each grain and conducts grain sizing with the area percentage of the second phase. Non-Metallic Inclusions—Steel manufacturers use this solution for measuring and controlling the shape and size of nonmetallic inclusions (oxide, alumina, sulfide, or silicate) in steel. Cast Iron—Casting manufacturers who need to measure and control the graphite nodularity and check the mechanical characteristics of their cast products use this solution. Layer Thickness—One or multiple layers of a cross-sectioned sample can be measured using the Layer Thickness solution. The shapes are defined, and the layers automatically measured. Measurement Sequence—This solution is used to perform interactive measurements with different measurement tools in a predefined sequence. Porosity—This solution enables pores to be measured either for area fraction or the number of surface pores using regions of interest (ROIs) (circular, triangular, rectangular, and polygonal) and thresholds. Particle Distribution—This solution is used to create particle size distribution histograms and tables from multiple images or image series. Coating Thickness—This solution enables the measurement of coating thickness from top-view images using the Calotest method. Phase Analysis—This feature offers an integrated solution to perform phase analysis on a selection of various regions of interest (ROIs) including triangles, circles, rectangles, and polygons. Dendrite Arm Spacing—This solution is used to manually or automatically determine the mean dendrite arm spacing in cast aluminum. Chart Comparison on Selected Standards for Grain Sizing, Graphite Sizing, Non-Metallic Inclusion, and Hardened Metals—A live or still image can be overlaid onto standard charts for comparison. Function preview is available. |
PRECiV Desktop
PRECiV™ DesktopRobust Measurement and ReportingPRECiV™ Desktop software is made for customers who want to post-process their data independent from the microscope with all the available measurement and analysis capabilities, but without the camera and image capture controls. |  |
Image Processing (Matrix Filters and Color and Contrast Adjustments)If you need to process your images, PRECiV Desktop offers many tools such as edge detection filters, smoothing filters, and sharpening filters as well as intensity and contrast adjustments, shading correction and background subtraction, dynamic contrast enhancement, and morphological filters. |
|---|
Advanced Interactive MeasurementsPRECiV Desktop enables precise, repetitive two-dimensional measurements on recorded images through a combination of a simple user interface and powerful functions like auto edge detection, which makes it easy to reliably measure the distance between points. Other helpful measurement features include:
Measurement results can be compiled in a workbook and easily exported to Excel. |
Automate Repetitive Tasks with MacrosMacros (succession of simple operations) can be recorded and applied on single images or on series of multiple images automatically. Use the macro recorder to record and play macros easily. |
|---|
3D SolutionMeasurements of 3D profiles and surface roughness are also available in PRECiV software. The basic 3D solution extracts the 3D profile from any 3D image acquired with EFI, any 3D Z-stack, or any file containing height information. Working with all microscopes, this powerful method evaluates the surface condition of the sample. For advanced 3D measurements, it is possible to connect your acquired images with the expert 3D analysis application for all roughness measurement techniques on the profile or areal level. PRECiV software can export data using the OIR file format for better compatibility with systems such as our LEXT™ series laser confocal microscopes.
|
Enhance your Microscopy Experience Using AIPRECiV software with TruAI deep-learning technology offers image analysis beyond classical algorithms. You can apply a trained neural network to your samples for higher reproducibility and more robust analysis. Choose between semantic or instance segmentation methods for improved neural network training, enabling you to tackle difficult applications in just one step. Live AILive AI* is a powerful tool for everyday use. It displays detected features directly on the live image using an overlay. This lets you easily screen the sample for any wanted or unwanted blobs without altering the image itself. Live AI can also be used to improve the image quality, such as removing unwanted scratches, for enhanced analysis. As an option, PRECiV TruAI technology can also count the defects it identifies on the live image as well.** * Using the optional neural network training module. |
|---|
Neural Network Integration (AI)PRECiV software’s AI can be used on a PC even when it is offline.* The training is performed on the supplied dataset, and the resulting quality of the AI analysis depends on the images provided for the training.
*PRECiV AI technology does not use generative AI. PRECiV AI is independent from the network and can be used on a PC that is disconnected. |
|
Professional report that summarizes particle count data, including image details using digital zooming | Efficient Report CreationCreating a report often takes longer than capturing the image and taking the measurements. PRECiV Desktop provides intuitive report creation to repeatedly produce smart and sophisticated reports based on predefined and customized templates. Editing is simple, and reports can be exported to Microsoft Word, Excel, or PowerPoint. |
|---|
PRECiV Desktop Optional Modules |
Neural Network Training—Train neural networks using semantic (for well separated or when object separation is irrelevant) or instance (for objects that touch, like grains) segmentation methods. 3D Analysis Application—3D line profile measurements, advanced 3D measurements, and surface roughness analysis of 3D images. Count and Measure—Detecting objects and measuring size distribution are among the most important applications in digital imaging. The PRECiV Count and Measure solution uses advanced threshold methods to reliably separate objects, such as particles and scratches, from the background. Grain Sizing—Steel manufacturers use this solution for measuring and controlling grain size after cross-sectioning, polishing, or etching steel samples. Grain Sizing Intercept is based on overlaying test lines and counting the number of intercepts with grain boundaries, while Grain Sizing Planimetric reconstructs boundaries for each grain and conducts grain sizing with the area percentage of the second phase. Non-Metallic Inclusions—Steel manufacturers use this solution for measuring and controlling the shape and size of nonmetallic inclusions (oxide, alumina, sulfide, or silicate) in steel. Cast Iron—Casting manufacturers who need to measure and control the graphite nodularity and check the mechanical characteristics of their cast products use this solution. Layer Thickness—One or multiple layers of a cross-sectioned sample can be measured using the Layer Thickness solution. The shapes are defined, and the layers automatically measured. Measurement Sequence—This solution is used to perform interactive measurements with different measurement tools in a predefined sequence. Porosity—This solution enables pores to be measured either for area fraction or the number of surface pores using regions of interest (ROIs) (circular, triangular, rectangular, and polygonal) and thresholds. Particle Distribution—This solution is used to create particle size distribution histograms and tables from multiple images or image series. Coating Thickness—This solution enables the measurement of coating thickness from top-view images using the Calotest method. Phase Analysis—This feature offers an integrated solution to perform phase analysis on a selection of various regions of interest (ROIs) including triangles, circles, rectangles, and polygons. Dendrite Arm Spacing—This solution is used to manually or automatically determine the mean dendrite arm spacing in cast aluminum. Chart Comparison on Selected Standards for Grain Sizing, Graphite Sizing, Non-Metallic Inclusions, and Hardened Metals—A live or still image can be overlaid onto standard charts for comparison. Function preview is available. |
Specifications
PRECiV™ Version 2.2 Specifications• : Standard Feature; ◦ : Optional Feature; — Not Available |
| Capture | Core | Pro | DSX | Desktop | |
| Image Acquisition | |||||
|---|---|---|---|---|---|
| Basic image acquisition from Evident cameras, including autocalibration | • | • | • | — | — |
| Extended image acquisition, including HDR, Live HDR (with the DP74 and DP75) and position navigator | • | • | • | — | — |
| Halation removal using the MIX slider (microscope) or LED ring light (stereo microscope) | — | • | • | • | — |
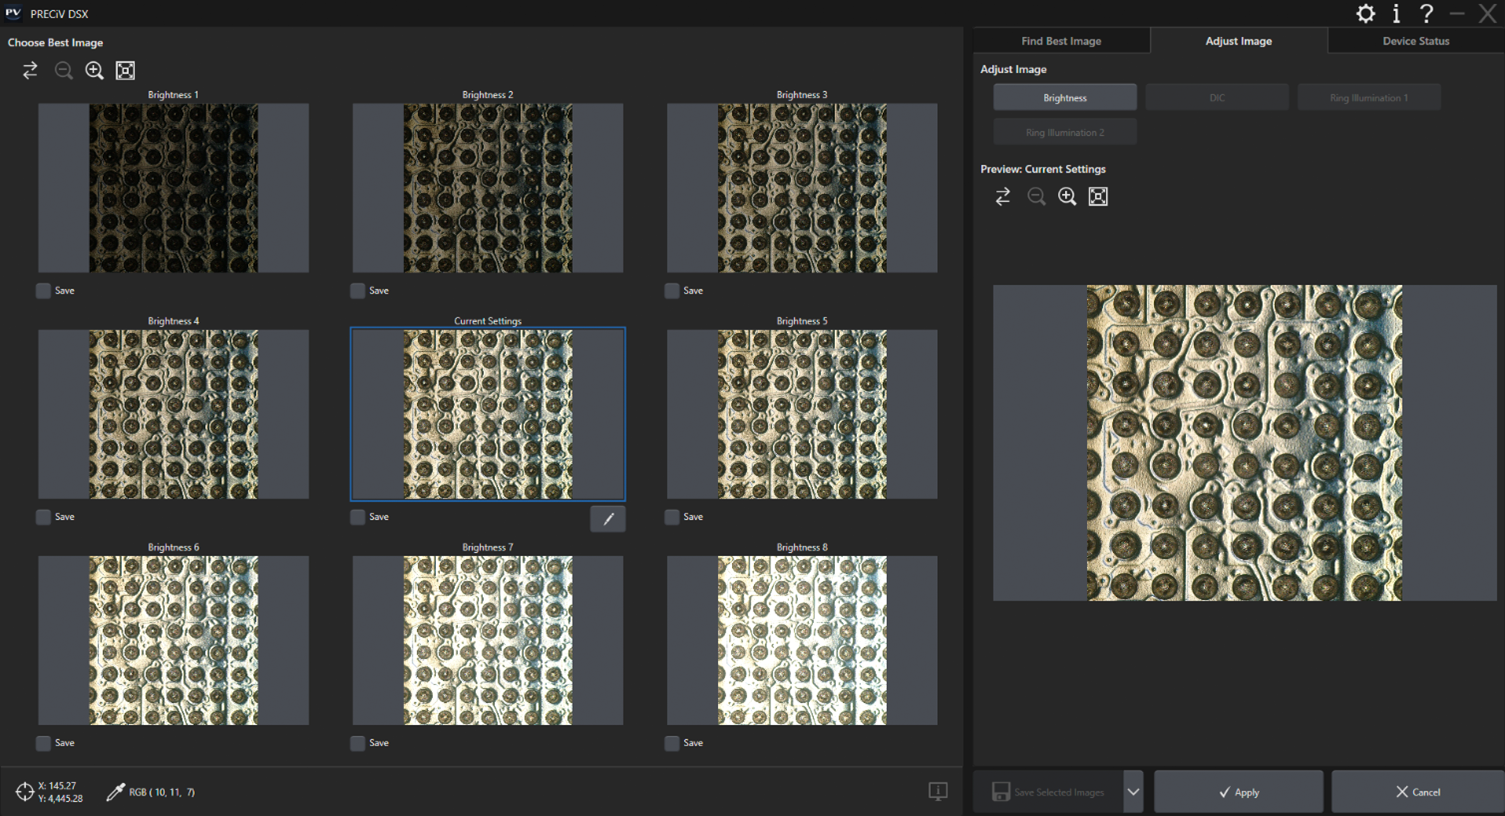
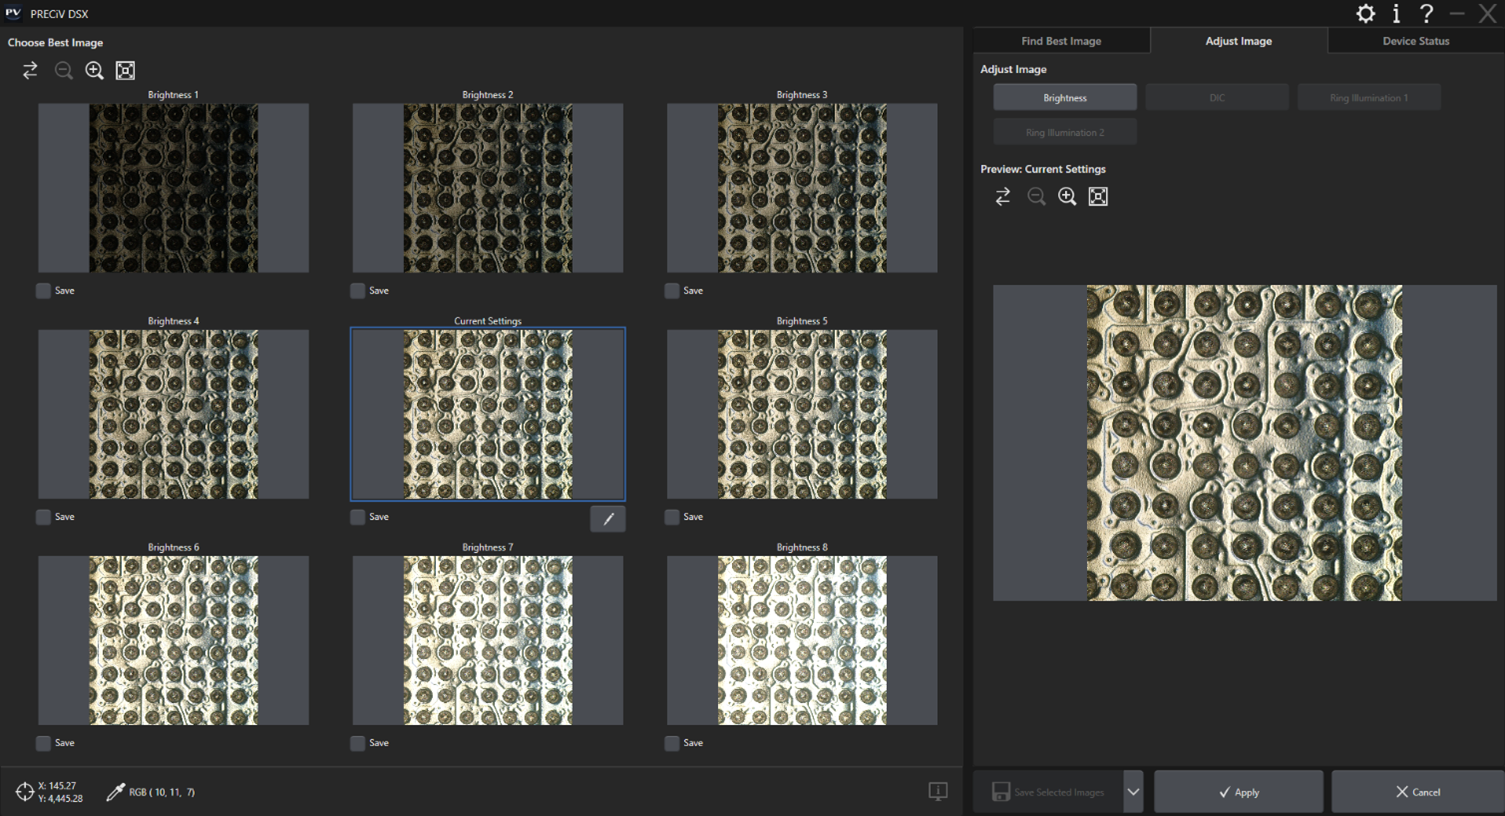
| Best image function (all modes, SR, BF, OBQ, DF, MIX, PO, DIC) | — | — | — | • | — |
| Video recording | • | • | • | • | — |
| Time-lapse acquisition | — | ◦ | • | • | — |
| Extended focus imaging (EFI) using manual or instant mode | — | • | • | • | — |
| Large-size image acquisition (panorama) using manual or instant mode | — | ◦ | • | • | — |
| Combined EFI and panorama using manual mode | — | ◦ | • | • | — |
| Automatic EFI using motorized devices, including quick scan mode | — | ◦ | ◦ | • | — |
| Automatic panorama using motorized devices | — | ◦ | ◦ | • | — |
| Sample navigation and position list management using motorized devices | — | ◦ | ◦ | • | — |
| Combination of automatic EFI and panorama using motorized devices | — | ◦ | ◦ | • | — |
| Continuous Autofocus | — | • | • | •*1 | — |
| Imaging and Customization Tools | |||||
| User interface with functions grouped by purpose | • | • | • | • | • |
| Overlay information layer (scale bar, crosshair, digital reticle) | • | • | • | • | • |
| On-screen magnification | • | • | • | • | — |
| Macro Manager | — | • | • | • | • |
| Static annotations | • | • | • | • | • |
| Live zoom | • | • | • | • | — |
| Measurements/Image Analysis | |||||
| Basic interactive measurements (horizontal line, vertical line, arbitrary line, polyline, 3-point circle, rectangle, rotated rectangle, 3-point angle, 4-point angle, perpendicular line, parallel line distance, polygon area, XY distance, distance between two crosslines, circle-to-circle distance, linear ruler, point coordinates) | • | • | • | • | • |
| 3D line profile measurement and simple 3D measurements | — | ◦ | ◦ | • | • |
| 3D analysis application: 3D line profile measurements, advanced 3D measurements, and surface roughness analysis of 3D images | — | ◦ | ◦ | ◦ | ◦ |
| 2D line profile measurements | — | ◦ | • | • | • |
| Advanced interactive measurement, including auto-edge detection and auxiliary lines (angle ruler, 2-point circle, rotated ellipse, closed polygon, magic wand, interpolated polygon, multiple perpendicular lines, asymmetry lines, throat thickness) | — | ◦ | • | • | • |
| Neural network labeling | — | • | • | • | • |
| Live AI | — | • | • | • | • |
| Offline EFI, Offline panorama | — | ◦ | ◦ | • | • |
| Image enhancement filters (edge detection filters, smoothing filters, and sharpening filters), intensity and contrast adjustment, shading correction and background subtraction, dynamic contrast enhancement, morphological filters | — | • | • | • | • |
| Reporting | |||||
| Data export to an Evident workbook | • | • | • | • | • |
| Data export to Microsoft Excel | — | • | • | • | • |
| Report and presentation creation in Microsoft 365/Microsoft Office 365 (32-bit/64-bit), Office 2021 (32-bit/64-bit), and Office 2019 (32-bit/64-bit) | — | ◦ | • | • | • |
| Device Support*2 | |||||
| Evident microscopes*3 and Evident cameras*4 | • | • | • | — | — |
| Third-party X,Y motorized stages (Ludl, Prior, Märzhäuser, Chuo Seiki)*5 | — | ◦ | ◦ | — | — |
| Third-party X,Y motorized focus drives (Ludl, Prior, Märzhäuser, Chuo Seiki)*5 | — | ◦ | ◦ | — | — |
| Third-party SWIR camera | — | ◦ | ◦ | — | — |
| DSX2000/DSX1000 system, console, and macro camera | — | — | — | • | — |
| Optional Add-Ons | |||||
| Motorization | — | ◦ | ◦ | • | — |
| 3D Acquisition | — | ◦ | ◦ | • | — |
| Count and Measure | — | ◦ | ◦ | ◦ | ◦ |
| Grain Sizing | — | ◦ | ◦ | ◦ | ◦ |
| Non-Metallic Inclusions | — | ◦ | ◦ | ◦ | ◦ |
| Cast Iron | — | ◦ | ◦ | ◦ | ◦ |
| Layer Thickness | — | ◦ | ◦ | ◦ | ◦ |
| Porosity | — | ◦ | ◦ | ◦ | ◦ |
| Particle Distribution | — | ◦ | ◦ | ◦ | ◦ |
| Coating Thickness | — | ◦ | ◦ | ◦ | ◦ |
| Phase Analysis | — | ◦ | ◦ | ◦ | ◦ |
| Neural Network Training | — | ◦ | ◦ | ◦ | ◦ |
| Dendrite Arm Spacing | — | ◦ | ◦ | ◦ | ◦ |
| Chart comparison on select standards for grain size, graphite sizing, non-metallic inclusions, and hardened metals | — | ◦ | ◦ | ◦ | ◦ |
| Customized software solutions | — | ◦ | ◦ | ◦ | ◦ |
1 Please contact Evident for supported device information. |
PC Requirements for PRECiV Capture/Core/Pro/Desktop v. 2.2 |
| CPU | Intel Core i5, Intel Core i7, Intel Xeon |
|---|---|
| HDD |
10 GB hard disk space for installation
Min. 50 GB for saving images and data |
| RAM |
16 GB RAM (2 × 8 GB RAM)
Special requirements to the memory for certain functionality: Training of neural networks: 32 GB RAM 3D analysis application: 32 GB RAM |
| Operating system | Windows 10 (64-bit), Windows 11 (64-bit); Editions: Pro, Pro for Workstations, Enterprise |
| .Net framework | Version 4.8.1 or higher |
| Optimized resolution |
1920 × 1080 (Full HD)
3840 × 2160 (4K), 27/32 in. (150% display scaling) |
| License activation | Using an Internet connection or code-based |
| One-time migration from OLYMPUS Stream | Migration from former OLYMPUS Stream original licenses to selected PRECiV license |
| Graphics card |
64-bit graphics board with 2 GB RAM
Special requirements to the graphics board for certain functionality |
PC Requirements for PRECiV DSX v. 2.2 |
| CPU | Intel Core i5, Intel Core i7, Intel Xeon |
|---|---|
| HDD |
10 GB hard disk space for installation
Min. 50 GB for saving images and data |
| RAM |
32 GB RAM (2 × 16 GB RAM)
Special requirements to the memory for certain functionality: Training of neural networks: 32 GB RAM 3D analysis application: 32 GB RAM |
| Operating system | Windows 10 (64-bit), Windows 11 (64-bit); Editions: Pro, Pro for Workstations, Enterprise |
| .Net framework | Version 4.6.2 or higher |
| Optimized resolution |
1920 × 1080 (Full HD)
3840 × 2160 (4k), 27/32 in. (150% display scaling) |
| License activation | Using an Internet connection or code-based |
| One-time migration from OLYMPUS Stream | Migration from DSX-BSW-V1 and DSX-BSW-V2 to PRECiV DSX |
| Graphics card |
64-bit graphics board equivalent to NVIDIA Quadro P620/T600/T400 with 4 GB RAM
Special requirements to the graphics board for certain functionality: Training of neural networks: NVIDIA graphics board compatible with CUDA 11, 6 GB RAM |

