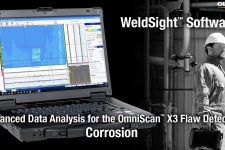
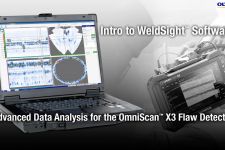
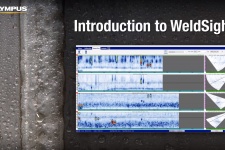
Overview
Advanced NDT Data Acquisition and Analysis
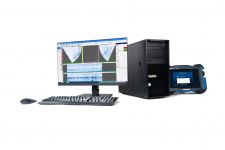
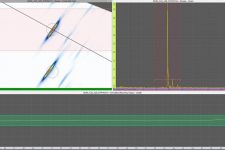
WeldSight™ software’s comprehensive acquisition and analysis tools enable you to engineer compliant and repeatable advanced phased array (PA), ultrasonic testing (UT), and time-of-flight diffraction (TOFD) weld inspections. Pushing flaw characterization and sizing further, WeldSight software’s tools enable inspectors to conduct thorough analyses of PAUT, TOFD, total focusing method (TFM) and phase coherence imaging (PCI) data that comply with strict international or internal standards.
Efficient Workflow for Weld or Corrosion Inspection
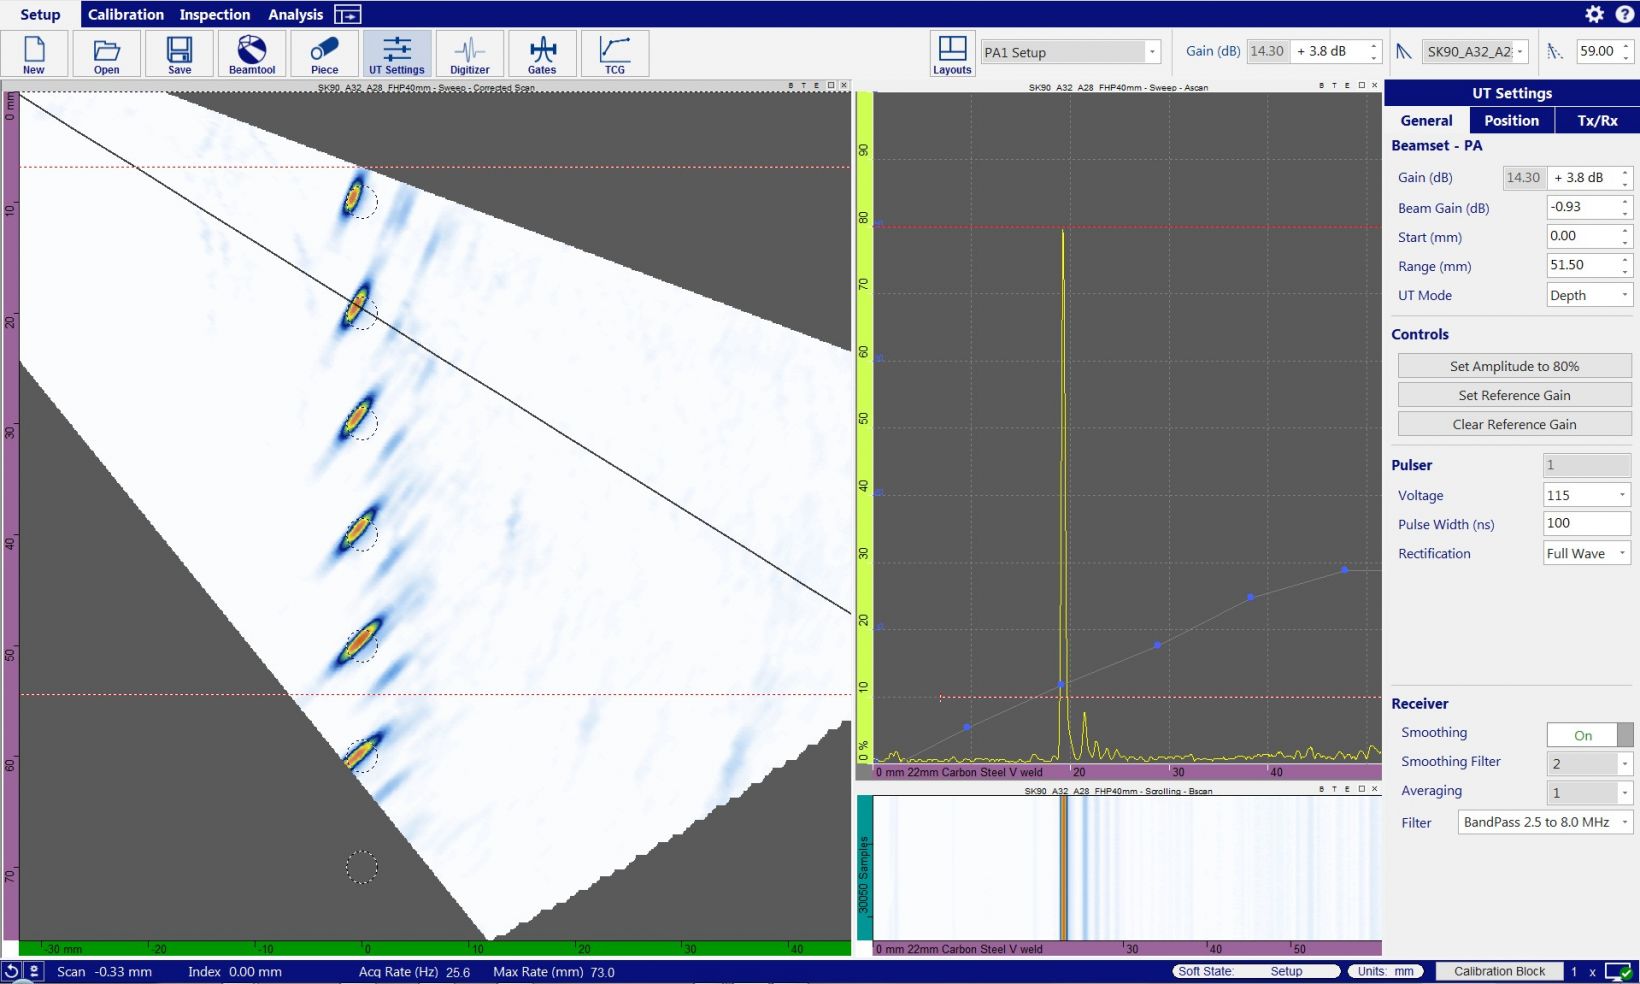
WeldSight software features a logical, streamlined workflow:
- Beam set creation
- UT configuration
- Calibration
- Data collection
- Analysis
- Reporting
Supported PAUT Acquisition Units
Maximize your productivity and configuration flexibility by using WeldSight software for every step of your workflow, from setup to reporting.
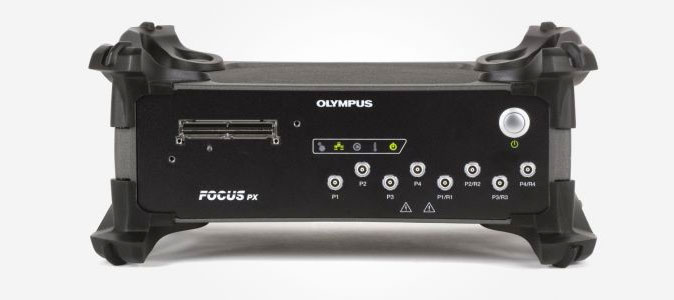
FOCUS PX Phased Array and Conventional Ultrasonic Data Acquisition Instrument
The FOCUS PX is a powerful and scalable acquisition unit designed for harsh environments. Use the advanced scan plan, validation, and analysis tools of WeldSight software and up to four FOCUS PX units in parallel to enable advanced multiprobe configurations, increasing your inspection efficiency exponentially.
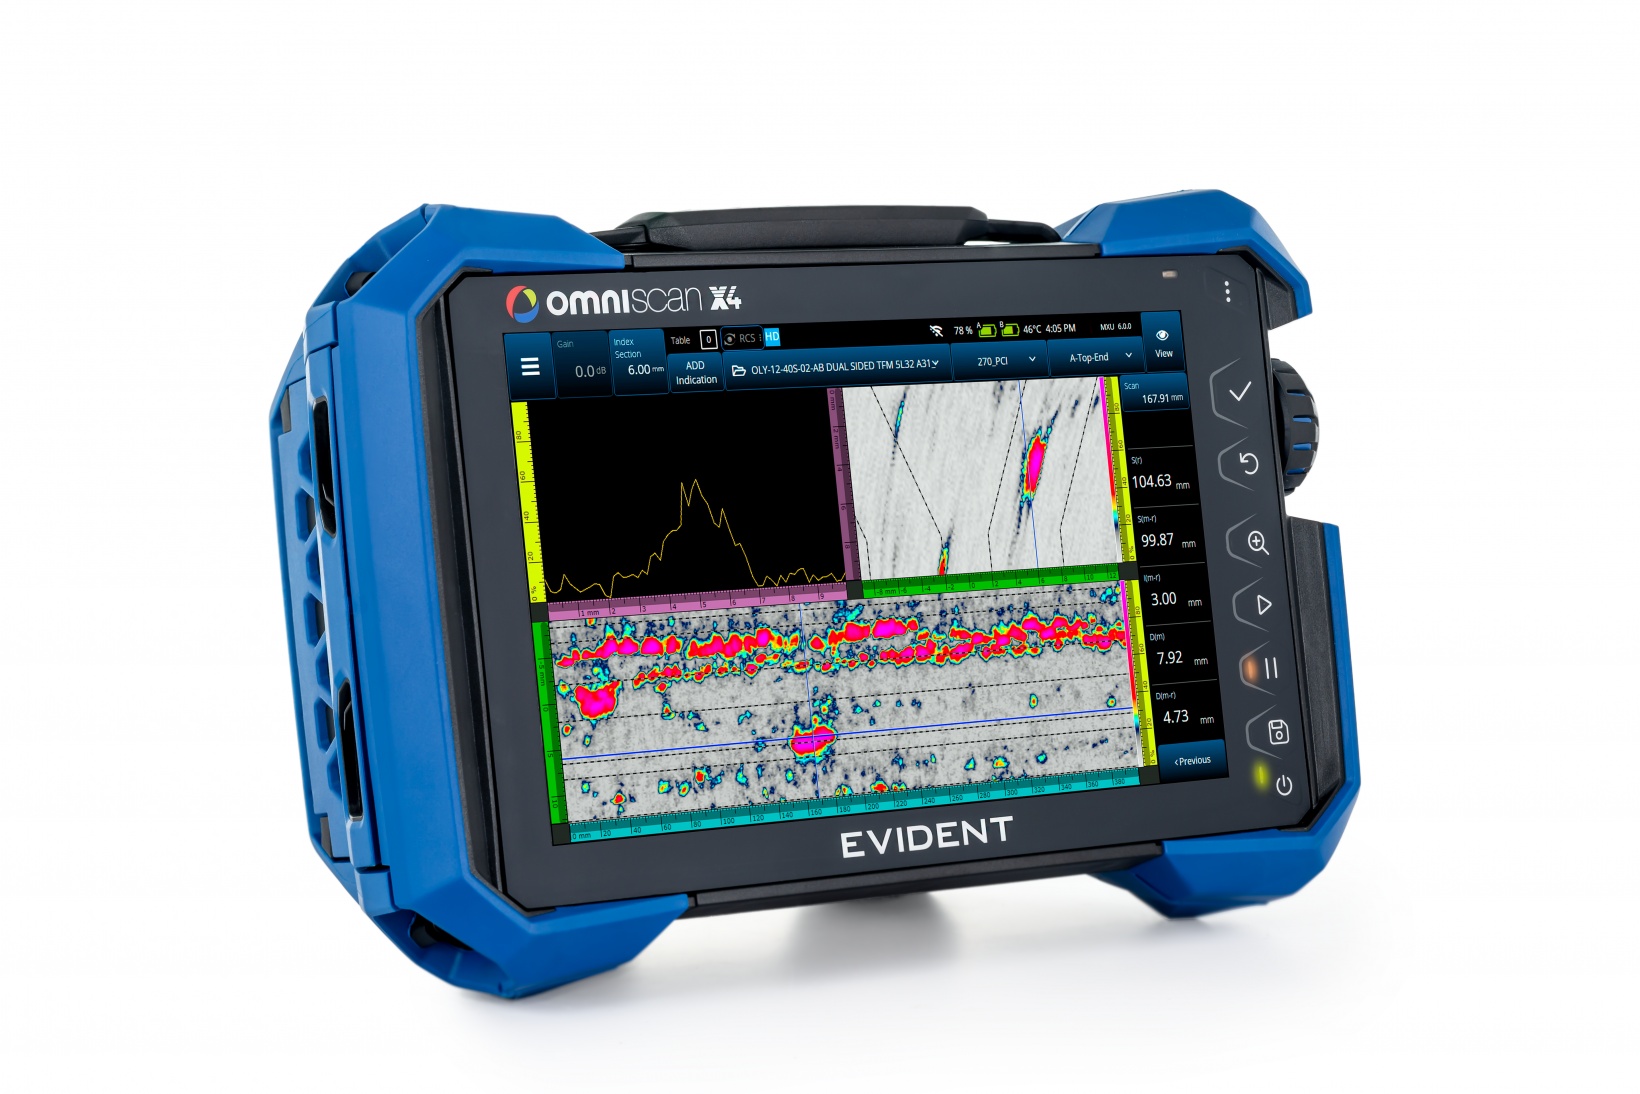
OmniScan X4 Phased Array UT Flaw Detector
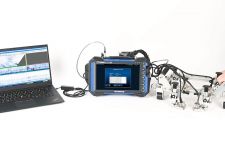
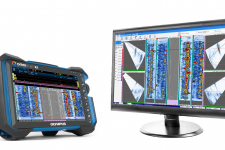
With the Black Box app installed on a OmniScan X4 unit, all phased array and conventional UT data files are transferred instantly to a computer or laptop running WeldSight Inspection software. Exploit the powerful performance of the OmniScan X4 flaw detector, as well as its ruggedness and portability, to increase your productivity and configuration flexibility. Help protect the OmniScan X4 connectors with the optional protection door, which keeps out dust and water splashes while the unit is connected to your computer.
A WeldSight Analysis license offers advanced tools to perform comprehensive analyses of phased array UT, total focusing method (TFM), phased coherence imaging (PCI) data acquired by an OmniScan X4 unit. See “Analysis” for more details.
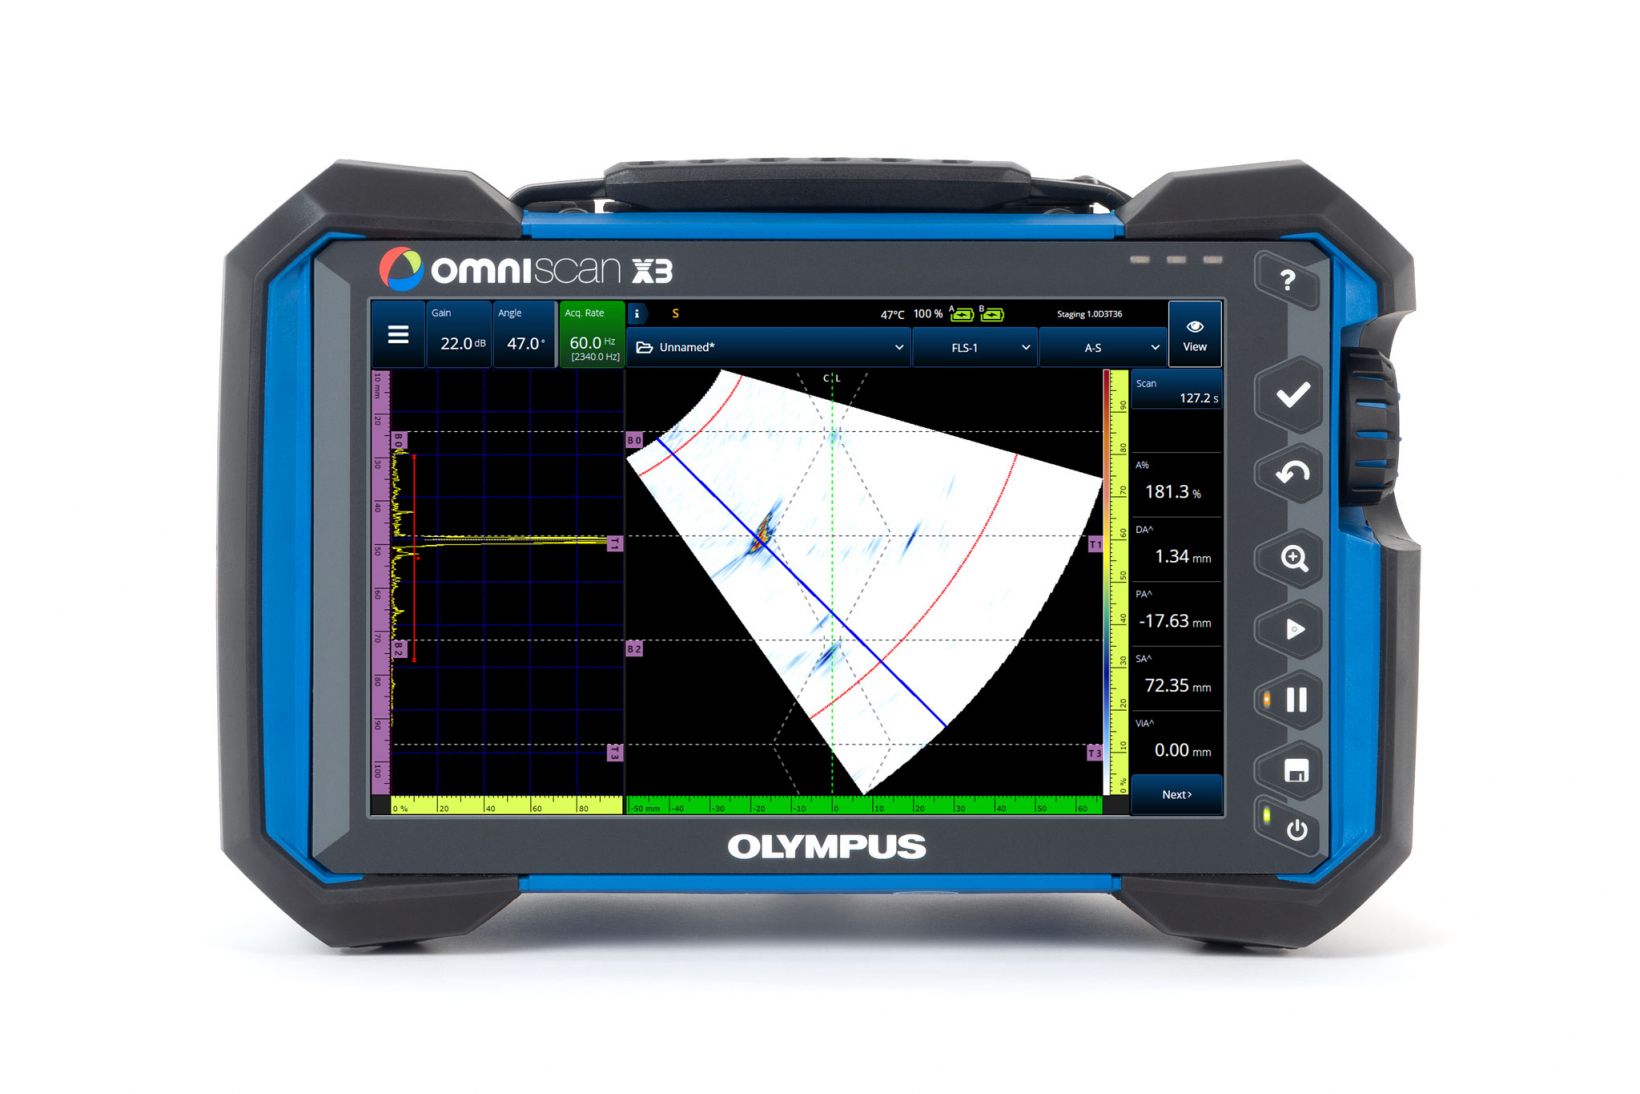
OmniScan X3 Phased Array and UT Flaw Detector
With the WeldSight Remote Connect app, data files acquired on the OmniScan™ X3 unit are transferred instantly to the WeldSight computer or laptop. The battery-operated unit enables greater setup configuration flexibility and increased portability. The optional protection door helps keep out dust and water splashes while the OmniScan X3 flaw detector is controlled via WeldSight software.
OmniScan Series Data Compatibility
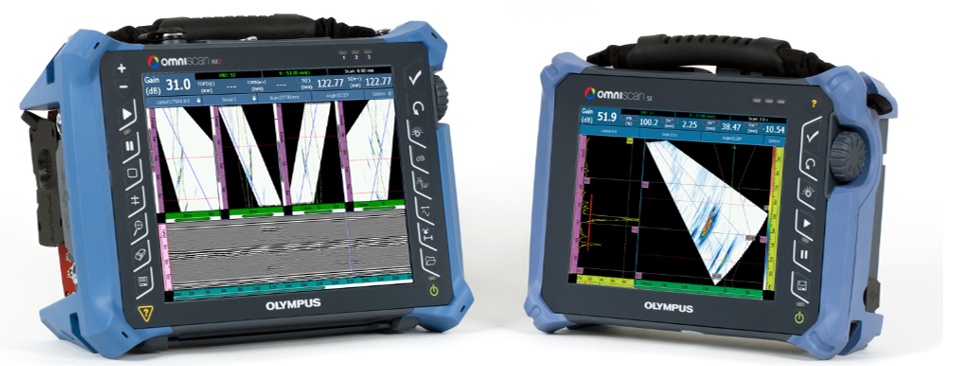
WeldSight software is compatible with the .nde data file format generated by OmniScan X4 flaw detectors and the OmniScan X3 series. You can also use WeldSight to load and review .opd data files generated by OmniScan MX (MXU 2.0 and later), MX2, and SX flaw detectors. Benefit from the software’s advanced analysis tools to examine your data thoroughly and efficiently.
Tools Targeting Corrosion Monitoring
Efficiently detect, map, and monitor corrosion using these WeldSight software functionalities:
- Automatic detection of corrosion indications accelerates the processing of large corrosion mapping files
- File merge consolidates individual scans in a single corrosion mapping display
- Optimize the data display using the corrosion manager, including the thickness C-scan and stats, palette editor, A-scan resynchronization, and cluster analysis measurements
- Fully customizable spreadsheet reports


Complimentary WeldSight Data Viewer
Data files generated by WeldSight software or the OmniScan X3 flaw detector can be opened and analyzed using the basic tools offered with the free Viewer version of the software. Using WeldSight software in Viewer mode, external stakeholders and collaborators can review the inspection data remotely.
- Visualize data using saved layouts
- Perform basic measurements
- Review inspection parameters
- Convert the measurement units (metric/US)
Download the WeldSight Viewer software for free from our website here.
Design & Data Acquisition
Eclipse Scientific BeamTool Integration
Comprehensive Scan Plan for Code Compliance
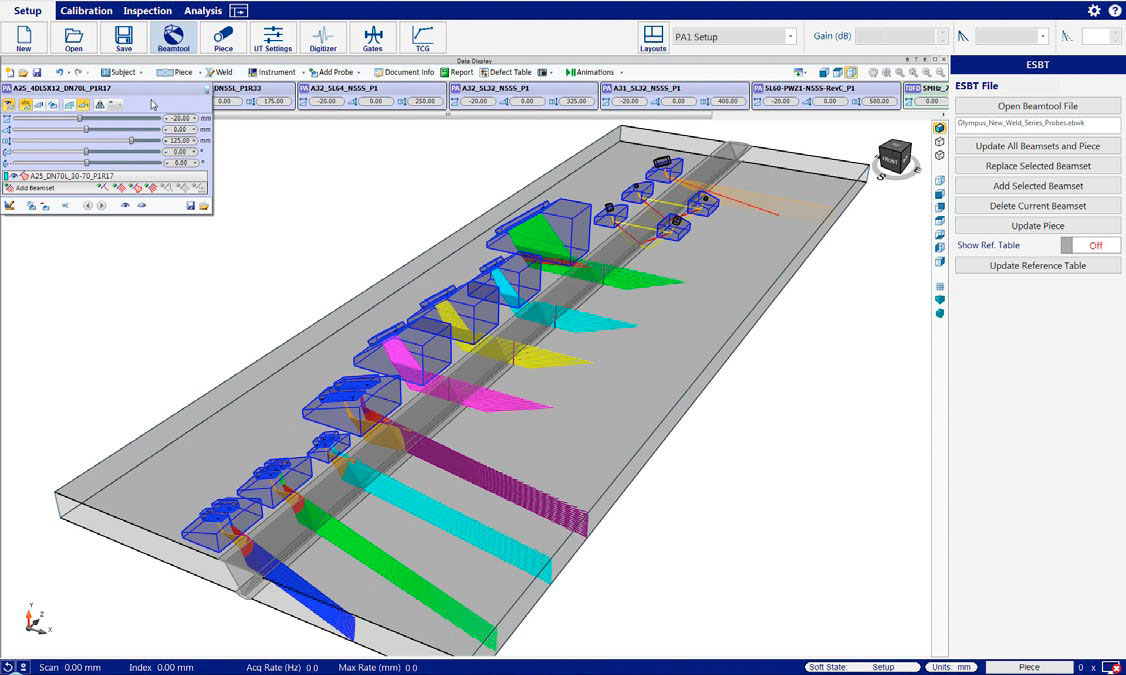
When configuring your inspection using WeldSight software, the ES BeamTool scan plan designer facilitates the task of engineering advanced ultrasonic phased array inspections. The proven software tool incorporates parameters for fabrication codes and a wide range of weld and part characteristics.
Save Time on Calibration
Validate sensitivity in a single quick pass:
- Automatic wedge validation and probe element validation
- Improved time-corrected gain (TCG), enabling simultaneous calibration of multiple points
Customize the Data Displays to Your Requirements
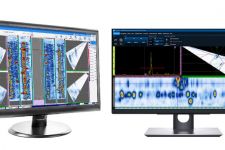
Customize the user interface, displaying your data in ways that enable deeper insights and comply with specific procedure, application, or code requirements, even for parts with complex geometries.
- Customizable layouts: Drag-and-drop the data views, scale the panes, or use a second screen, and then save your layout to recall it later.
- Zoom window: Zoom in on specific sections of the scanned data with easy-to-use shortcuts.
- Statistics of missing data: Know at a glance how much data was missed during the inspection.
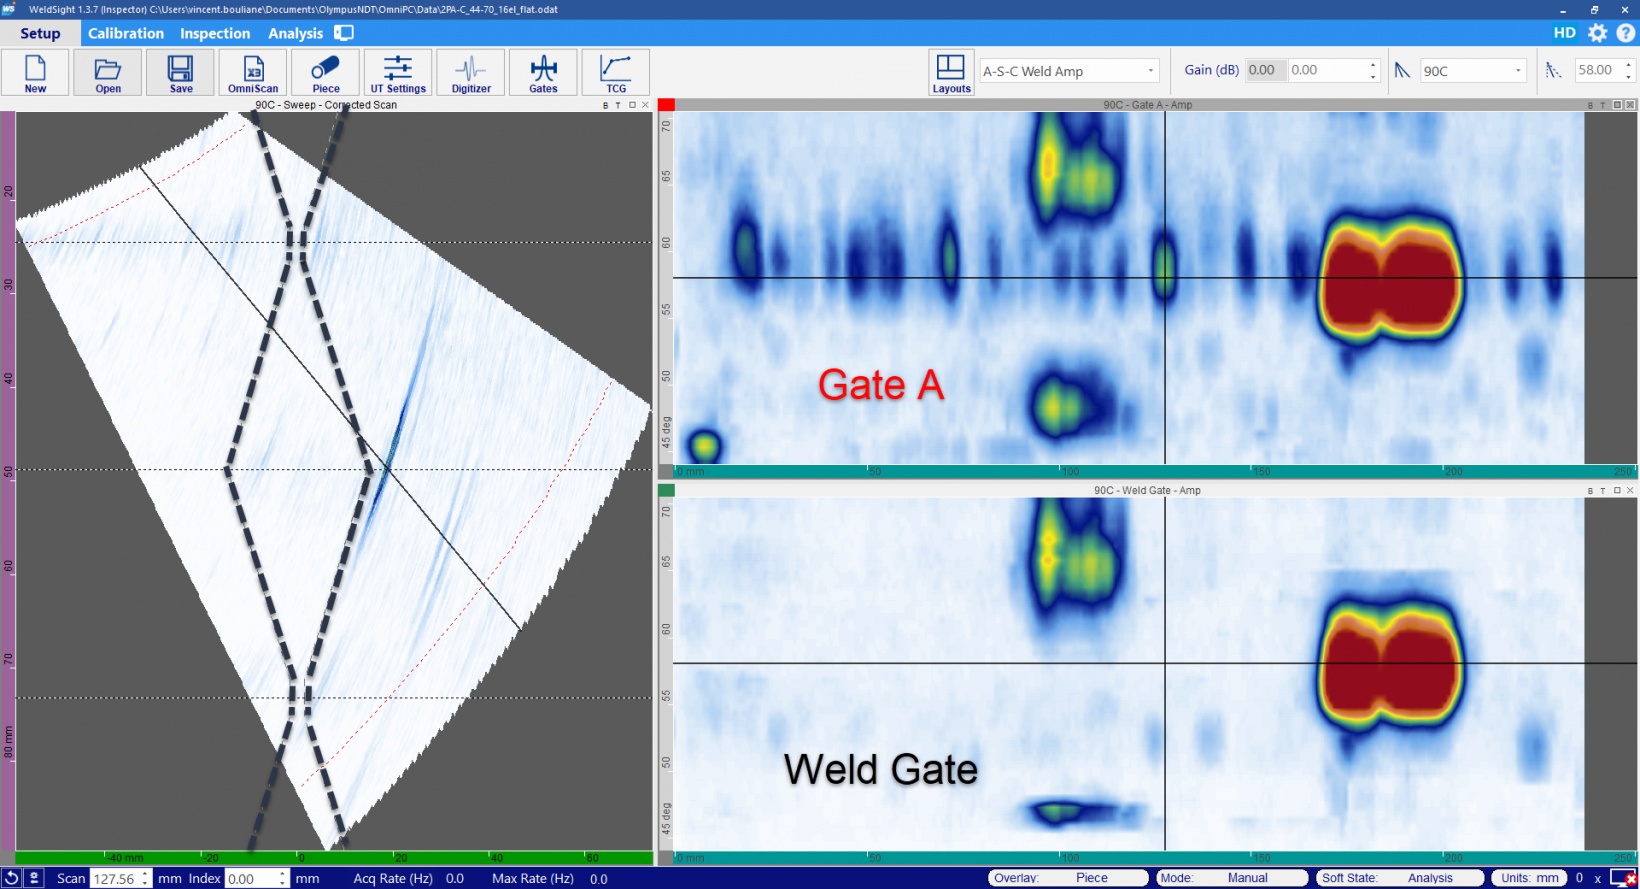
- Weld gate: This is a geometry-based gate that generates a C-scan using only data from inside the weld.
Analysis
Phased Array and Ultrasonic Weld Testing Analysis
Validating indications is eased through the software’s numerous analysis tools, including:
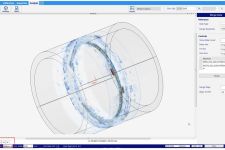
- Volumetric data merge: In large parts, screen the whole weld in one view to efficiently evaluate indications.
- Slice/projection cursors: After merging the data, the software produces Top/Side/End views with projection and slice cursors. Projection cursors offer a full view of the sample while filtering unwanted echoes.
- File merge: The software stitches together independently acquired data files, so all indications appear together in one image.
- Linked dynamic B-scan: Refreshes B-scan views of all PA groups simultaneously so less cross-validation is required. Characterize flaws faster from both sides.
- Max amplitude/Min thickness: Automatically positions the cursor at the key positions, the maximum amplitude (for weld inspection), and the minimum thickness (for corrosion detection).
Identify and Interpret Challenging Flaws with the Total Focusing Method (TFM) and Phase Coherence Imaging (PCI)
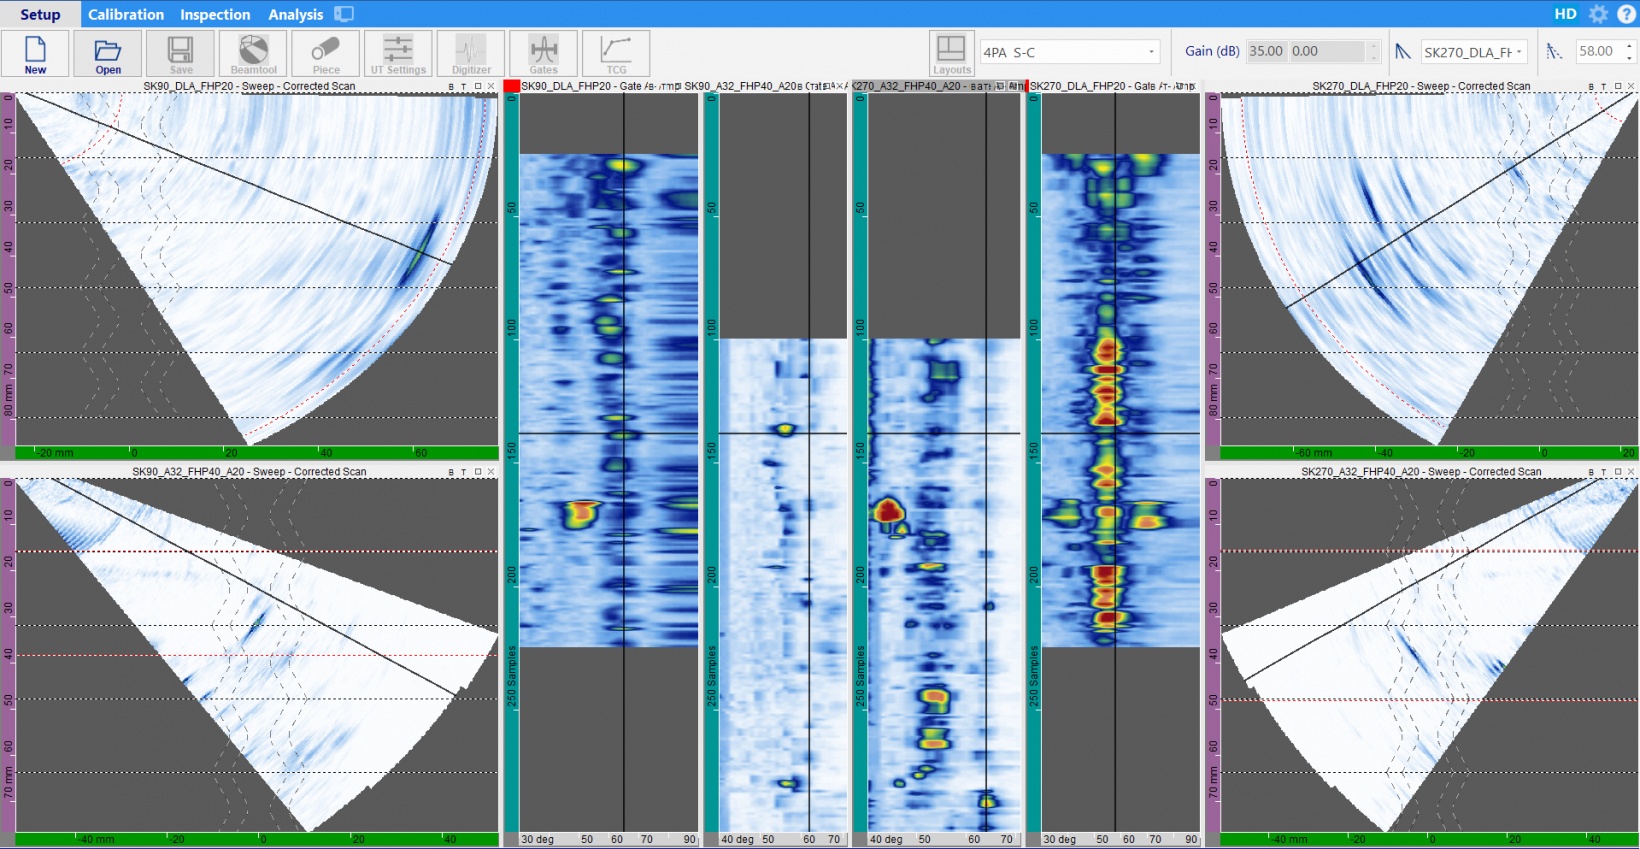
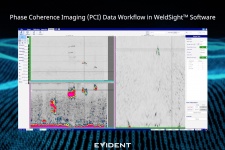
Leverage WeldSight software’s advanced tools, including the merge data function, gates and cursors, and max amplitude/min thickness to thoroughly examine your OmniScan X4 acquired TFM and PCI data from all sides.
Acquiring up to four modes of propagation simultaneously on both sides of the weld, the OmniScan X4 flaw detector provides focused PCI and TFM images that are highly resolved throughout the volume of the weld as well as geometrically correct flaw representations for easier visualization. Utilize PCI and TFM to reveal difficult-to-detect vertical flaws and hook cracks and distinguish individual cracks in colonies and measure them with accuracy.
Fine-Tune Your Weld Inspection Data
Correct acquisition errors in post-analysis.
TOFD synchronization: Realign the TOFD B-scan to improve the readability.
TOFD lateral wave suppression: Improve the detection of flaws that are close to the lateral wave signal.
Offline encoder calibration: Adjust minor position errors by correcting the scan and index offsets.
Optimize Your Analysis with Powerful Software Tools
Whether for weld inspection or corrosion monitoring, these practical tools improve your analysis and reporting process:
Corrosion Analysis
Cluster analysis: Software automatically detects indications and provides sizing data for the cluster.
Min thickness tracking: Automatically positions the cursor at the minimum thickness.
File merge (stitching): Consolidate individual scans in a single corrosion mapping display.
A-scan resynchronization: Correct loss of synchronization during acquisition.
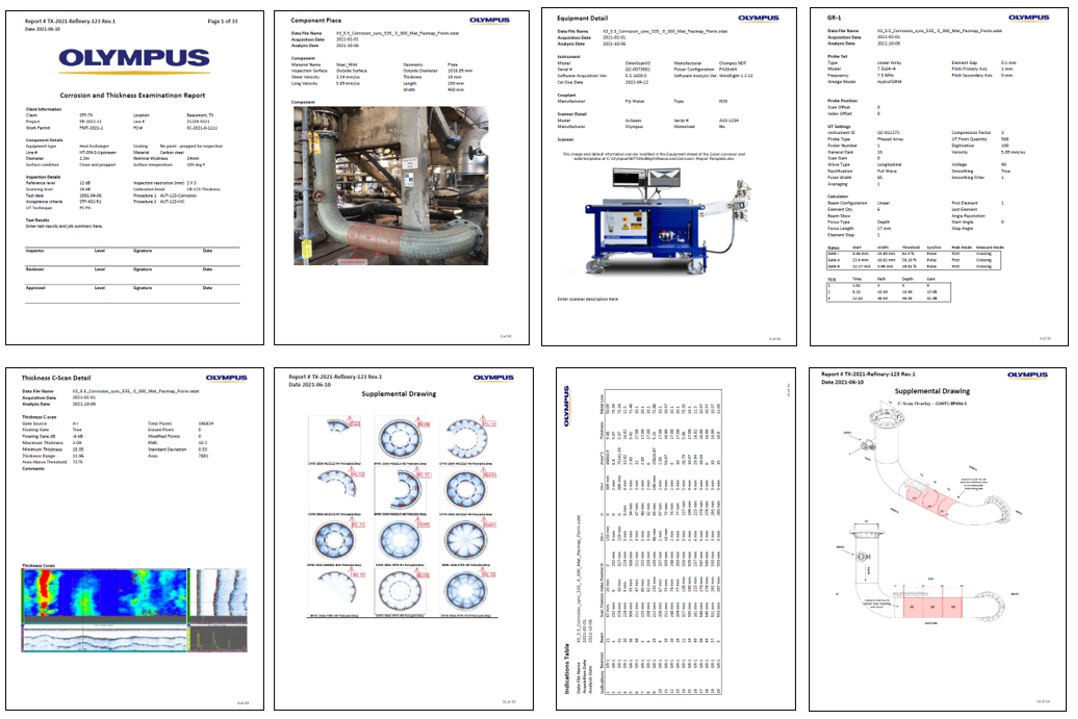
Corrosion manager: Groups relevant data and tools, including thickness C-scan, C-scan stats, current data point measurements, cluster analysis sizing, reporting, etc., on the display.
Weld Analysis
Dynamic C-scan: Displays only what is in the gate so you can click and drag the gate to screen regions of interest.
Max amplitude tracking: Automatically positions the cursor at the maximum amplitude.
Editable gates: Compensate for oversights in the gate settings of acquired data.
Weld gate: This is a geometry-based gate that generates a C-scan using only data from inside the weld.
Soft gain and Auto 80%: Quickly adjust the gain to 80% or back to reference level for detection, characterization, or sizing.
Fully customizable reports: When your weld or corrosion analysis is complete, WeldSight software’s easy-to-use, spreadsheet-based templates enable you to generate professional reports, tailored to your needs.
