清洁度检测系统
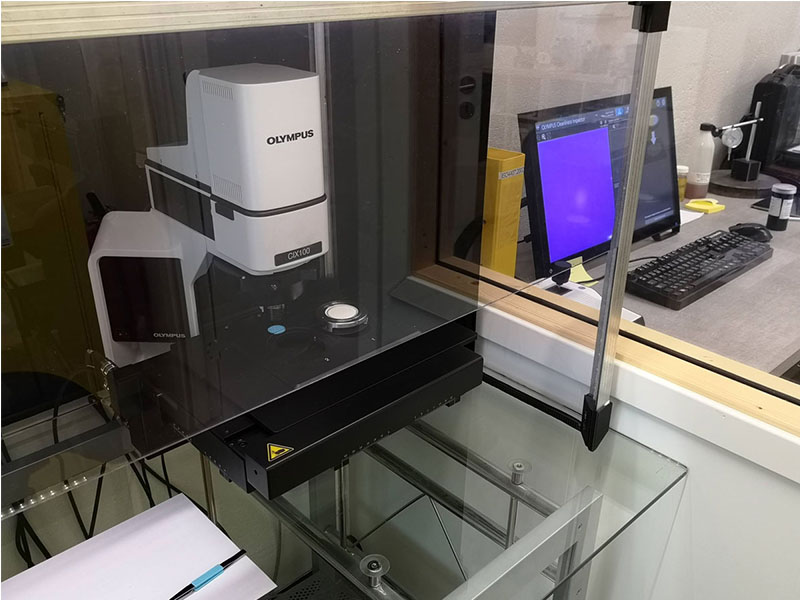
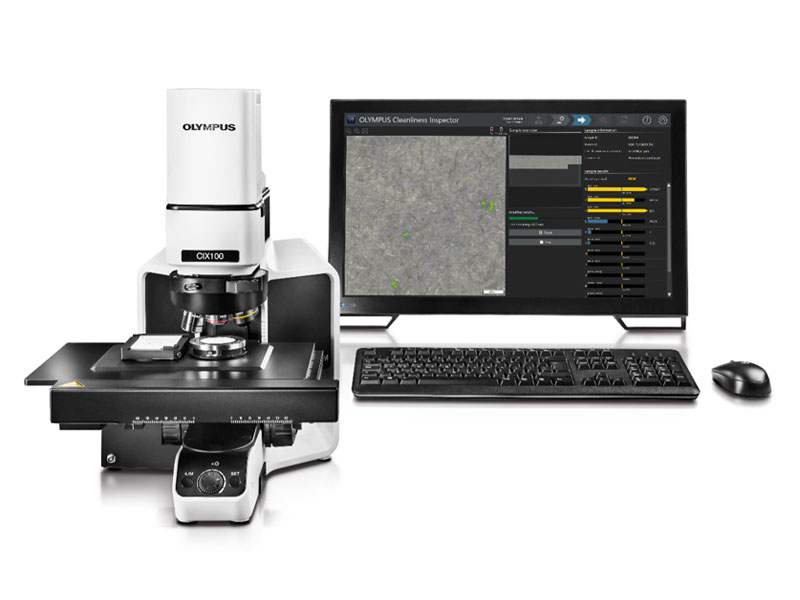
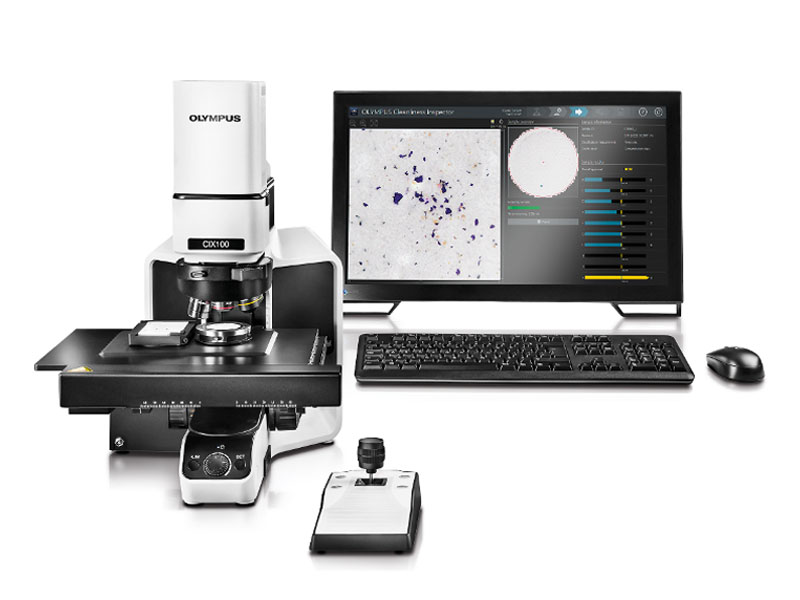
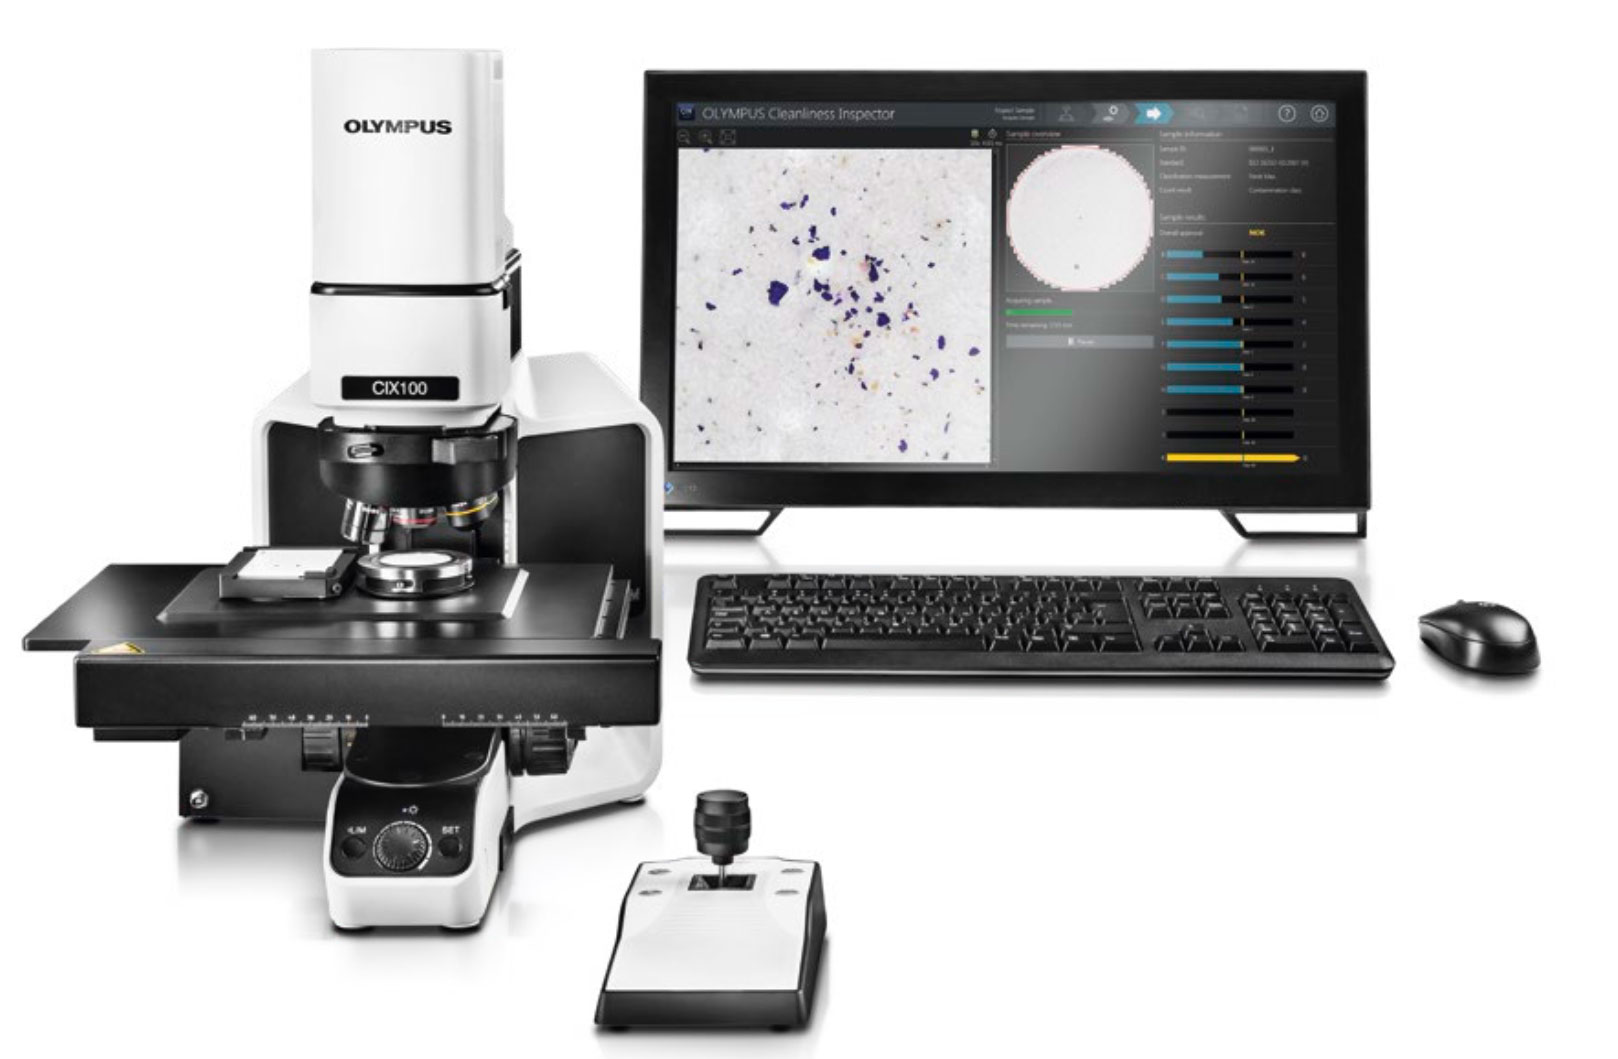
In every manufacturing process, particle contamination must be kept as low as possible so that there are no functional restrictions of the product. Component cleanliness is crucial and must be measured and assessed. With the expert Evident range of cleanliness inspector solutions, you are able to obtain, process, analyze, and document data for technical component cleanliness inspections, continuously meeting high cleanliness standards. From development to quality control, Evident cleanliness inspector systems provide accurate performance for maximum productivity. Designed to meet component cleanliness standards, our cleanliness inspectors offer intuitive software to guide you through every step of the inspection process. So, whether you’re an expert or a novice, acquiring cleanliness data is quick, easy, and efficient. |
Cleanliness Inspector Products
Component Cleanliness FAQs
What is the technical cleanliness workflow for component cleanliness inspections?
When using precise components, each must be completely free of contaminants to ensure they’re working properly and at their full potential. When discussing technical cleanliness, we’re referring to the process of measuring levels of particle contamination within a component to help ensure component cleanliness standards are met and users are left with a high-quality end product. The overall component cleanliness inspection workflow can be broken down into six parts, each of which we discuss in our ‘Breaking Down the Technical Cleanliness Workflow’ blog series, which you can visit below for more information. These are:
Part 1: Preparation.
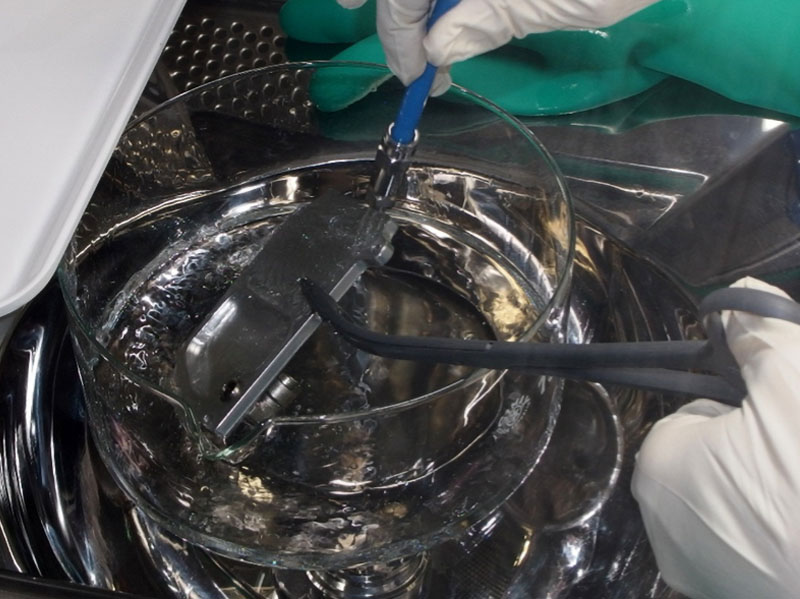
The first step of a cleanliness inspection is preparation, which includes extraction, filtration, drying, and weighing.
Part 2: Image Acquisition and Particle Measurement.
The second step includes calibrating the image pixel sizes and setting particle measurement parameters to prepare for particle size classification.
Part 3: Particle Size Classification and Particle Count Extrapolation and Normalization.
The third stage of the technical cleanliness workflow includes size classification, particle count extrapolation, and normalization. This includes defining size classes and the defined area being scanned and checked for particles.
Part 4: Contamination Level Calculation.
The fourth step of cleanliness inspection includes calculating contamination levels. This includes defining cleanliness codes and testing maximum approvals.
Part 5: Reflective/Nonreflective Particle and Fiber Identification.
Part five of the cleanliness inspection workflow includes separating reflective (considered metallic) and nonreflective (considered nonmetallic) particles and fiber (noncontaminant particle) identification.
Part 6: Reviewing Results and Reporting.
The final stage of the cleanliness inspection workflow is reviewing your results and creating different types of data reports.
Cleanliness Inspector Applications
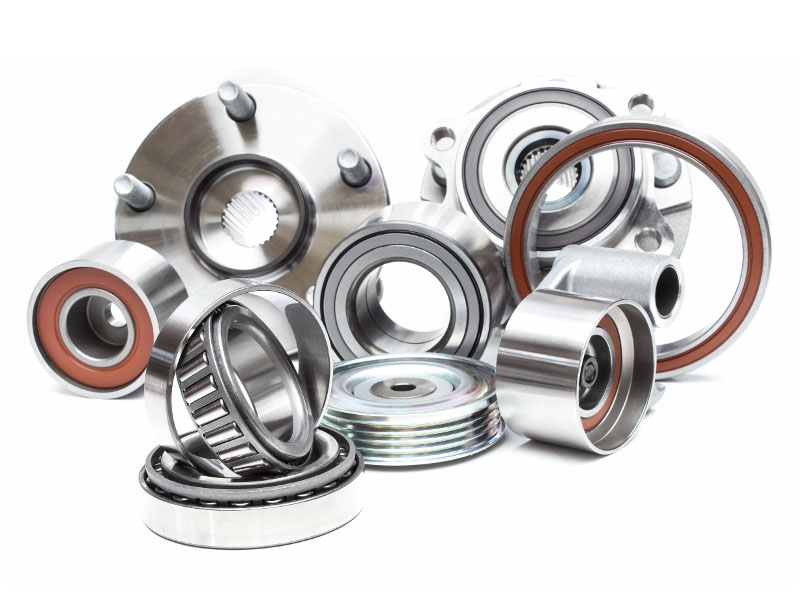
Automotive
Power Generation, Oil and Gas, and Steel Plants
Other Cleanliness Applications
Cleanliness Inspection Best Practices
Cleanliness Inspector Resources
Webinar: Moving Cleanliness into the Digital AgeThis webinar discusses how the CIX cleanliness inspection system can solve issues in the cleanliness process reliably and repeatedly. Watch Now | |
Blog: An Introduction to Technical Cleanliness InspectionThis blog covers the basics of component cleanliness inspection, including how technical cleanliness affects a product’s reliability, which application areas require technical cleanliness, and the systems required to conduct technical cleanliness inspections. Read Now | |
Brochure: Basics of Technical CleanlinessThis brochure describes a typical workflow for technical cleanliness analysis, including analyzing dark contaminants. Read Now | |
Brochure: Understanding International Standards for Technical CleanlinessInternational cleanliness standards specify methods to evaluate the cleanliness of component parts, as well as methods to prepare the filter membrane samples. Company-specific cleanliness standards are usually a variation of an international standard. Read Now | |
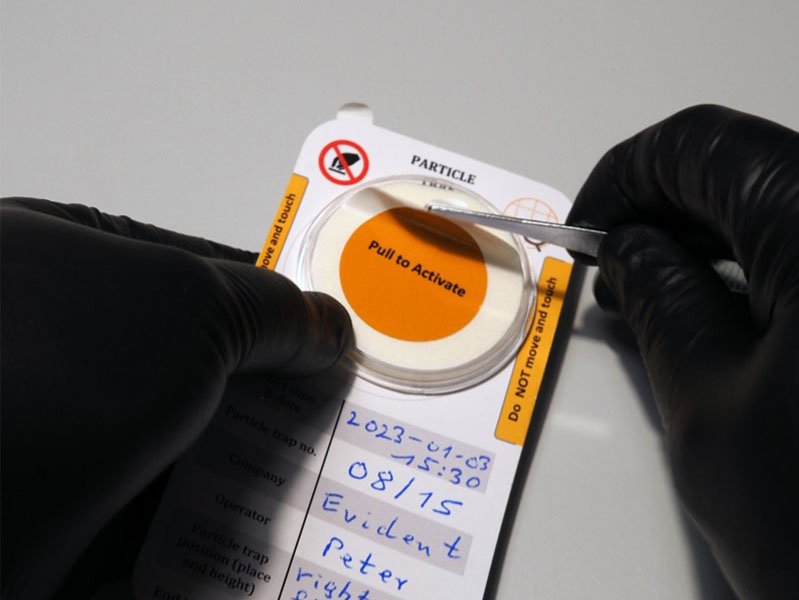
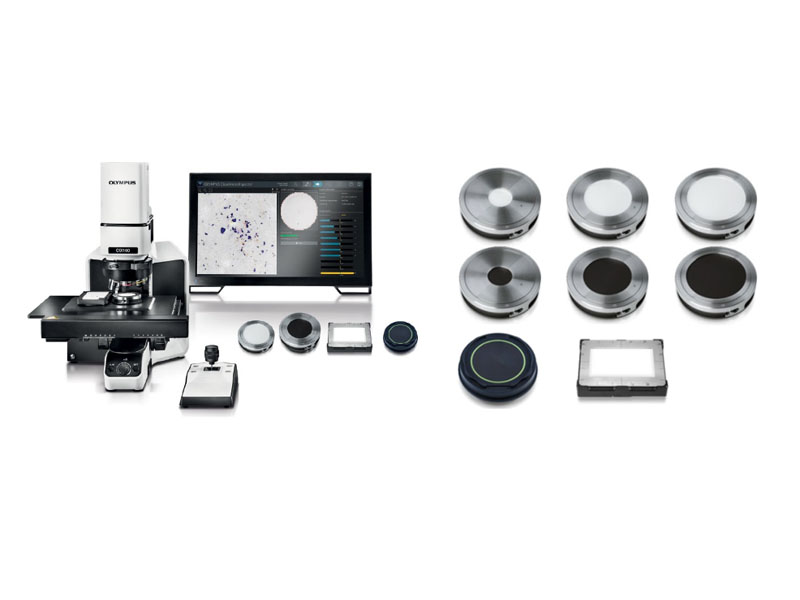
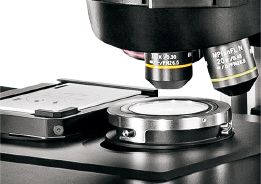
Brochure: Hardware AccessoriesDifferent cleanliness inspection applications require sample holders with either circular or rectangular inspection areas. This includes holders with white or black backgrounds for filter membranes with a diameter of 25 mm, 47 mm, and 55 mm; holders for tape lift sampling; holders with a flat surface for metallurgy applications; and holders for particle traps. Read Now | |
E-Book: Electric Vehicle Microscope SolutionsDownload our free e-book to learn more about metal contamination analysis of automotive lithium-ion batteries. Read Now |

