Overview
Reliable, Robust, and ReproducibleVersatile Microscope Inspection System |
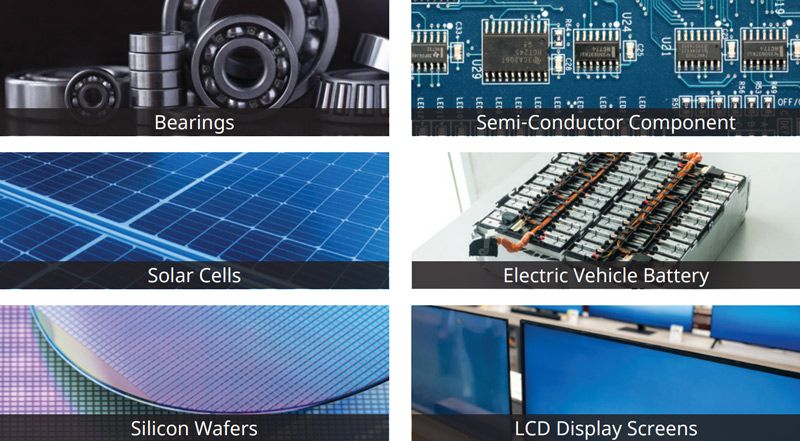
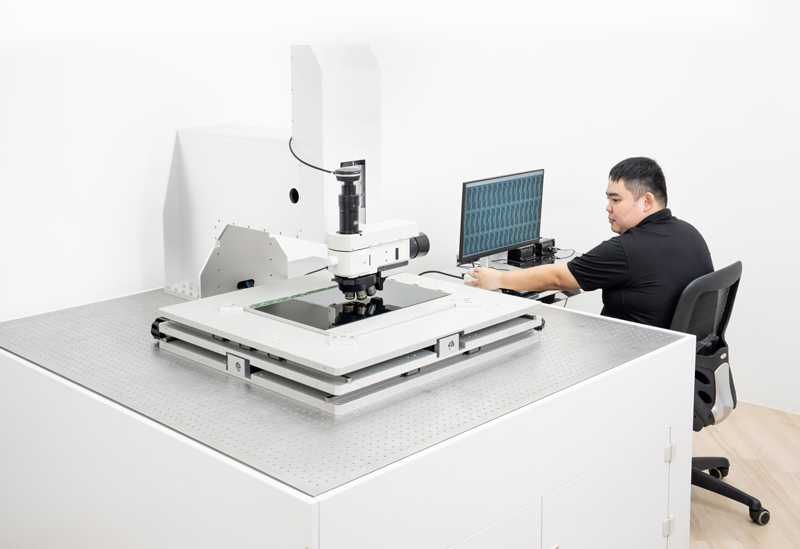
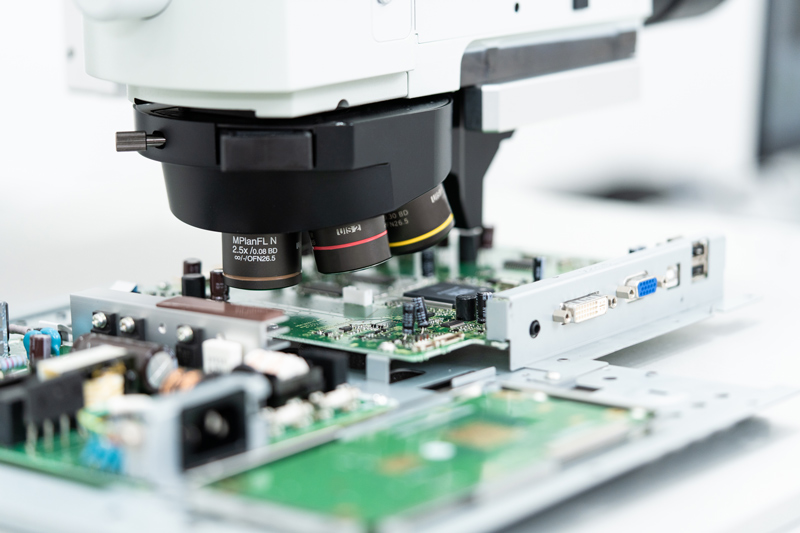
Streamline Your Inspection Process for Large SamplesIn semiconductor and electronic component manufacturing, industrial microscopes are essential in the quality control (QC) process to confirm crucial structural dimensions are within specifications. To meet the needs for efficient inspection in electric vehicle manufacturing, semiconductor manufacturing, and other industries, we developed a customizable microscope with a versatile stage that can be tailored according to various sample sizes and specific inspection workflows. The system includes our advanced microscope components with high-quality optics and robust software, enabling quick and accurate validation of electronic components, such as printed circuit boards (PCBs), semiconductor dies, and wafers from the micron range upwards. |
 | Automated Inspections with Consistent, Reliable DataThis solution is designed to automate all aspects of data capture, providing a straightforward process from data acquisition to reporting. Consistent and Reproducible
Intuitive and Automated
Time Efficient
|
Antivibration Table for Consistent ImagingThe system comes with an active antivibration table, enabling users to perform strict vibration-sensitive measurements. Offering additional stability, casters and leveling feet are attached on the bottom of the support frame, enabling users to easily move the table to a desired location. |
|
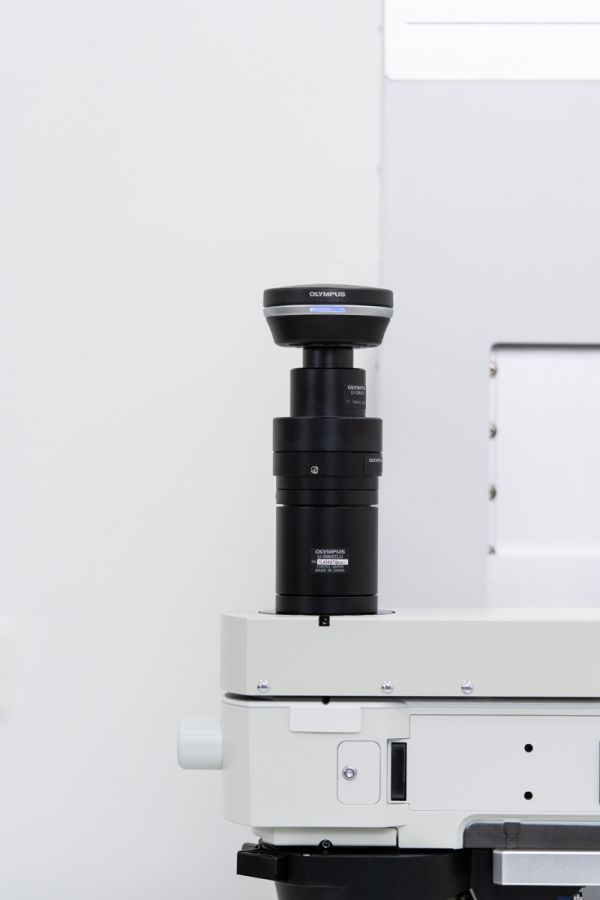
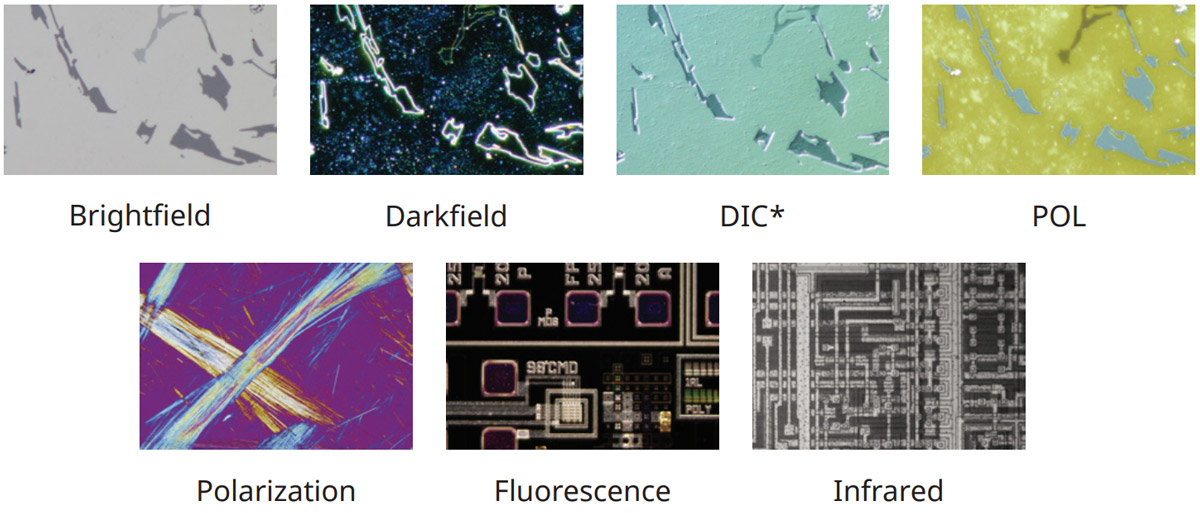
High-Quality Optical Lenses and Components Made for InspectionThe system’s integrated objective lenses are manufactured to the strictest quality standards. Performance variation is minimized owing to features such as wavefront aberration control. The high numerical aperture and long working distance of MXPLFLN objectives combine to enable precision inspection from further away, reducing the risk of the objective hitting your sample. Quickly switch between the most frequently used observation methods, including brightfield, differential interference contrast (DIC), polarization, infrared, fluorescence, and darkfield for different types of analysis. Our MIX slider enhances traditional darkfield with selectable quadrant LED illumination, enabling you to control the direction of light shining on the sample (directional darkfield). With MIX observation, directional darkfield can be used with brightfield, simple polarized light, or fluorescence observation to show more in your sample.
|
Easy-To-Use Software with Powerful Features | ||
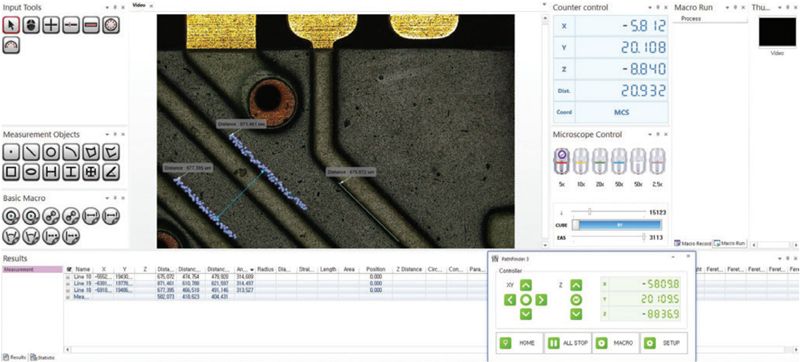 Edge Intensity Measurement Precisely Detects Defect EdgesThe software’s edge intensity scanner precisely and automatically detects the edges of defects and sample structures with straight lines, curves, circles, and points. | 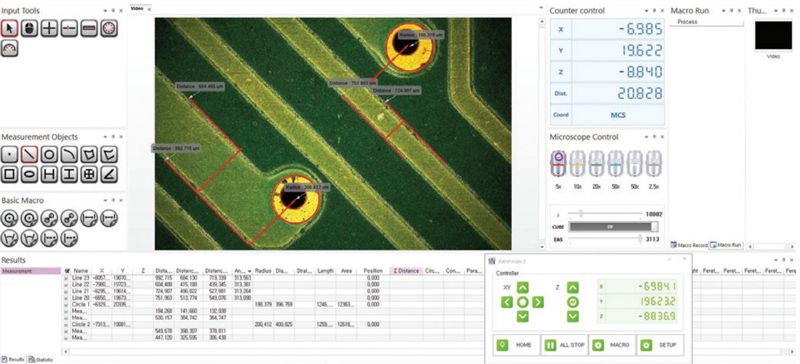 Perform Simultaneous Measurements in One SittingMulti-position acquisitions of repeated structures within the sample or between different samples positioned on the stage can be programmed and automated with the edge detection tool. | 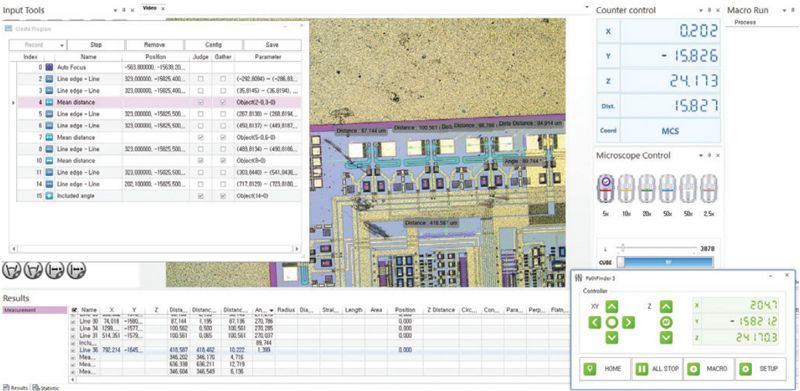 Macro Programming for Automatic Dimensional MeasurementsUse the program functions to seamlessly integrate multi-position acquisition, autofocusing, and automatic measurements into the edge detection workflow with a single click. |

