Over the past few months, we’ve covered the common sampling techniques used in technical cleanliness inspections. So far, we’ve taken a closer look at the washing method, direct liquid filtration, and tape lift sampling. Our final post in this series will discuss the particle trap method.
What Is the Particle Trap Method?
The particle trap method is widely used to monitor the environmental cleanliness of the assembly and logistics processes in production and clean rooms. This practice involves laying out a particle trap, which consists of an adhesive pad about the size of a filter membrane, in places with potential particulate contamination for a defined amount of time to collect air particle sedimentation. The time the particle trap is active is known as the sedimentation time.
Once the sample is collected, an inspector mounts the particle trap with the attached particles on a special sample holder to be analyzed using a light microscope. This analysis determines the particle number and particle size distribution, as well as calculates the sedimentation value (also called the Illig value). The sedimentation value is a single numerical value that is calculated from the number of particles detected in the different size classes during the sedimentation time. In the calculation, the detected particles are weighted according to their size because large particles have a much greater potential for damage than smaller particles.
Facilities can use the sedimentation value to compare the environmental cleanliness at different locations during a certain time period. This can help them identify areas with higher contamination and optimize the areas to prevent the entry of particles that could harm components and assembled systems.
The sedimentation value is included in the final analysis report. The inspector must document the sedimentation time and location of the particle trap in the report in addition to the general cleanliness results.
Simplifying the Microscope Inspection of Particle Traps
An automated microscope for technical cleanliness analysis can simplify the inspection of particle traps using guided workflows.
For instance, the software on our OLYMPUS CIX100 system includes a cleanliness standard and an inspection configuration customized for using a particle trap. It automatically performs the inspection according to VDA 19.2, an automotive standard for technical cleanliness in assembly, to provide the number and size of particles, as well as the sedimentation value. You can customize the inspection configuration, cleanliness standard, and report template used for the particle trap to your specific needs.
The automated CIX100 system works with specially developed particle traps and particle trap holders to ease the sampling and inspection process. Keep reading to learn more about how to use these tools in the particle sampling process.

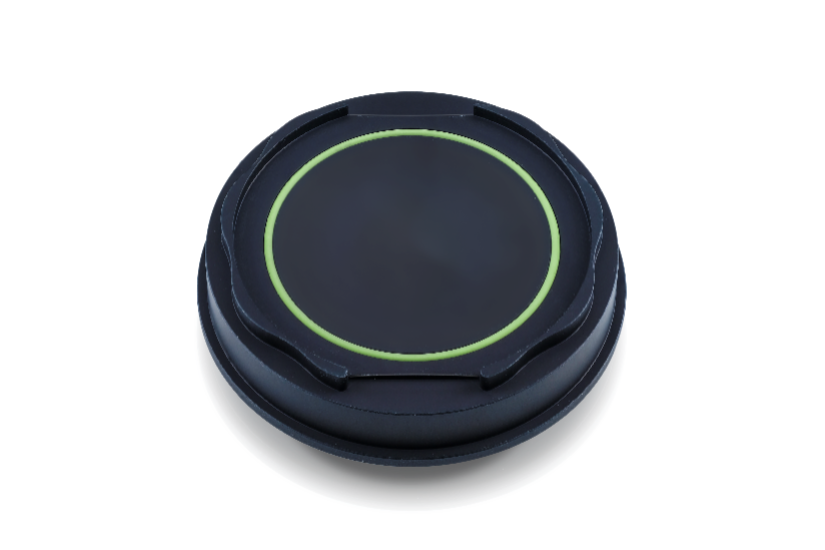
Particle trap
How to Collect Particles with a Particle Trap
The standard procedure to collect particles with a particle trap involves the following steps:
- Wear lint-free nitrile gloves during the sampling process to protect the particle trap from contamination.
- Lightly clean the place where the particle trap is to be placed using a lint-free cloth.
- Fill in the information fields on the card attached to the particle trap. Important: make sure to include the start time and date of sedimentation.
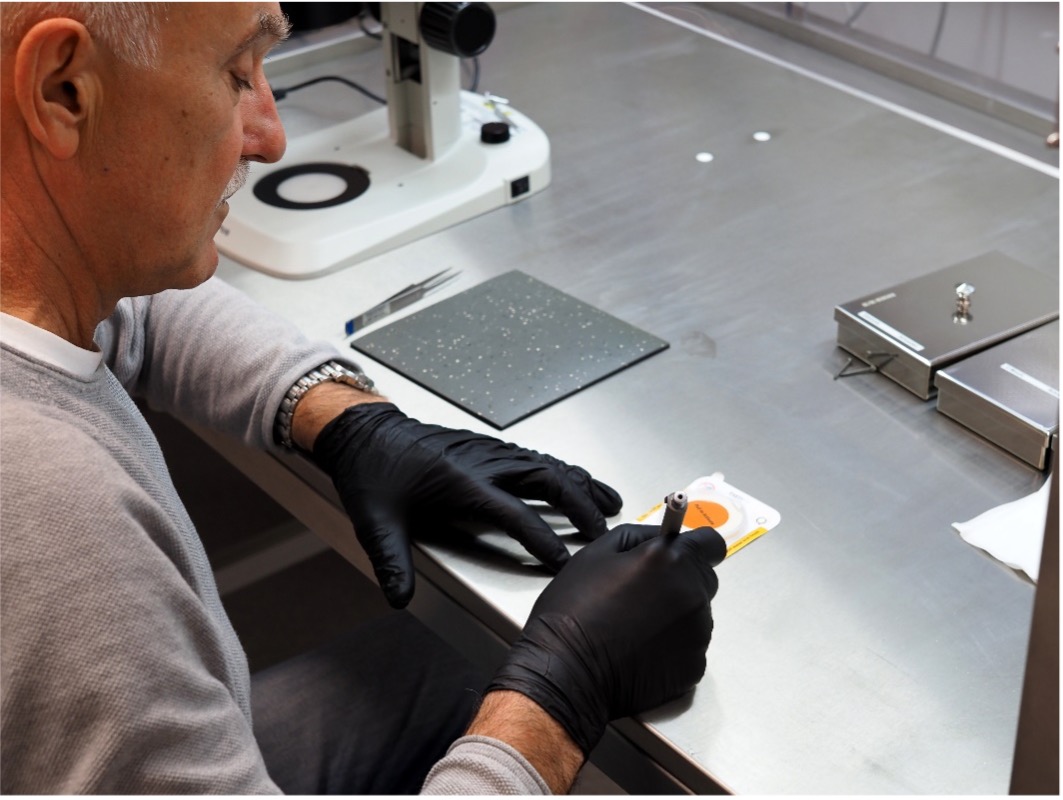
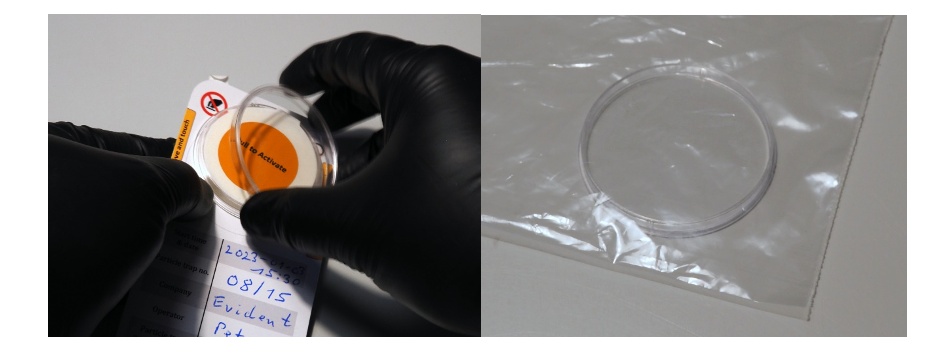
- Remove the lid on the particle trap and store it in a clean bag. Important: never leave the lid open to air or next to the particle trap to keep these tools free from contamination.
- The back of the particle trap can be attached to the surface where it will be placed to keep it from slipping. To do this, remove the protective film on the adhesive part on the back of the card and attach the card to the surface.
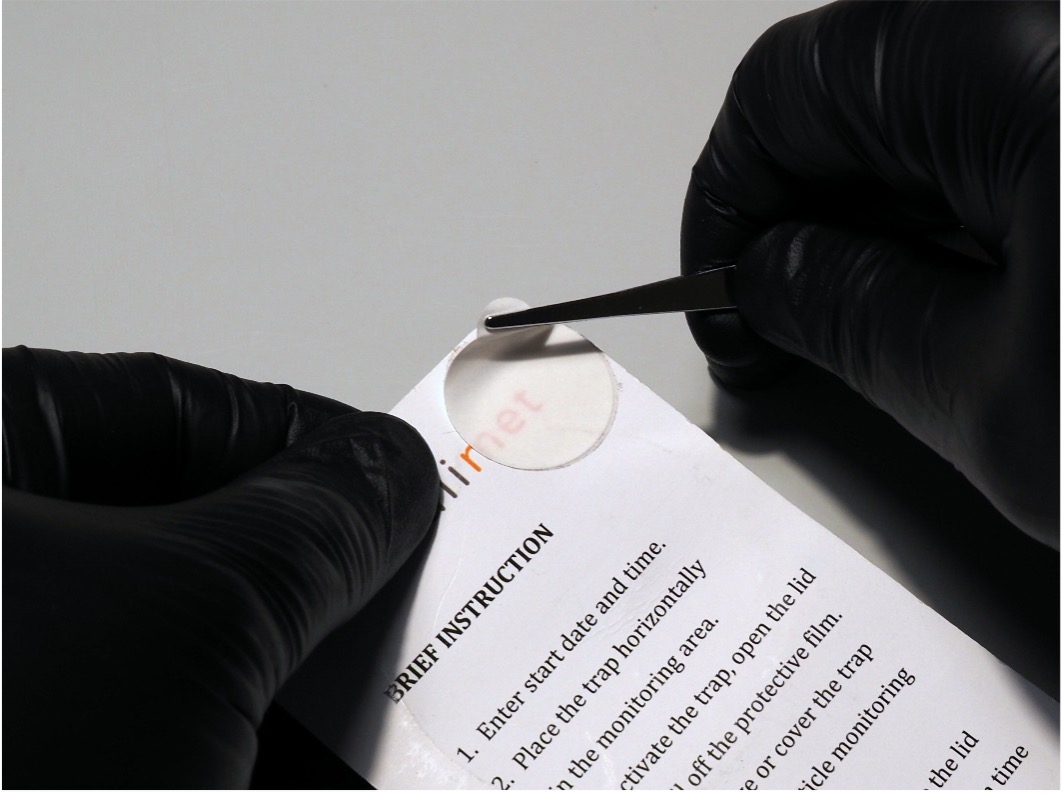
- Remove the protective film to activate the particle trap.
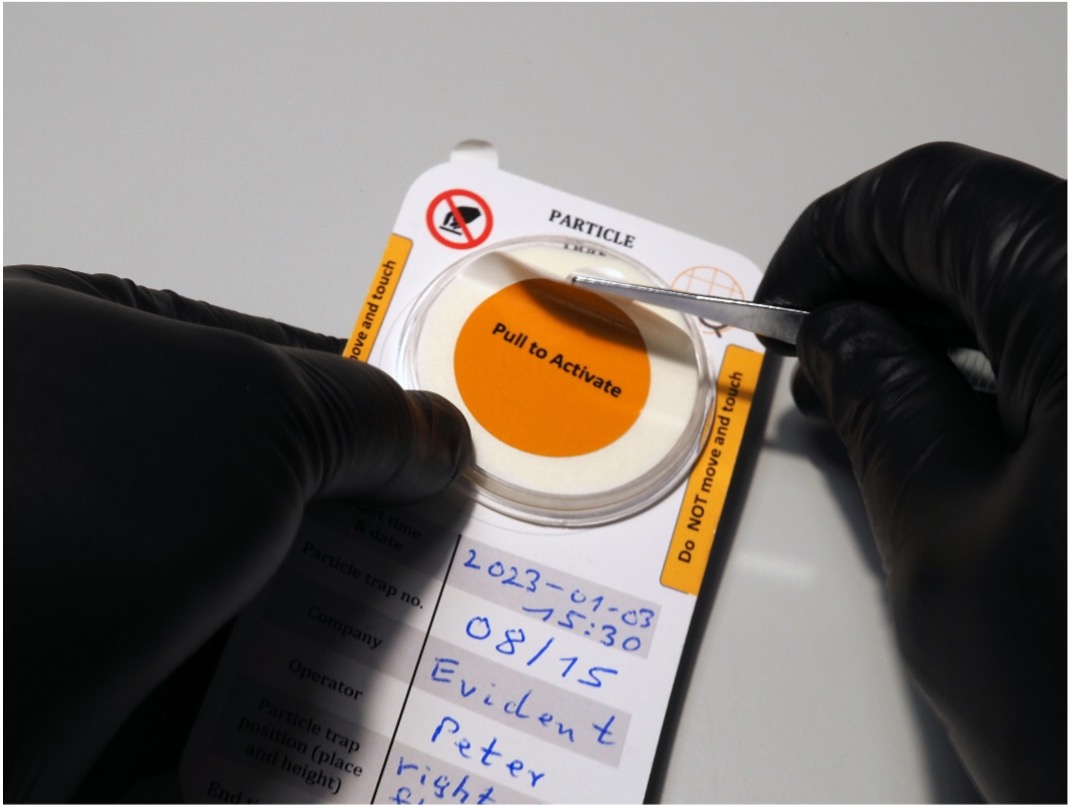
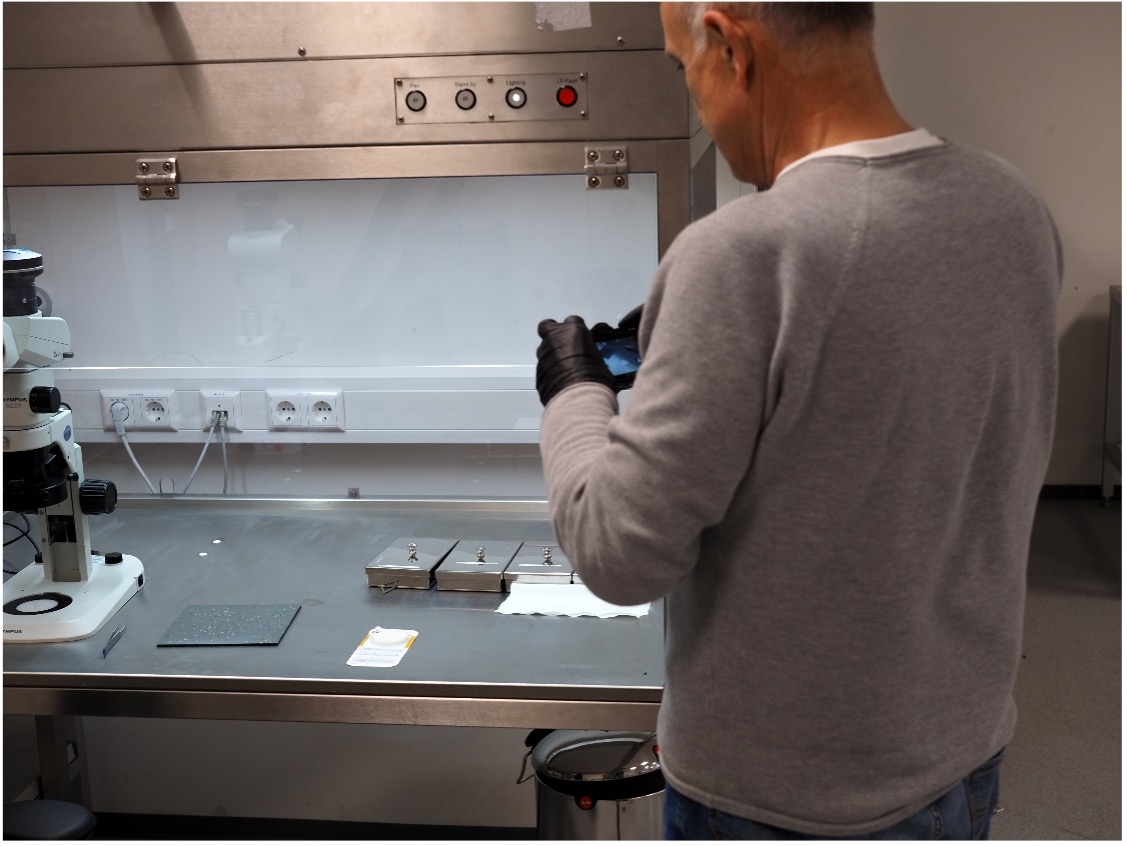
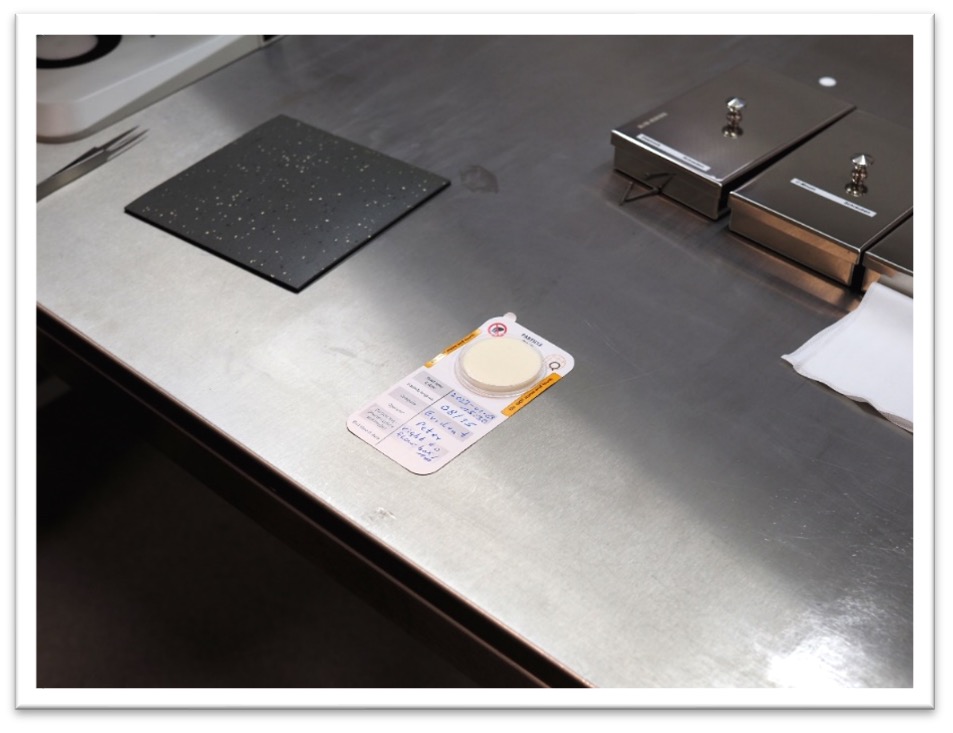
- Take a picture of the particle trap to document its location.
- Inform personnel about the trap so it remains unchanged during the sedimentation time. The particle trap will remain in place for about a week.
- While the particle trap is active, check the condition of the trap regularly. Note any particularities during the sedimentation time, such as special weather conditions (examples: storms, heavy rain, thunderstorms), changes or repairs to nearby machinery, personnel changes, or other changes in production that could affect the conditions in the facility or laboratory.
- Close the particle trap with the lid that was kept in the plastic bag.
- Document the date and time when the particle trap was deactivated on the card.
Analyzing the Particle Trap Under a Light Microscope
After sampling, the particle trap with the attached particles is then mounted on a special sample holder for inspection using the CIX100 system. Simply mount the holder on the system, detach the particle trap from the information card, and place the particle trap without the lid on the holder.


From here, the software will guide you through the workflow to acquire and analyze the image of the particle trap. It automatically optimizes the imaging conditions for the particle trap and performs the inspection according to the VDA 19.2 standard (or your custom configurations).

Make sure to input the information from the particle trap card into the sample information fields so that the data appears in the reporting. It is necessary to state the sedimentation time (the time span between the start time and end time when the particle trap was active on a surface) so that the software can calculate the sedimentation value.
Below is an example report for a particle trap according to VDA 19.2. The report shows the cleanliness inspection data along with images of the sample and its location for quick visual reference.

To learn more about our automated microscope for technical cleanliness inspection and hardware accessories designed for particle traps, check out the brief video below:
Related Content
Common Sampling Techniques for Technical Cleanliness Inspections
An Overview of the Washing Method in Component Cleanliness Inspections