 General Description of the Application
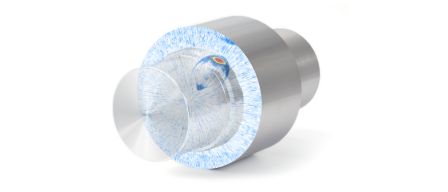
Hydrogen-induced cracking (HIC) can occur in susceptible steels exposed to aqueous environments containing hydrogen sulphides. It is a form of hydrogen-related cracking and can have two distinct morphologies:
1. The first type is commonly referred to as hydrogen-induced cracking (HIC) and can occur where little or no applied or residual tensile stress exists. It is manifested as blisters or blister cracks oriented parallel to the plate surface.
2. The second type produces an array of blister cracks linked together in the through thickness direction by transgranular cleavage cracks. The latter type of cracking is referred to as stress-oriented hydrogen-induced cracking (SOHIC). SOHIC can have a greater effect on serviceability than HIC because it effectively reduces load carrying capabilities to a greater degree.
The inspection requires characterization of the defect areas to differentiate between spot inclusions, laminations, and different stages of hydrogen-induced cracking (HIC).
The benefit of electronic angle sweeping (S-scans) provided by the OmniScan™ allows simultaneous scanning from −30 to +30 degrees. The imaging from this scanning technique allows the user to distinguish between spot indications and interconnected defects.
Typical Inspection Requirements
- Heavy wall carbon steel vessels
- Thickness ranges of 10 mm (0.375 in.) to 150 mm (5.9 in.)
Advantages of Phased-Array Technique
- Imaging giving easy interpretation of links between defects
- Setup time between inspections decreased due to portability
Type of Defects
- Spot inclusions
- Laminations
- Side step cracking (SOHIC)
Description of the Solution
- Manual inspection using an OmniScan™ and phased-array probe
- Inspection setup using a −30- to +30-degree LW refracted angle sectorial scan
- Real-time display of A-scan and S-scan data
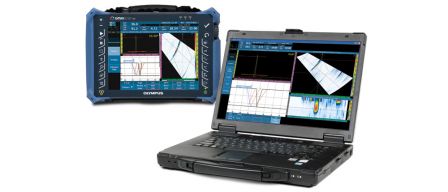
- Capable of storing display screen captures or full data file for analysis on computer-based software (TomoView™ or OmniPC)
Equipment Required
- OmniScan MX or OmniScan MX2 or OmniScan SX
- 5-MHz 16-element phased-array probe
- TomoView® or OmniPC software for analysis
Inspection Method
A 0-degree raster scan is used to find the area that has laminations. Then the phased array probe using the −30- to +30-degree S-scan setup is manually scanned over on the areas where defects have been found to determine if there is a link between those defects.
Screen shots and reports of the defect can be immediately created for later printouts.


