Application
In the die casting process, molten metal flowing into the die may harden before it is fused completely, producing shallow wrinkles on the die-cast surface. This phenomenon is known as ripple marks. The ripple marks are problematic because they distort the external appearance of the product and may cause damage or deformation when stress is applied.
Olympus' solution
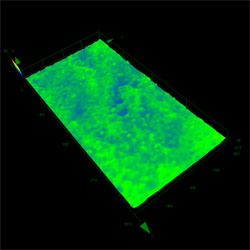
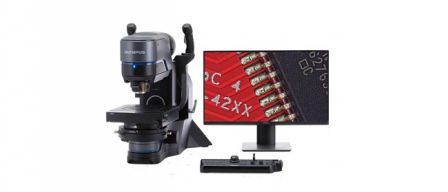
Olympus' DSX digital microscope easily creates accurate three-dimensional micro surface profiles, making it the ideal choice for defect management. Instead of dragging a contact stylus across the material’s surface, the DSX uses an optical method to create a 3D rendering of surface features. This ensures that delicate surfaces are not scratched or damaged. The DSX also features differential interference contrast (DIC) so users can easily observe even fine irregularities.
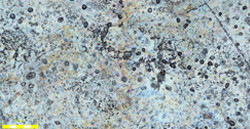
Non-defective surface
| Defective surface
|


