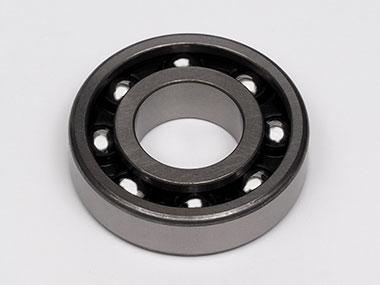
Deep-grooved bearing
Application - Inspecting ball bearings
Bearings are important components of mechanical drive units. They enable a machine’s rotating parts to move smoothly by reducing friction. To maximize the bearings’ performance, they must be precisely machined. Any metal contamination during the manufacturing process can impede the bearings’ ability to rotate with minimal friction, potentially causing them to fail and damaging the drive unit. Even contamination by metal pieces a few µm in size can cause the bearing to fail.
To help prevent contamination, bearings are cleaned during each step of the manufacturing process and then tested for contamination as part of post-manufacturing quality control.
To properly assess the level of contamination, inspectors need a system that can accurately count the number of contaminant particles and measure their size and shape.
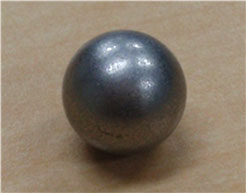
A ball bearing whose surface has become rough due to contamination
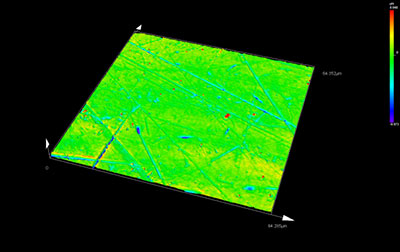 | 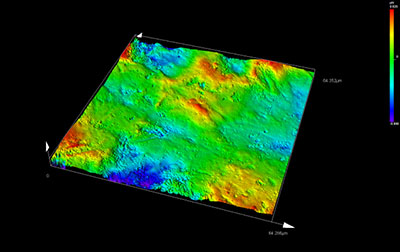 |
Comparison of surface roughness images: a nondefective ball bearing (left) and a defective ball bearing (right); images captured with a laser microscope
* The surface roughness of the defective ball is significantly deteriorated
Ball bearing inspection solution
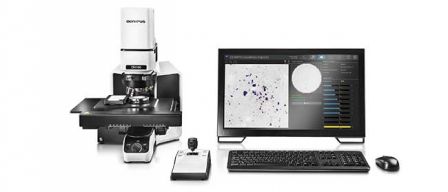
Analysis using the OLYMPUS CIX100 technical cleanliness inspection system
Fast, reliable ball bearing inspection
- The OLYMPUS CIX100 system offers integrated hardware and software designed specifically for contamination analysis. The result is reliable, reproducible contamination analysis data. For bearings and other machined products, detecting contamination helps ensure the quality of final products.
- The system’s optical system can detect metallic and nonmetallic particles in a single scan, helping save time. High-speed hardware control and an advanced algorithm designed for particle analysis further enhance the system’s speed. The speed of the inspection system is important for products that are produced in large quantities, like bearings, because more of them need to be inspected as part of the quality control process. The faster each bearing can be inspected, the more cost-effective the overall production process is.
- In some cases, the results of the bearing inspection many need to comply with different company or government standards. The OLYMPUS CIX100 system makes it simple to display the inspection results in a way that complies with many of these standards, including enabling users to create their own standards.
Image
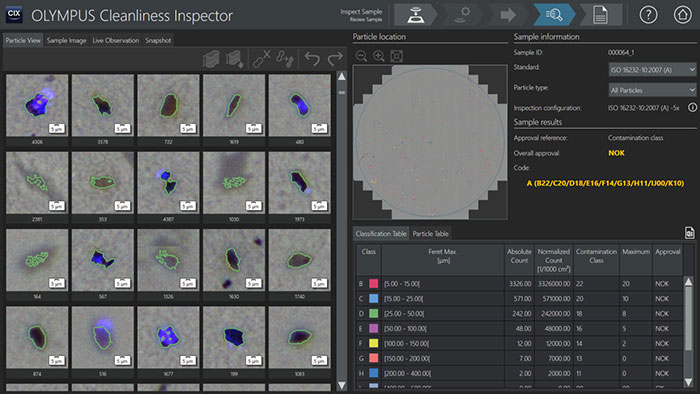
Contamination data is classified by size after each particle is detected

