Micro-sized measurement using a laser microscope
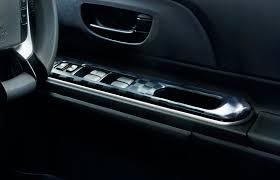
Automobile switch covers
(1) Application
Embossing on the surface of dashboards, seats, door trim, and other interior components of automobiles contribute to the product’s aesthetic value and influence the satisfaction of car buyers.
Door switch buttons are one of these aesthetic components, and the material, texture, and color of the buttons in proportion to the surrounding door trim has a significant influence on the value of the overall product. Although the emotional impression derived from perceived differences is important, automobile manufacturers require a quantitative evaluation.
(2) Olympus' solution
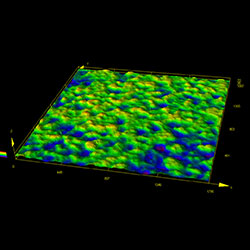
The texture of the embossing on door swtiches can be evaluated using Olympus' LEXT OLS5000 3D scanning laser microscope, which is capable of high-resolution and high-precision 3D data display and surface roughness analysis. The LEXT OLS5000 microscope’s laser optical system is a noncontact type, yet it provides the same roughness (two-dimensional) parameters as contact-type microscopes and produces compatible results. The OLS5000 microscope also provides three-dimensional roughness parameters that comply with ISO25178, enabling you to obtain more information than mere line roughness through surface-area evaluation using 3D images and numerical data. High resolution data can be acquired for multiple points on the surface by saving measurement coordinates in Stitching mode, increasing the field of view exponentially.
Images
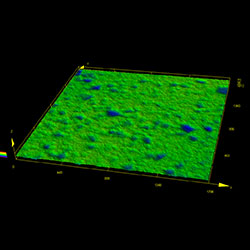
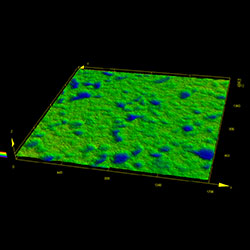
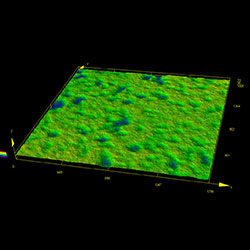
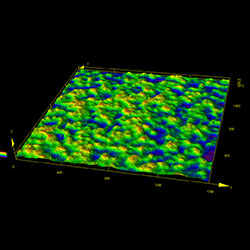
(1) Sample A (20X objective, 3×3 stitching of 640 µm2 points for an effective field of vision: 1800 µm2) | ||
Measurement point 1 |
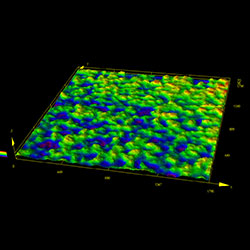
Measurement point 2 |
Measurement point 3 |
| Parameter | Sq [µm] | Sa [µm] | Sz [µm] |
| Point 1 | 3.402 | 2.536 | 27.709 |
| Point 2 | 4.655 | 3.438 | 36.533 |
| Point 3 | 4.616 | 3.541 | 37.549 |
| Average | 4.367 | 3.299 | 33.438 |
| Standard deviation | 0.647 | 0.519 | 4.527 |
| ||
Measurement point 1 |
Measurement point 2 |
Measurement point 3 |
| Parameter | Sq [µm] | Sa [µm] | Sz [µm] |
| Point 1 | 8.467 | 6.927 | 57.411 |
| Point 2 | 9.235 | 7.576 | 57.320 |
| Point 3 | 9.190 | 7.488 | 63.444 |
| Average | 8.983 | 7.340 | 59.441 |
| Standard deviation | 0.354 | 0.288 | 2.867 |
