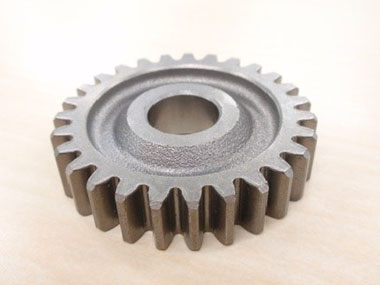
Automobile gear
Inspecting Gear Teeth Surface Roughness for Electric Engines
In recent years, regulating automotive gas emissions has become a global trend. Accordingly, the production and sale of so-called “eco-friendly cars,” such as electric, hybrid, and plug-in hybrid vehicles, is rapidly spreading. (The definition of eco-friendly cars varies from country to country — some do not recognize hybrid vehicles as eco-friendly cars, but we include hybrid cars here.)
Eco-friendly cars feature either zero carbon-dioxide emissions or lower emissions than gasoline vehicles. They are also quiet with minimal noise pollution. Gasoline vehicles, on the other hand, tend to generate a lot of driving noise owing to the movement within their engines, such as the up and down reciprocation of the pistons.
Electric motors rotate, making eco-friendly cars much quieter than gasoline-powered cars when driving. Even though their quietness can make approaching electric cars difficult to notice, this feature is generally seen as an improvement. However, some components in an eco-friendly car can increase the driving noise level; for example, the engine gears if the surfaces of the teeth are not smooth enough. For this reason, the gear teeth used in eco-friendly cars are more likely to be subjected to stringent surface roughness requirements. The tools used to validate the surface roughness of these gear teeth need to be capable of high accuracy to meet these demands. Additionally, contact-type measurement devices, such as stylus-based systems, risk damaging the gear’s surface during measurement.
Olympus' Solution: Roughness Measurement using the OLS5000 Microscope
The noncontact LEXT OLS5000 3D laser scanning microscope offers high precision measurement of gear teeth surface roughness:
(1) The surface is scanned with a 0.4 µm diameter laser light to acquire highly precise data, which enables measurement of minute gear teeth roughness that is difficult to measure with stylus-based, contact-type instruments.
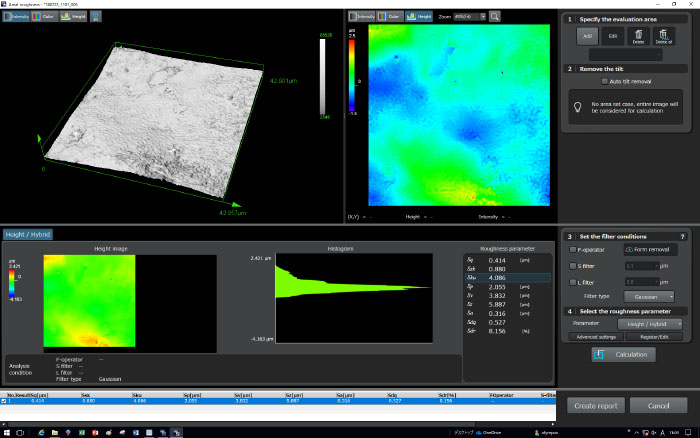
(2) Because laser microscopes’ roughness measurement is planar based (not merely linear), color and laser images and 3D profile data can be obtained simultaneously, making your analysis of gear teeth roughness more extensive than with a stylus-based system.
(3) The OLS5000 microscope is equipped with a function that horizontally stitches various kinds of data, enabling you to quickly measure a wider field of view with high accuracy.
Images

Gear teeth surface roughness measurement example
(using a replica; 100X objective lens; 3x optical zoom)

