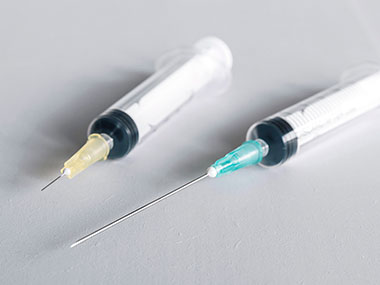
Medical needles
Surface Roughness Standards for Medical Needles
Medical needles have many uses. Since they are directly inserted into a person’s body, manufacturers must follow international and national standards for materials, shape, and the strength of the needles.
The standard dimension values for shape include length, outer diameter, and the angle of the needle tip. The needle’s surface condition must also be measured; specifically, the minimum load for withdrawing a needle is specified for each outer diameter to prevent the needle from coming out during injection.
On the other hand, the needle’s surface needs to be as smooth as possible to penetrate the skin easily and minimize the patient’s pain. Many needle manufacturers set their own standards that they consider appropriate for surface roughness to satisfy these two requirements.
Challenges of Measuring Surface Roughness on Medical Needles
Traditionally, inspectors measure surface roughness with a contact stylus surface roughness tester. However, measuring with this device presents two problems:
1) Difficult to correctly position the stylus on small-diameter needles
Needles with an outer diameter less than 1 mm have a minute measurement area. As a result, the measurement probe of a contact stylus surface roughness tester often fails to pinpoint the correct measurement position.

2) Fine surface roughness cannot be measured on small-diameter needles
The probe’s tip can contact a minimum diameter of 2 µm, and the tester cannot measure surface roughness any finer than this measurement.
Benefits of Measuring Surface Roughness on Medical Needles Using the OLS5000 Laser Scanning Confocal Microscope
1) Easily set the measurement position using precise microscopic observation
With a clear magnified image of up to 17,280X, you can easily find and measure the correct position on small-diameter needles.
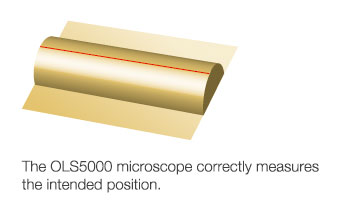
2) Measure minute roughness with high precision
The OLS5000 microscope employs a 405 nm violet laser that enables a 0.4 µm measurement diameter. The small-diameter laser makes it possible to detect minute roughness on a needle’s surface without actual contact.
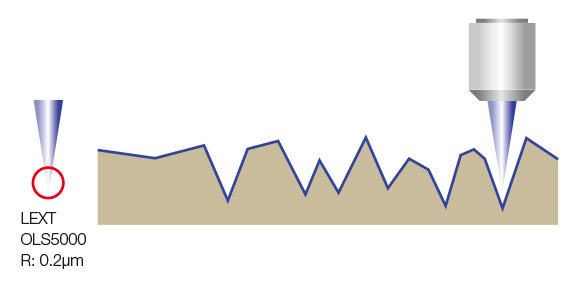
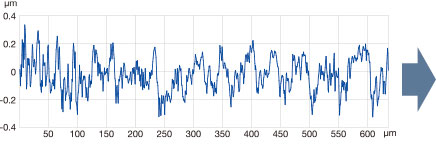
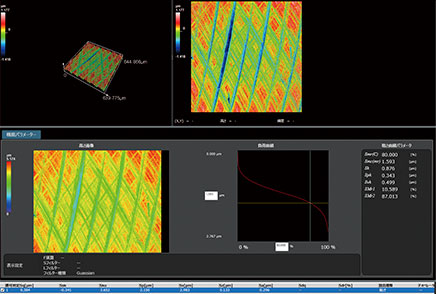
A contact roughness meter can only obtain surface roughness information on the one line traced with its measurement probe. In contrast, the OLS5000 microscope scans with a laser to obtain an extraordinary amount of accurate surface data. See the difference in the images below:
|
|
3) Use the stitching function to obtain roughness data over long distances
In general, the field of view for measuring roughness with a laser microscope is from tens to hundreds of microns. However, a thin tube-shaped sample, such as a needle, often has a measurement area of several millimeters. Using the OLS5000 microscope’s data-stitching function, it is possible to measure such a long distance by pasting several pieces of roughness data along a plane.
Measuring the Surface Roughness of a G21 Needle Using the OLS5000 Laser Scanning Confocal Microscope
To illustrate these benefits, here’s an example. We used the OLS5000 microscope to measure the surface roughness of a G21 needle (outer diameter: 0.8 mm). The image below shows data from a single field of view (measurement area: 256 µm × 256 µm, magnification: 1,080X):
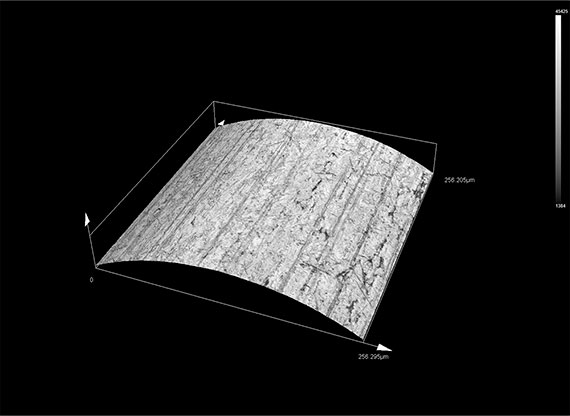
Image captured with the OLS5000 laser scanning microscope
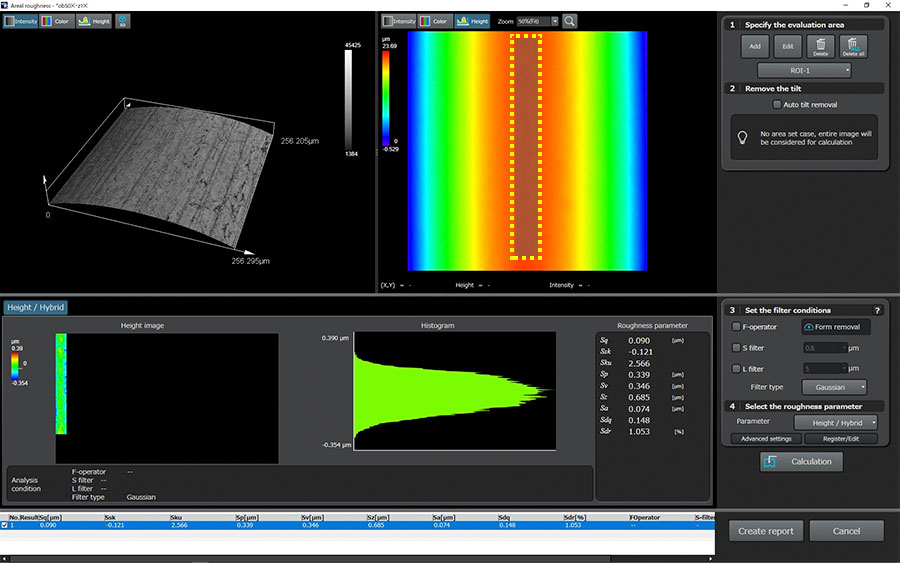
On the roughness measurement screen shown above, the roughness of the yellow-dotted area was measured. You can recognize the quality of the needle’s surface condition with an attached image and the numerical roughness data.
The image below shows data from seven fields of view (measurement area: 256 µm × 1,640 µm, magnification: 1,080X):
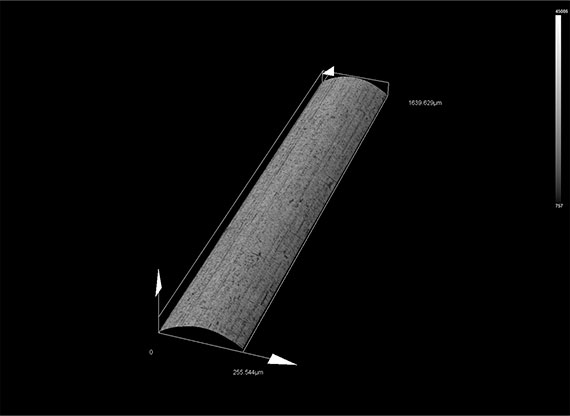
Seamless image made by pasting seven consecutive images acquired by the OLS5000 confocal microscope.
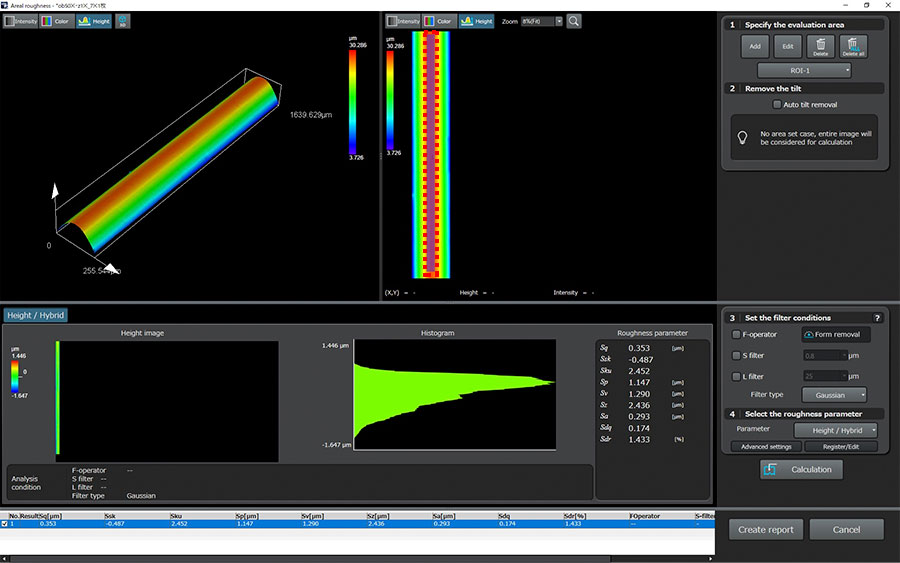
On the roughness measurement screen shown above, the roughness of the red-dotted area was measured. Both accuracy and repeatability are assured in the pasted data as well.

