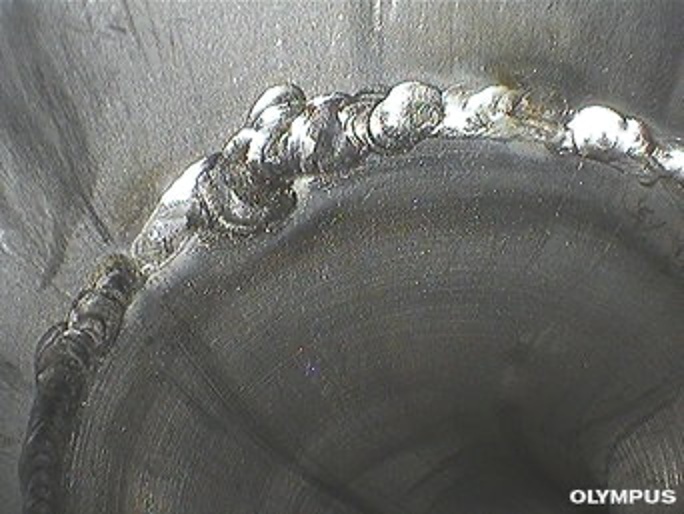
Videoscopes are remote visual inspection (RVI) tools that enable inspectors to see welds on the interior diameter (ID) of a pipe and measure any cracks, the heat affected zone (HAZ), and corrosion on the welds. However, achieving accurate measurements can sometimes be difficult due to the curve of the pipe.
This blog will explore the challenges of pipe weld corrosion inspections and provide an easier way to achieve accurate measurements with your videoscope.
The Challenges of Pipe Weld Corrosion Inspections
Many videoscopes still rely on 2D images, which can complicate things when it comes to measuring complex and curved shapes like pipes. 2D videoscope images require you to find the highest and deepest point manually. And yet the dimensions of the weld are often unclear on the image. This can make it difficult to be confident in your measurements and add time to the inspection.
Fortunately, modern RVI tools like the IPLEX™ NX videoscope are equipped with the newest technology and imaging capabilities to ease your inspections. One helpful capability for weld corrosion inspections is 3D modeling.
Read on to learn what 3D modeling is and how it can help you take more confident measurements for pipe weld inspections.
What Is 3D Modeling?
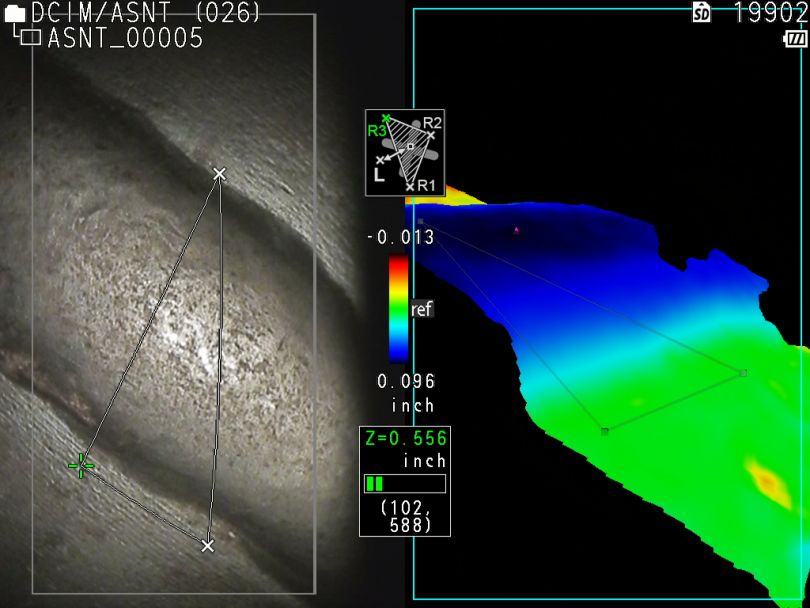
3D modeling is a videoscope feature that can help inspectors better visualize the shape of complex components with various 3D views. For example, a 3D model of a target object can be rotated to check the placement of measurement and reference points, sliced to remove unwanted objects from the view, and color-coded to show protrusions and depressions at a glance.
You can learn more about these powerful 3D modeling views in our blog post, How to Confirm Videoscope Measurement Points with Confidence.

Color-coded visuals enable fast analysis of protrusions and depressions.
How 3D Modeling Improves Pipe Weld Corrosion Inspections
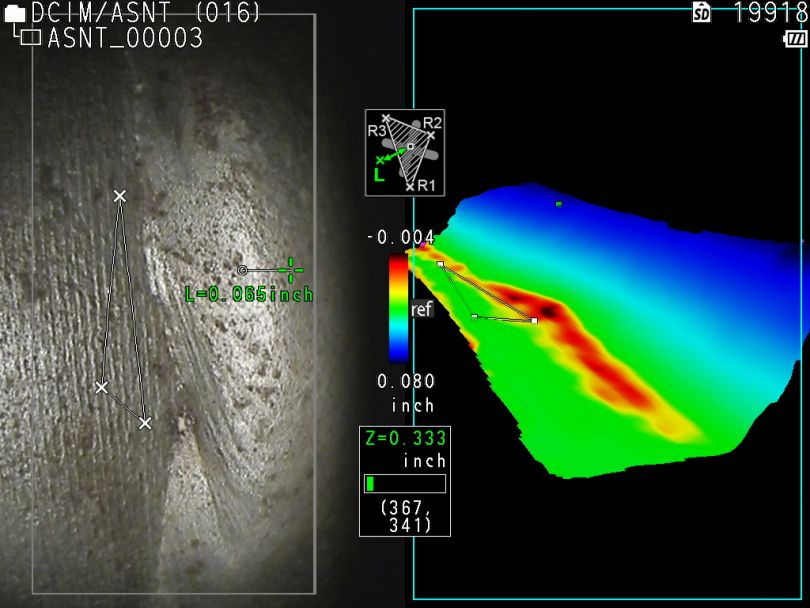
3D modeling can help you accurately measure the weld dimensions, such as the width, height, and pitch (ratio of width and height), in a short time compared to using a videoscope with 2D images.
Consider this example: when measuring the height of a weld on a pipe’s ID, depth measurements are performed relative to a flat plane provided by the videoscope user. Yet, it’s difficult to create a plane with a thin enough width to lay flat on the curve of the ID.
Visual verification is helpful for this task—and this is where 3D modeling comes in handy. The user can rotate the 3D model to see how close the plane is to the curvature to confirm its placement. 2D videoscope images cannot provide this crucial information.
As we mentioned before, 2D videoscope images require you to find the highest and deepest point manually. 3D modeling greatly simplifies this process. The deepest and highest points can be automatically displayed as △▽, eliminating the need to manually search for the measurement points.
The result is more confident measurements for improved inspection efficiency.

Take more confident depth measurements with 3D modeling.
Improve Your Measurement Accuracy with 3D Modeling
3D modeling is a powerful tool to take more accurate measurements for pipe weld corrosion inspection in midstream oil, process piping, and refineries, as well as many other applications. To see what 3D modeling looks like in action, watch this quick video:
Related Content
How to Confirm Videoscope Measurement Points with Confidence
Brochure: IPLEX NX Industrial Videoscopes
Get In Touch

