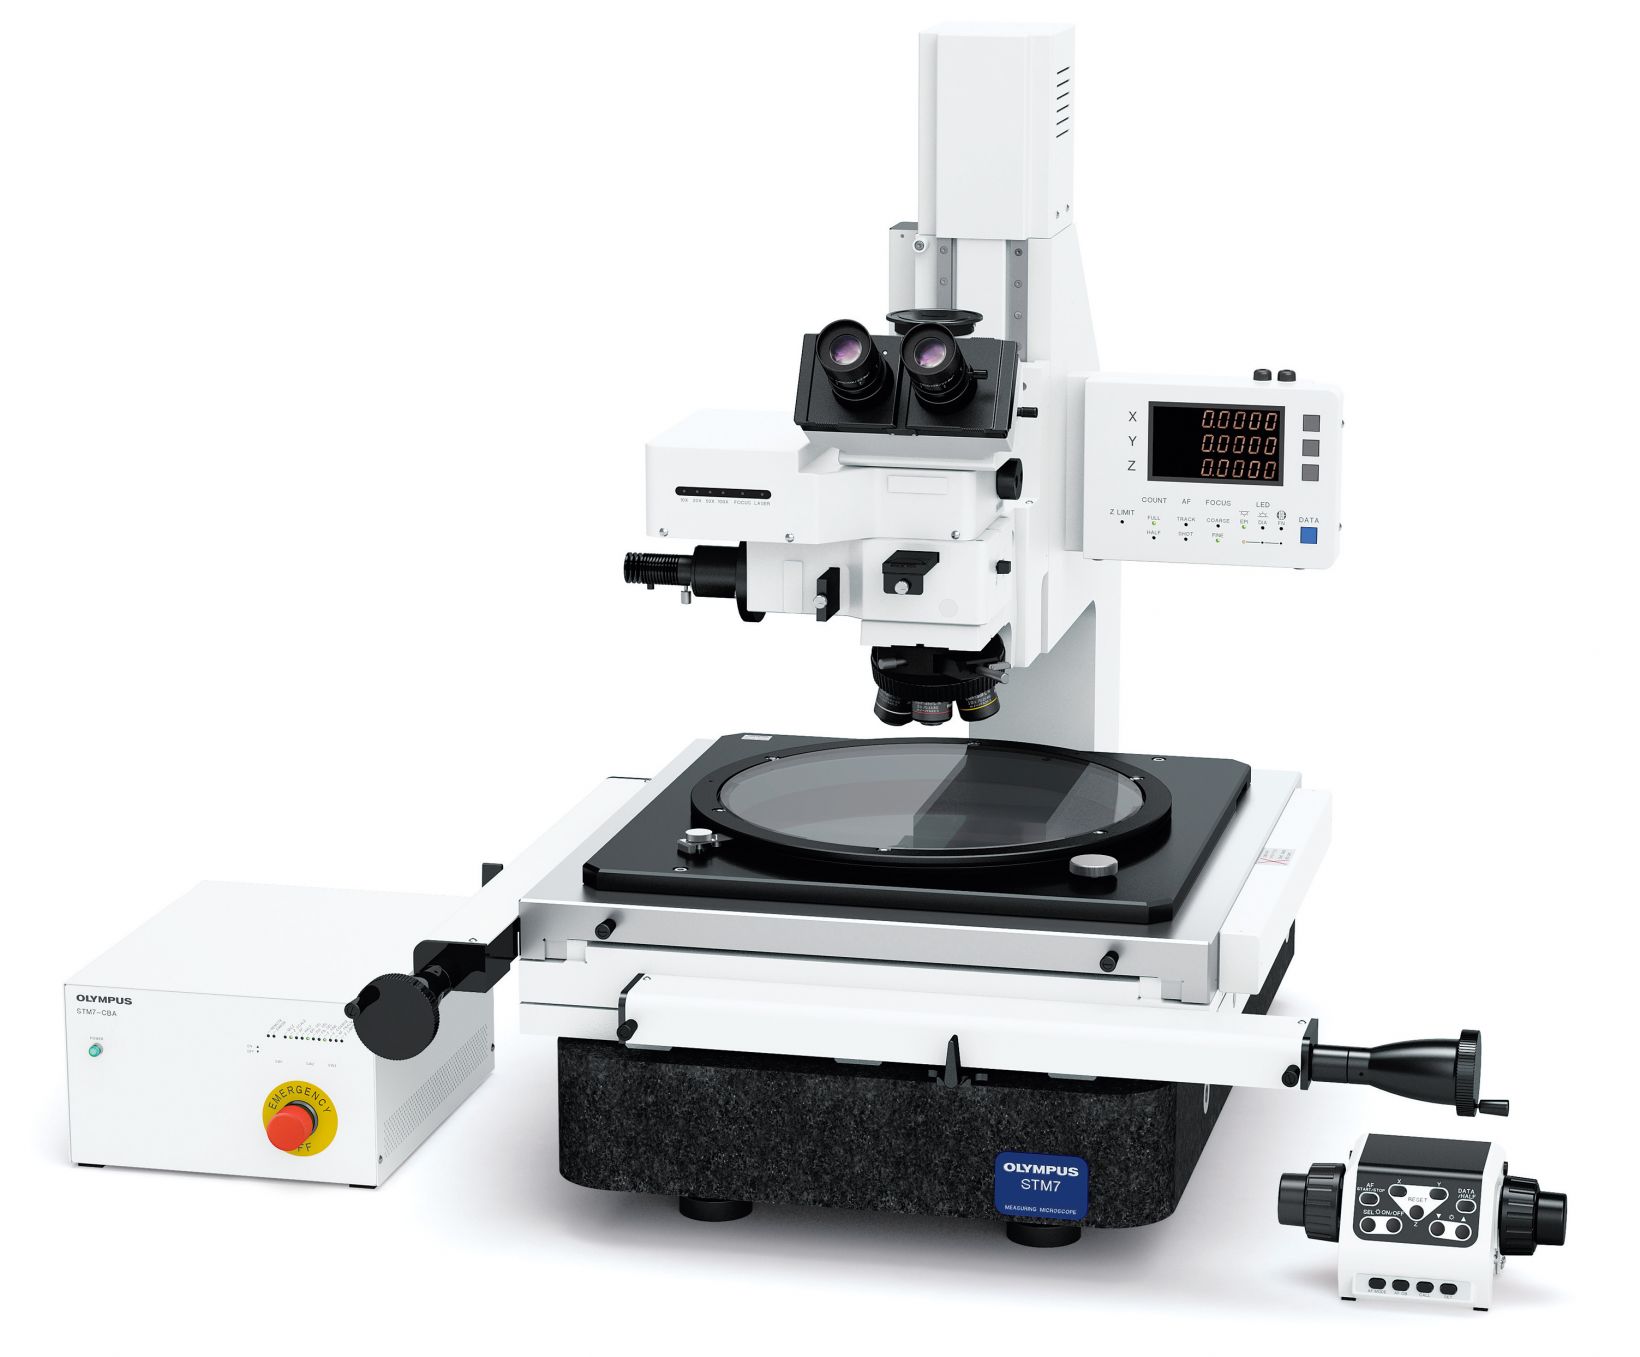
Remember the fairytale Goldilocks and the Three Bears—where Goldilocks tries bowls of porridge to find that one was too hot, one was too cold, and the last one was just right? I thought of this story when we launched the STM7 measuring microscope because it’s a tool that I think is ‘just right’ in many precision measurement applications.
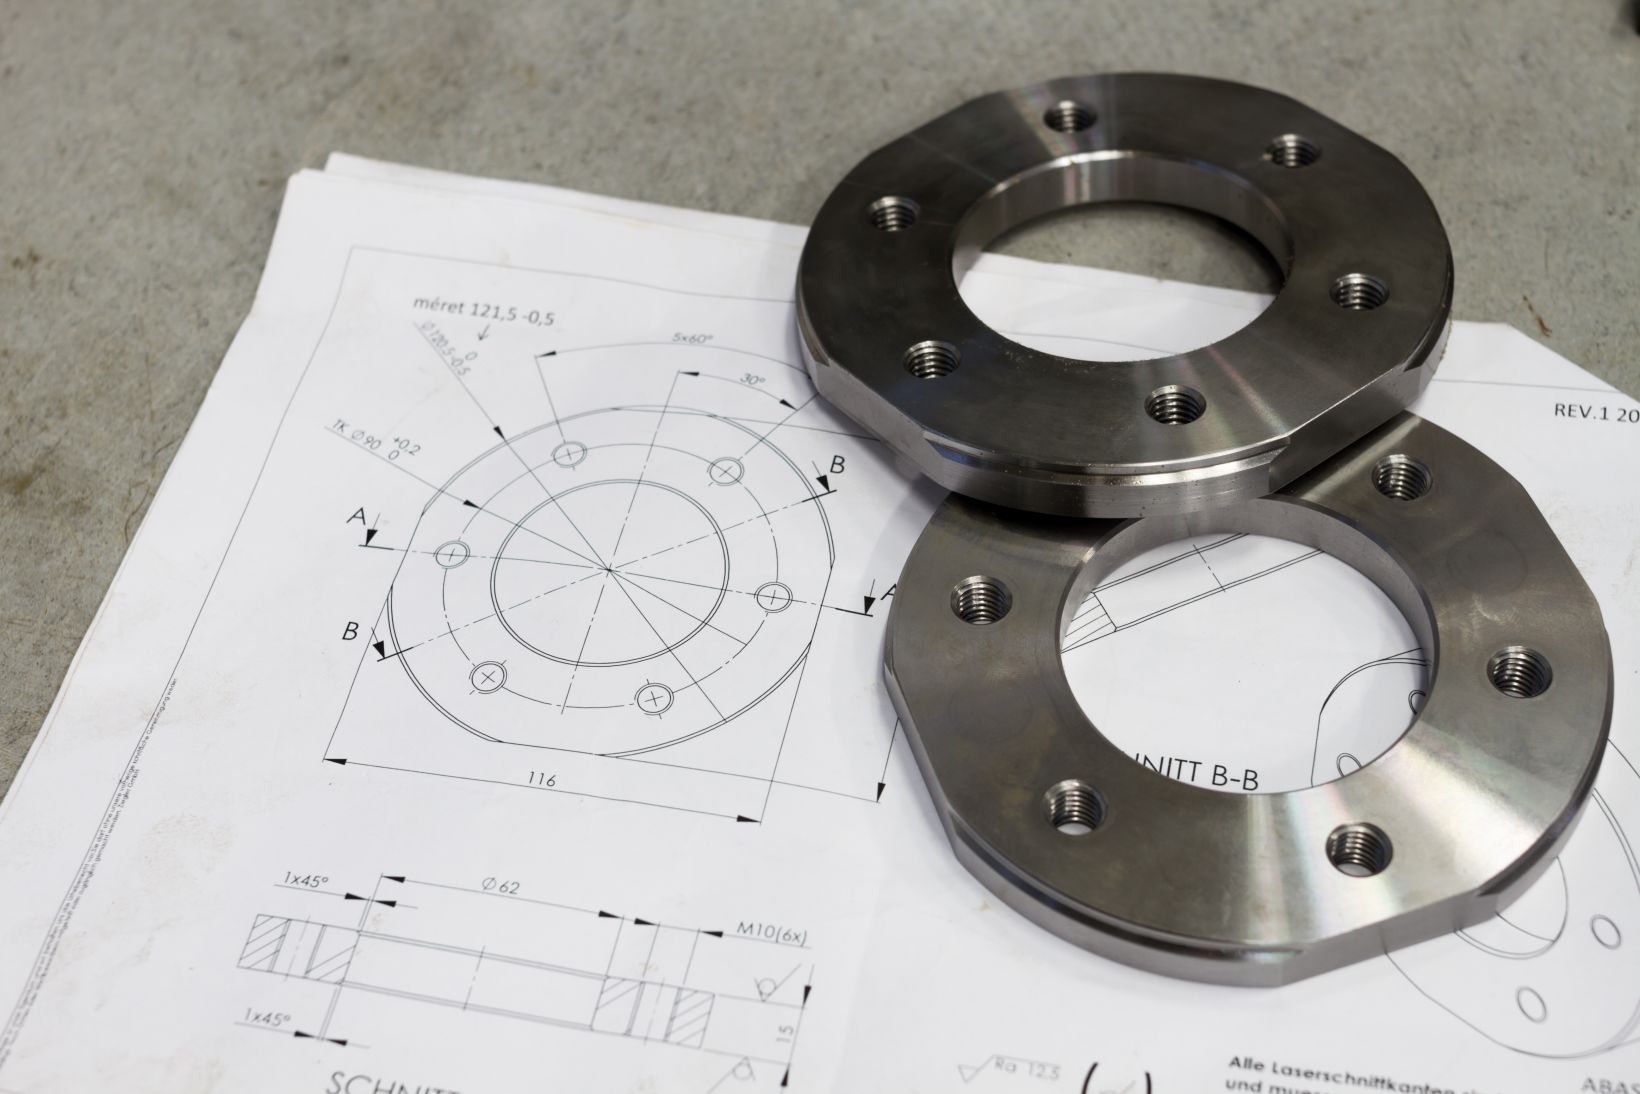
The STM7 measurement microscope is designed for high-throughput, high-precision 3D measurements—well suited, for example, for checking tolerances on machined metal parts. There’s a lot of different measurement equipment available, ranging from simple, handheld tools to enormous contraptions. So why choose the STM7?
Well, that’s where the Goldilocks story comes in, because for many measurement applications in the production and QC of machined parts, the STM7 measuring microscope offers the right balance of ease of use and high-quality results.
Just look at the alternatives. On the one hand, you’ve got handheld tools, such as calipers and micrometers. They’re simple and easy to use without training, but they rely on contact with the sample and often struggle with complex parts. They also suffer from high variability between operators.
On the other hand, you’ve got the other advanced measurement tools, such as coordinate-measuring machines, profile projectors, or optical comparators. These also do complex measurements over a large field of view, but either take up quite a bit of space in a testing lab or come at a significantly higher cost. Some also require a lot of training.
The microscope with the right balance
The STM7 measurement microscope has just the right balance. It gives you sub-micrometer resolution and 3-axis measurement so you can measure in all directions without repositioning the specimen. It also goes far beyond just straight lines with functions for concentricity, circumference, angles, etc.
The STM7 combines these advanced functions with quick, simple operation—ideal for high-throughput measurement of machined parts. There’s no need to take an image first; you can simply define a starting point and move the stage to get a fast, accurate measurement. And of course, it doubles up as a normal light microscope, which is also a big benefit compared to other measuring devices.
This combination of high-precision measurements and fast, intuitive operation in a compact device is what makes the STM7 the Goldilocks of parts measurement—getting it just right for a multitude of applications.
Once upon a time, we wrote an application note on this. Take a look here for more information and real-world examples.
Related Content
Measuring the Edge Shape of Engine Inlet and Exhaust Valve Heads
Loop Height Measurement for Wire Bonding
Measuring the Height of Wafer Bumps
Get In Touch


