Inverted Microscopes Solutions
We offer a range of features to help make metallurgical inspections fast and efficient.
 Observation
View defects and scratches that are hard to see with conventional observation methods
►Application
Looking for tiny defects and scratches on parts.
Depending on the material, scratches and defects sometimes require multiple observation methods to see them clearly.
Using conventional illumination systems, users have to change between brightfield and darkfield observation, and often need to capture images of defects using each method.
Printed circuit board
|
| ||
Brightfield observation | Darkfield observation |

►Solution
MIX observation
Our MIX illumination helps make this inspection process faster and more efficient. MIX combines the capabilities of brightfield with directional darkfield observation to produce images showing scratches and defects. Directional darkfield enables one or more quadrants of light to be shown at varying angles to highlight structures on different axes. You can simplify your reporting by capturing images using MIX instead of multiple images taken under multiple observation methods.
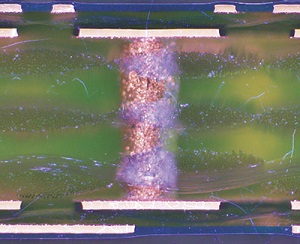
MIX observation
All components are clearly visible.
►Applicable model(s):
Quickly switch observation methods
►Application
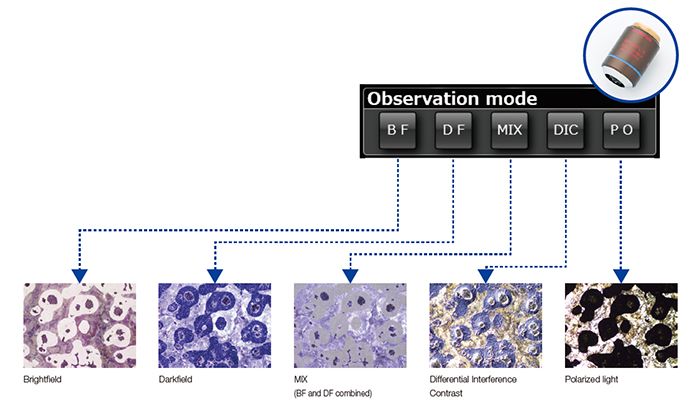
Trying several observation methods to get an optimized image.
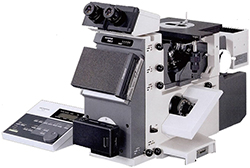
To observe various types of metals and electric parts with optimized images, inspectors have to use multiple observation methods such as brightfield, darkfield, polarized, DIC, and MIX observations.

►Solution
Switch observation methods with one click
DSX series microscopes automatically provide a selection of images with different observation methods that the user can choose from via the software. The DSX system enables any user to quickly and efficiently select a suitable observation method for their sample. Consequently, the DSX system significantly reduces the time required for observation with microscopes.
►Applicable model(s):
View the texture and grain structure of samples with glare or low contrast
►Application
Observing glaring or low-contrast metals.
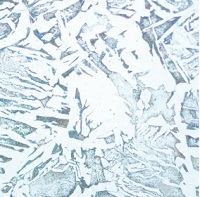
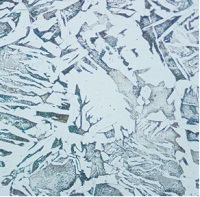
Depending on the status of metallographic structures or etching conditions, it is sometimes difficult to acquire clear images of grain boundaries and material texture. The image quality may affect the judgment of acceptance and measurement results.
| |||
Image with blurred grain boundaries | Glaring gold plate |

►Solution
High dynamic range image
With HDR mode, glaring sample and grain boundaries in metallographic structures that are difficult to observe with conventional methods can be observed clearly in detail. HDR improves the precision of the image, helping inspectors evaluate the inspection results. The time-consuming and troublesome process of re-etching the samples is notably reduced with HDR, while still yielding reliable data.
| |||
Clear and high contrast images by HDR function | |||
►Applicable model(s):
DSX510i
GX53+OLYMPUS Stream
GX41+OLYMPUS Stream
Maintain a comfortable posture while you work
►Application
Sharing one microscope with multiple members in the workplace.
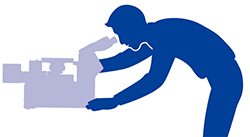
It is common to share one microscope among team members. Inspectors sometimes need to look into the eyepieces with an uncomfortable posture during observations, which can slow down work speed.

►Solution
Flexible viewing posture
The GX series microscopes’ tilting tubes are direction-adjustable and enable operators to place the tilting tubes at position that enables a comfortable work environment. The flexible design provides low-fatigue for efficient inspections and even enables quick inspections while standing.
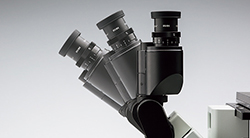
Direction-adjustable tilting tubes
►Applicable model(s):
Inspectors at any experience level can deliver quality observations
►Application
Multiple members conduct a same inspection.
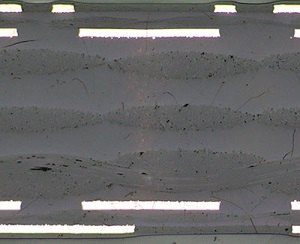
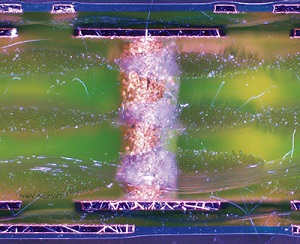
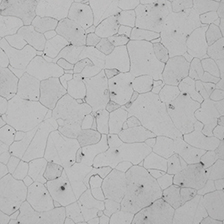
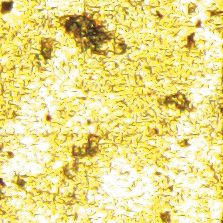
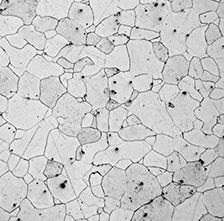
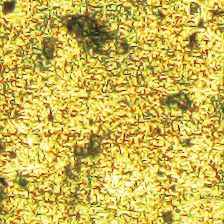
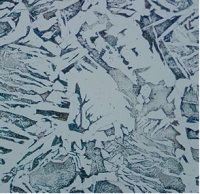
Multiple members in one team sometimes conduct a same inspection for a same purpose. It is difficult for everyone to always do same system adjustments and produce the same observation conditions and images. Observation conditions that differ depending on operators and/or timing will cause a variation in the observed images and inspection results.
|
|
|
Variation among images observed by different operators | ||

►Solution
Easily restore system settings
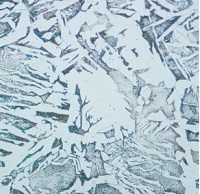
The DSX system and GX53 microscope with OLYMPUS Stream software enable users to save the image acquisition conditions along with the image itself. The settings associated with any saved image can be recalled with a single click from a saved image. Now, any user can conduct a reliable inspection for metallographic structures under consistently identical conditions and settings as used previously.
|
|
|
Even if inspectors are different, the observation image is the same | ||
►Applicable model(s):
 Capture Imaging
Inspect your sample under high magnification, even over a large area
►Application
Inspecting a wide area, such as metal flow and carburized metal.
In metallurgical inspections, metal flow and carburizing conditions of samples are commonly inspected. In order to check these process conditions thoroughly, observations need to be done with a magnified image of a wide area.

Partial magnification of segments of the sample surface

►Solution
Wider field of view
The DSX system and OLYMPUS Stream software merge separate images automatically just by moving the stage, enabling you to acquire magnified images over an extensive area. This function makes it easy to acquire an image of the entire sample while significantly reducing the time and effort required. The resulting data is easy to understand and clear, making a contribution to smooth negotiations with customers.
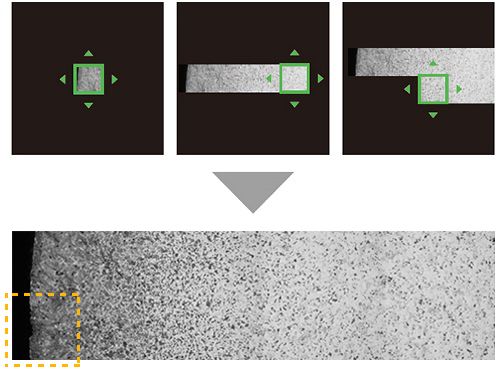
Depth and condition of carburizing can be identified.
►Applicable model(s):
DSX510i
GX53+OLYMPUS Stream
GX41+OLYMPUS Stream
Obtain full-focused images on samples with a rough surface
►Application
Inspecting uneven surface samples.
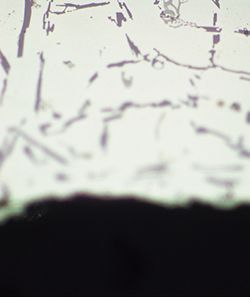
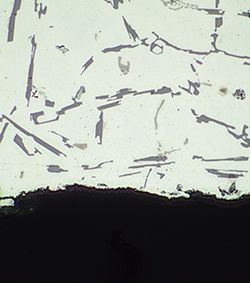
A sample surface needs to be evenly polished for microscopy observation with a fully-focused image. Creating the polished samples of metallographic materials requires both special technique and expertise. In particular, level differences are frequently found at boundaries between metallographic materials and the fixing resin.
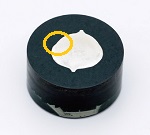
There are often height differences in the boundary between the sample and resin.
Polished sample of AlSi: Both images are partially focused. | |||

►Solution
Images entirely in focus
The DSX system and OLYMPUS Stream software are capable of acquiring a fully-focused image of the entire sample regardless of unevenness or tilt on the polished surface. This eliminates the need for re-polishing the sample, leading to a significant reduction in effort and time.
Fully-focused image of the entire sample regardless of irregularities on the polished surface
►Applicable model(s):
 Measurement
Synchronize the reference scale on your images with the magnification
►Application
Measuring objects, scratches, and defects of various sizes.
In most inspections, an inspector looks for defects or inspection points with a lower magnification image, and then inspects the details by switching the observation lens. For correct measurement, the reference scale on the observation image needs to match the selected objective lens.
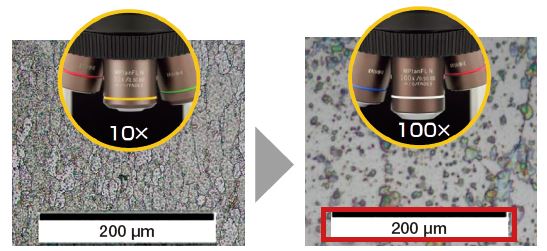
Though the observed magnification is changed, the magnification scale does not change.

►Solution
Automatically switching magnification data
Setting the scale according to the magnification of the objective lens is the first step in correct image measurement. A coded nosepiece can automatically read the magnification information when changing the objective lens. This provides precise measurement at correct magnification, correct scale on monitor, correct measurement result on report.
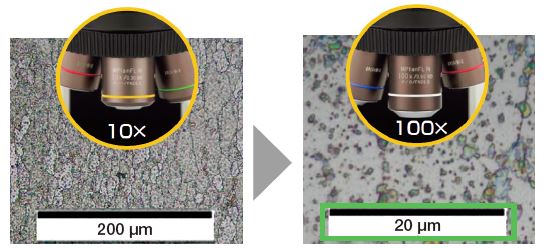
The magnification scale is changed in conjunction with the objective lens setting.
►Applicable model(s):
Complete complex particle analysis quickly and easily
►Application
Particle analysis of metallographic structures.
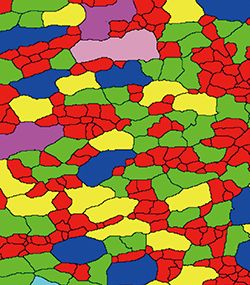
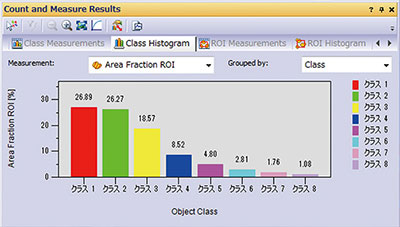
An image of metallographic structures often includes several thousands of grain particles. Even for simply counting grain particles or calculating the area ratio, the detection capability and functionality of the measurement and image analysis software greatly influences the inspection efficiency.
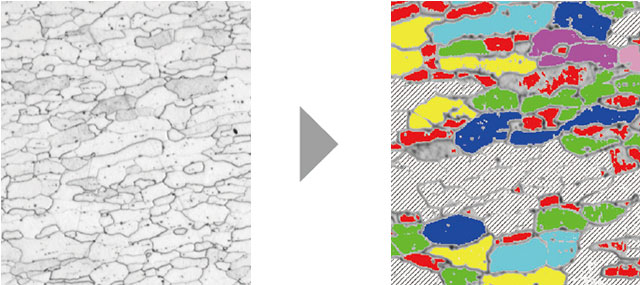
Etched steel whose grain boundaries are difficult-to-detect.

►Solution
Particle analysis for various needs
With the powerful separation capability and wide variety of threshold settings available in the OLYMPUS Stream software, grain boundaries can be detected at high level, something that was very difficult to do in the past. After the grain particles are detected, the OLYMPUS Stream software measures and classifies the grain particles using more than 50 measurement parameters to dramatically improve inspection efficiency.
| |||
Clearly detected grain particles with a classification graph by area. | |||
►Applicable model(s):
DSX510i+OLYMPUS Stream
GX53+OLYMPUS Stream
GX41+OLYMPUS Stream
Conduct your metallurgical analysis following defined standards
►Application
Analyzing metallographic structures in accordance with international and/or company standards.
Expert inspectors are required to acquire full knowledge of metallographic analysis and the related standards, and generate reports according to the organization’s guidelines. In order for all relevant members to properly complete the workflow, detailed operation training is essential.
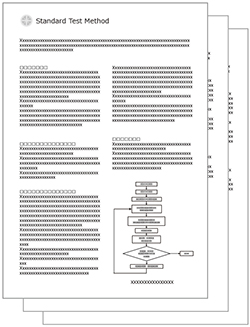
Metallographic analysis standards

►Solution
Guidance method for metallographic analysis
The OLYMPUS Stream material solutions are optimized for dedicated purposes based on industrial standards, and guide the operator through each step of the workflow, including report generation. It solves the problem of having only a few experts who can carry out inspections.

►Applicable model(s):
DSX510i+OLYMPUS Stream
GX53+OLYMPUS Stream
GX41+OLYMPUS Stream
 Data sharing
Easily create sophisticated reports
►Application
Making analysis reports after every inspection.
Even though all the necessary information for the report is prepared, it still takes time after observations and measurements, to add images to the report, especially when manually adjusting the image size or aspect ratio, rewriting the measurement values, and adjusting the report layout.


►Solution
Report templates make reporting easy
OLYMPUS Stream software enables you to easily edit the report template however you want. It offers several ways to define the positions and sizes for images, tables, and graphs, and how they appear in the report.
►Applicable model(s):
DSX510i+OLYMPUS Stream
GX53+OLYMPUS Stream
GX41+OLYMPUS Stream
Print your images at the desired magnification
►Application
Comparing an observation image with the defined standard image.
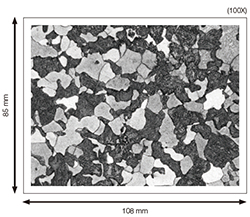
In metallurgical inspections, an observed sample image must be compared with that of a reference sample defined by the industry or company standards. The comparison must be conducted at the same size and magnification with older film technology that is no longer available.

►Solution
Print images with a desired magnification
OLYMPUS Stream software automatically considers image magnification and paper size. It is easy to directly print an image or create a report with an image using a user-defined printed magnification specification.
►Applicable model(s):
DSX510i+OLYMPUS Stream
GX53+OLYMPUS Stream
GX41+OLYMPUS Stream


 Operator A
 Operator B
 Operator C