Application
Thermal spraying is a technique used for surface modification. The material that is going to be sprayed is first heated to a nearly molten state. The heated material is then sprayed on the target object at high speed to deposit a coating. Air pores that form in this coating create a surface that is resistant to thermal shock and impregnation. Thermal spraying can be applied to various materials including metals, ceramics, and plastics. Likewise, the material that is sprayed can also be a metal,
alloy, or ceramic. There is no thermal effect on the target object and no limitation on target dimensions.
Sand blasting is used to roughen the surface of the substrate to strengthen the adhesion between the substrate and the sprayed particles. The roughness of both the sand blasted surface and the resulting surface post thermal spraying both needs to be evaluated. When these surface irregularities are minute, it may be difficult to accurately measure the bottom of a concavity using conventional contact-type roughness measurement instruments.
Olympus' solution
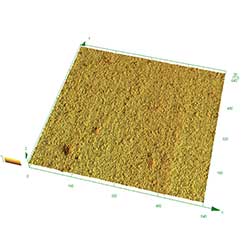
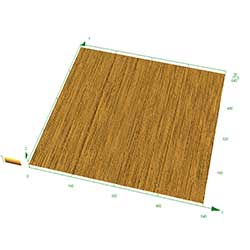
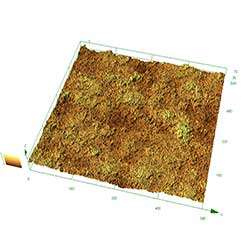
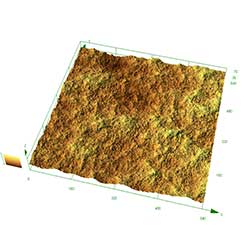
Olympus' LEXT 3D scanning laser microscope enables high-resolution, high-definition observation of a substrate before thermal spraying is applied and the resulting surface after thermal spraying. The LEXT makes it easy to obtain three-dimensional data with no contact to measure the surface roughness quantitatively.
Thermal spraying of alumina | Thermal spraying of tungsten carbide | |
Substrate surface |
|
|
Surface after thermal spraying |
|
|


