MagnaFORM for Weld Inspection
Overview
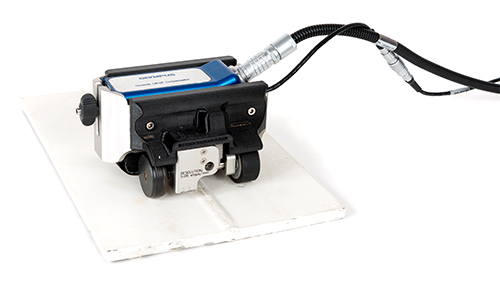
MagnaFORM™ Scanner: Faster Weld and Stress Corrosion Cracking Inspections
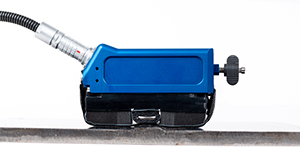
The MagnaFORM™ scanner is a fast and reliable way to reduce the turnaround time of weld inspection and stress corrosion cracking (SCC) inspections. The scanner is designed to help make your weld inspections faster with features including:
- No more stripping and repainting: inspect through paint
- Inspect the roughest welds and corroded surfaces with dynamic lift-off compensation
- Save time by inspecting welds in a single pass
- Effective solution for detecting stress corrosion cracking
- Evaluate the depth of surface-breaking defects
- Intuitive archiving and imaging
Save Time and Reduce Your CostsWhile conventional weld and SCC inspection methods require painted surfaces to be stripped before inspection and then repainted after, the MagnaFORM eddy current array (ECA) solution enables you to inspect through paint. No more stripping and no more repainting. The MagnaFORM scanner enables users to inspect a the entire weld surface in a single pass, helping reduce inspection time. Both linear and transverse indications are detected in the weld’s heat-affected zones (HAZ), toe, crown, and crevices. |
|
| Inspect the Roughest Welds and Corroded SurfacesDesigned to work on even the roughest welds and corroded areas, the dynamic lift-off compensation helps ensure the probe remains sensitive to surface-breaking defects, making the data easier to interpret. All of the channels perform real-time lift-off compensation to maintain equal sensitivity. With the MagnaFORM scanner, inspectors can characterize SCC in heavily corroded areas. Manual or motorized scanners are available to simplify inspection and help ensure proper coverage. |
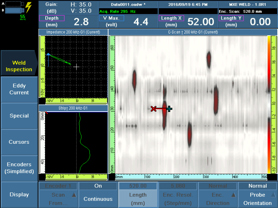
Intuitive DataSome conventional inspection methods, such as penetrant testing, require users to wait for the test to develop. The MagnaFORM scanner provides real-time C-scan images so there’s no waiting. Easy-to-use eddy current software enables inspectors to evaluate the depth of surface-breaking defects and makes it easy to save data simply by pressing a key. |
|


