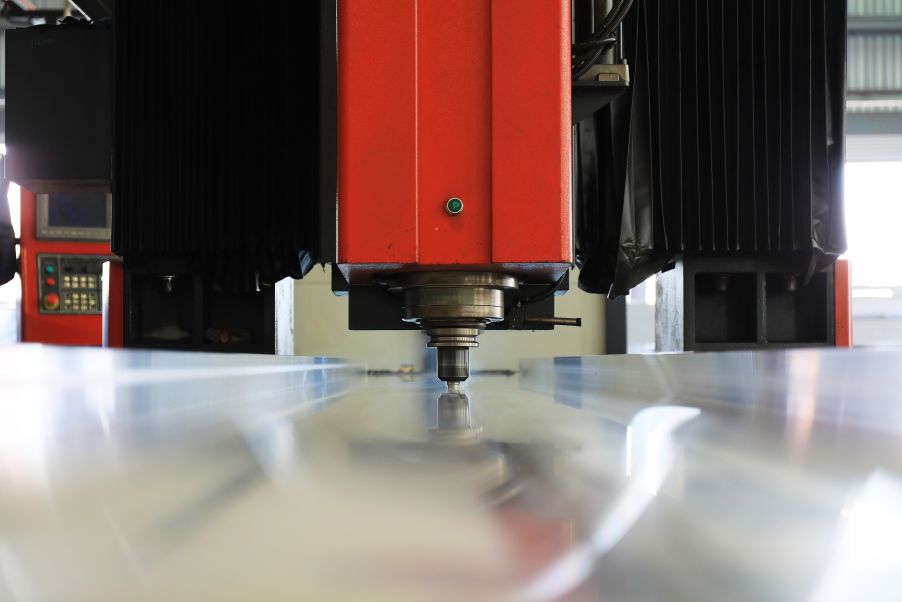
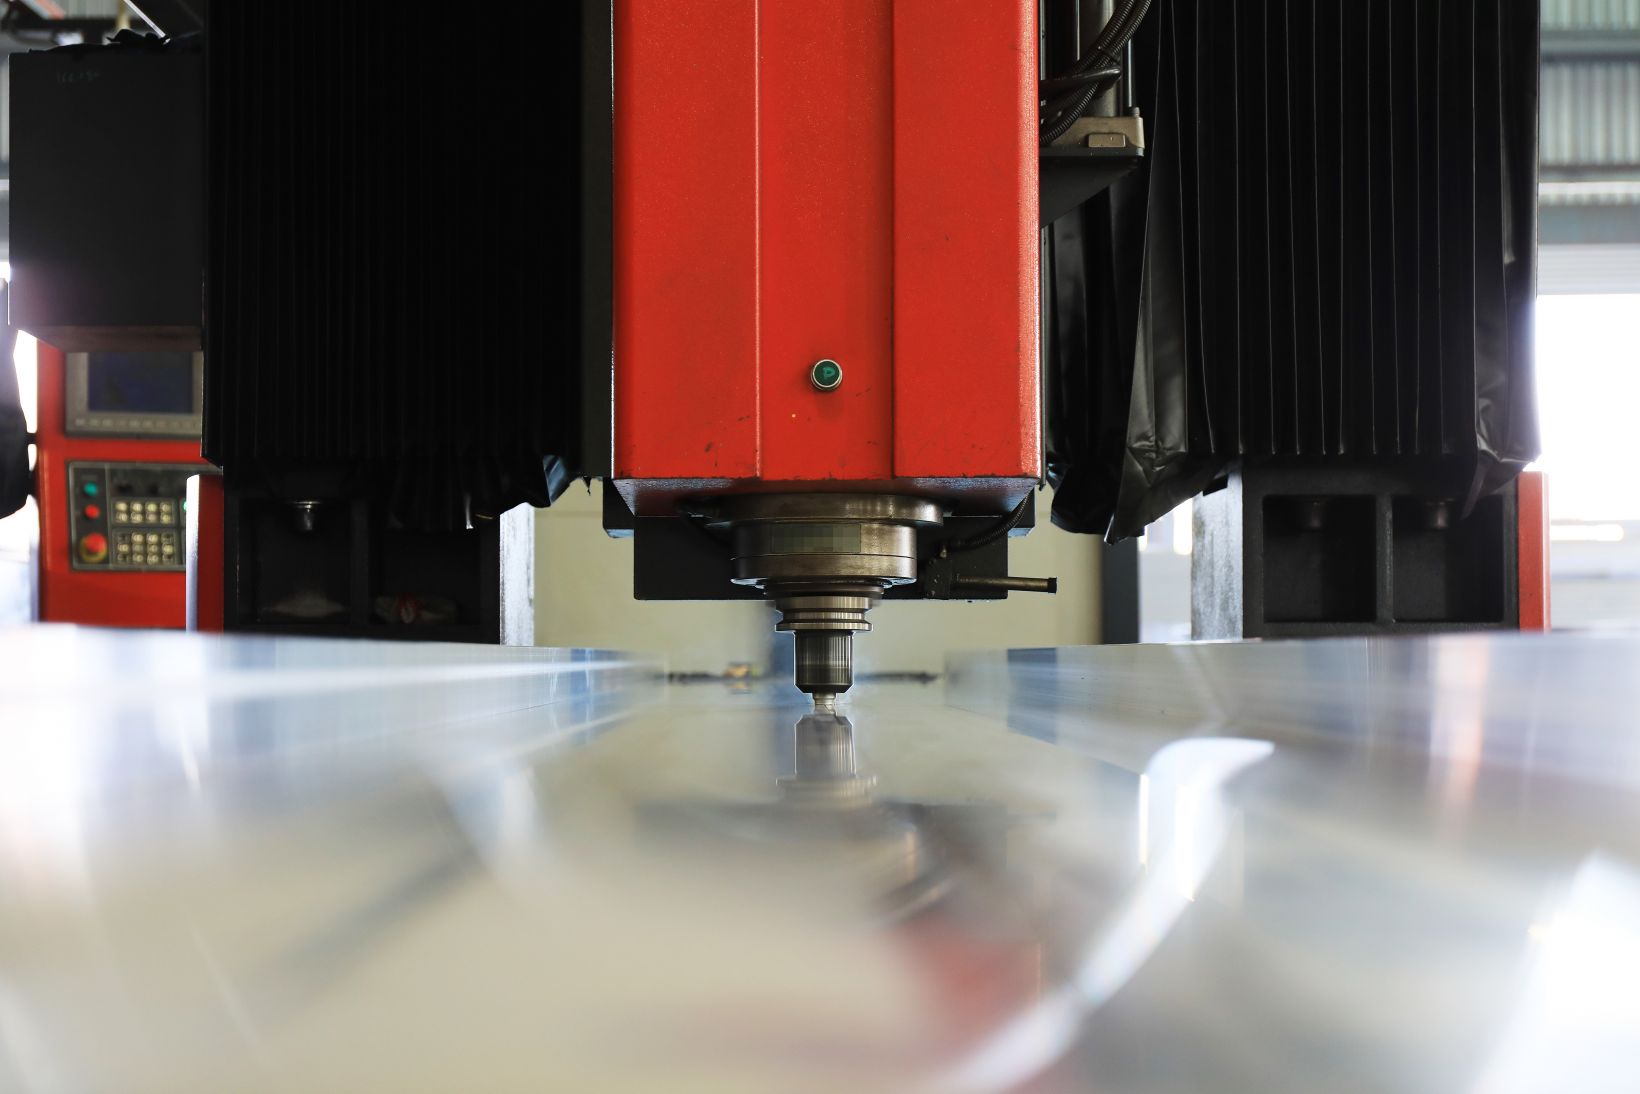
Water cooling plates are heat exchangers that dissipate heat through the friction of the liquid that flows over their internal surfaces. They are typically used for ultra-high-powered components that generate so much heat, air cooling is insufficient. For example, the power generation industry uses them in static VAR generators (SVGs), the automotive industry in electric vehicle batteries, and the IT sector puts them in compartments housing large servers.
The effectiveness of a water cooling plate depends on the heat transfer area of the liquid and the frictional force. Unlike air cooling, water cooling requires a water channel for the fluid to circulate. This water channel must be completely sealed to prevent the fluid from leaking out and causing a short circuit in any electrical equipment.
Fusion Versus Friction Stir Welding of Light Alloys
Water cooling plates are typically constructed using aluminum alloys. Because of their poor weldability, if traditional fusion welding is used to seal the water cooling plate, the weld is prone to defects, such as thermal cracks, porosity, and slagging. Welders need to have excellent fusion-welding skills and workmanship to produce a high-quality weld. The high temperatures and toxic fumes generated by fusion welding can be harmful to the welder’s health. Friction stir welding (FSW), which uses the frictional heat of a rotating tool to weld two interfaces, offers an effective solution to these problems.
Compared with fusion welding, the main advantages of FSW include:
- Minimal welding distortion
- Better mechanical properties of welded metal
- No filler material required
- Cleaner and safer working environment
- Easier to operate
- Automatic removal of oxide scales
- Easier to integrate the tool into automatic and robotic welding
- More effective on crack-prone light alloys
Friction Stir Welding Weaknesses and the Phased Array Solution
Despite its many advantages, FSW also has some shortcomings. When FSW is used on water cooling plates, mechanical defects can occur in the seam between the cover plate and the base plate. They typically occur near the rotating tool's point of friction, presenting as miniscule voids known as porosity. They tend to form an almost continuous series but are not easily detectable.
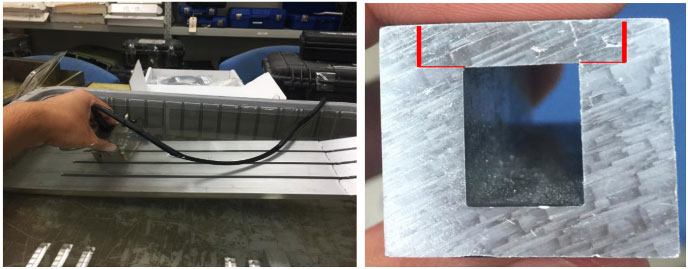
Olympus 10L64-FSW PA probe and SFSW-N45S-WHC water wedge used to scan friction stir welding on a water cooling plate (left) calibration block and the region of interest indicated with red lines (right)
Phased array ultrasonic testing (PAUT) technology can detect tiny flaws in the FSW. The solution presented here includes the OmniScan™ MX2 flaw detector and an Olympus probe and wedge that are optimized for friction stir weld inspection. The OmniScan SX phased array flaw detector can also be used with the same probe and wedge to achieve these results.
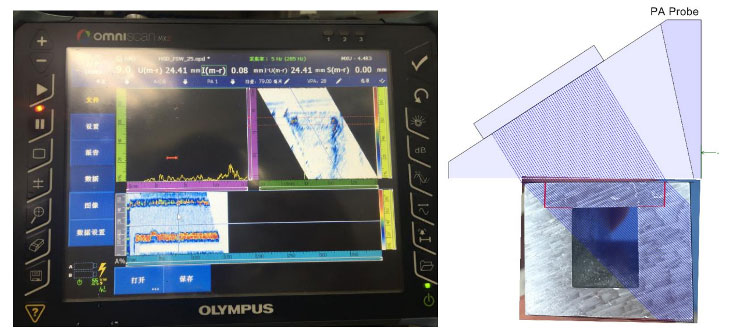
OmniScan™ MX2 flaw detector and PA probe configured for a linear scan, pulsing 8 elements simultaneously with a 1-element step, 64 elements total, to generate a 45-degree shear wave
Revealing Results: Analyzing the Phased Array Imaging Data
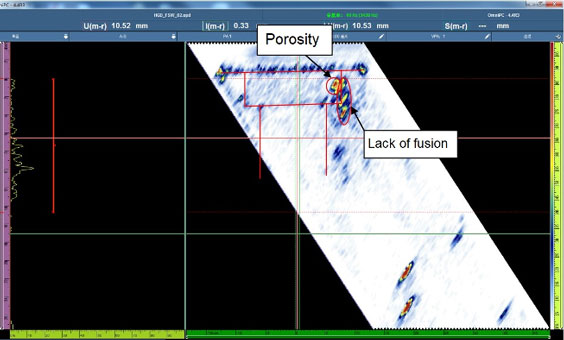
The screen shot below of the inspection analysis in OmniPC™ software shows the scan results of the calibration block. It reveals not only the porosity near the surface, but also lack of fusion in the vertical joint, showing that it was not properly welded.
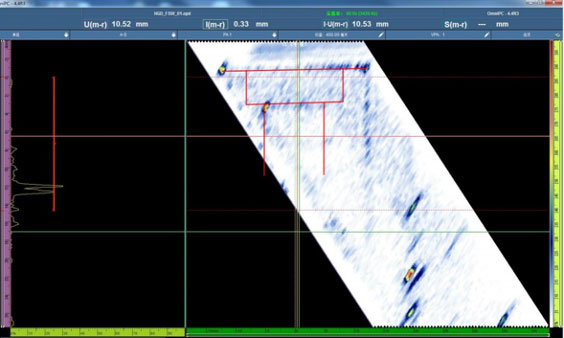
The inspection from the other side of the calibration block shows the cleanly welded fusion surface, no visible defects, and the geometric reflection of the sharp corner.
The inspection results on the actual water cooling plate test subject are shown below. We can see that there are defects on both sides of the friction stir weld, spanning the entire length of the part.
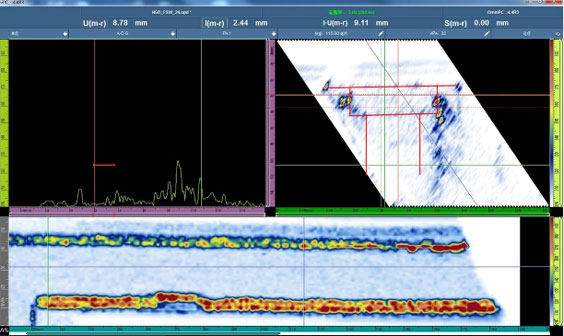
Easy-to-Interpret Imaging of Lack of Fusion and Porosity in FSW
Using ultrasonic phased array technology in combination with special friction stir welding probes and wedges, we can clearly detect visible porosity and invisible lack of fusion on joint surfaces in water cooling plates. The scan imaging acquired using the OmniScan MX2 (or OmniScan SX) flaw detector with its various data displays is easy to interpret and reflects the actual condition of the inspected part.
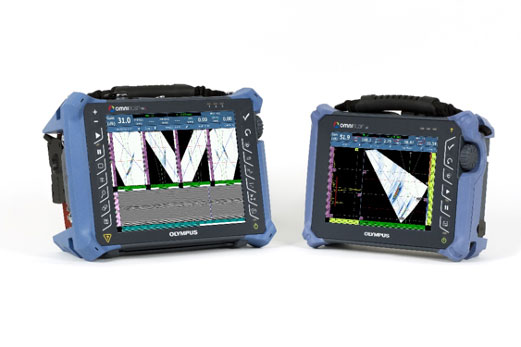
OmniScan MX2 (left) and OmniScan SX (right) phased array flaw detectors
