直线埋弧焊管材检测系统

概述
Longitudinal submerged arc welded (LSAW) tubes are manufactured by bending and molding steel plate and then joining the edges using a double-sided submerged arc weld. They are commonly used in the oil and gas industry for long-distance hydrocarbon transport pipelines.
Olympus Longitudinal Submerged Arc Weld (LSAW) Inspection SystemOlympus’ LSAW high-performance tube and weld inspection solution uses ultrasonic phased array probes integrated into fully automated testing systems to meet stringent requirements for weld-volume inspection. The LSAW system helps manufacturers ensure the quality of longitudinal submerged arc welded tubes and can be adapted to meet the varying needs of oil country tubular goods (OCTG) manufacturers. | 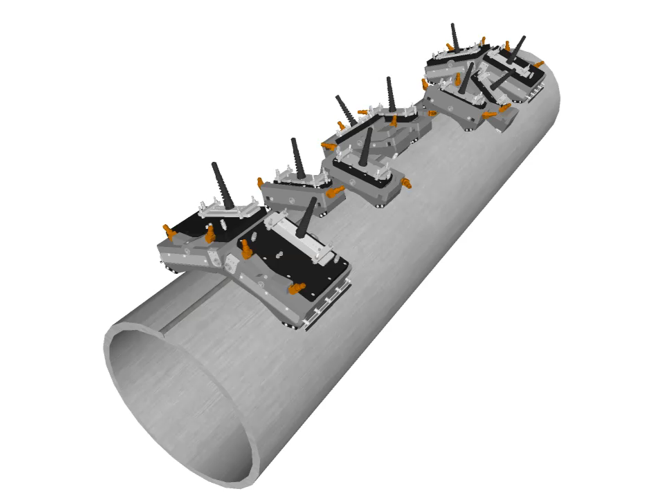 |
LSAW Pipe Inspection Requirements
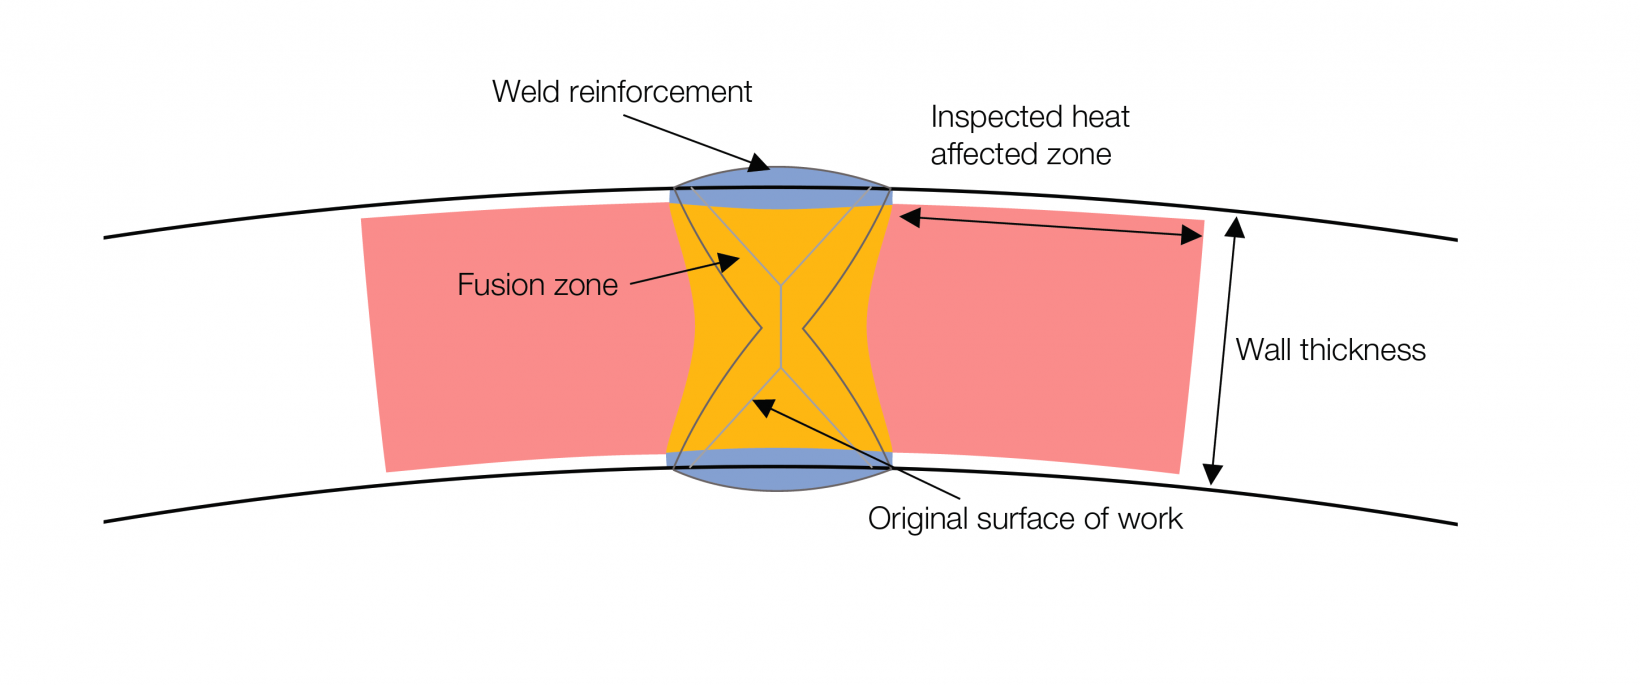
The LSAW system is built to comply with international standards governing pipe manufacturing inspection requirements. It inspects 100% of the weld volume in line pipes ranging from 304.8 mm to 2032 mm (12 in. to 80 in.) OD, in addition to the heat affected zone (HAZ).
Detected defects:
- Longitudinal and transverse cracks (up to 3 mm (0.12 in.) ID and OD for each side)
- Lack of fusion, lack of penetration, and penetrators according to the wall thickness (DEP standard*)
- Lamination defects in the HAZ (up to 75 mm (3 in.) for each side of the weld)
LSAW Automated Turnkey Solution Features
Integrating the LSAW inspection system into the quality control process enables manufacturers to:
- Minimize dependency on operator skill, owing to the system’s automatic calibration
- Detect defects at normal production speed with regular calibration checks
- Limit the overall dimensions of the inspection head
- Optimize detection with 2D scan visualization
- Reduce changeover and probe setup time with automatic probe positioning and phased array beam steering
技术规格
| Standard Product Range > Diameter | 304.8 mm to 2032 mm OD (12 in. to 80 in. OD) |
|---|---|
| Standard Product Range > Wall thickness | 10 mm to 50.8 mm (0.394 in. to 2 in.) |
| Standard Product Range > Speed | 200 mm/s to 800 mm/s |
| Standard Product Range > Coverage | 100% weld volume and 75 mm (3 in.) for each side of the weld |
| Data Presentation > Real-time inspection results | C-scan, A-scan, B-scan, strip charts, and alarms |
| Data Presentation > Parameter setup | A-scan, B-scan |
| Data Presentation > Inspection layout | 20 different user-configurable layouts |
| Inspection Modes > Typical inspection modes | Longitudinal, midwall defects, transverse, and lamination |
| Inspection Modes > Firing modes | Pulse-echo, Pitch-catch |
| Inspection Modes > Inspection mode configuration | Several inspection modes can be performed simultaneously on the same PA probe |
| Detection Capabilities for Typical Reference Defects > Repeatability | L, T notches and SFBH 3.2 mm: 2.5 dB, TDH 3.2 mm and TDH 1.6 mm: 3 dB, FBH 6.90 mm: 4 dB |
| Detection Capabilities for Typical Reference Defects > Signal-to-Noise Ratio (SNR) | > 12 dB |
| Detection Capabilities for Typical Reference Defects > Standards | ISO, API, DNV, DEP, Shell |
| Reporting and Data Storage > Report types | Inspection, calibration, and calibration check user-configurable reports |
| Reporting and Data Storage > Storage | Real-time database inspection data storage |
