Executive Summary
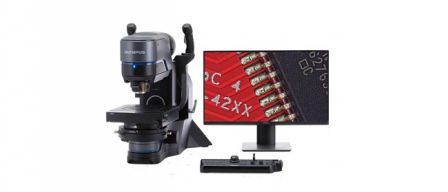
The Geneva-based SGS Group is a leader in testing and certification of a wide variety of parts and products of different shapes and sizes. Specializing in the automotive, aerospace, and medical technology sectors, their subsidiary, SGS Institut Fresenius GmbH in Dortmund, employs a range of methods for detailed inspection of materials and parts. To enhance the efficiency of such testing, the Institute recently added the Olympus DSX510 digital microscope to its equipment portfolio.
Efficiency is essential for reducing cost in industrial workflows. This is especially true with regard to one of the SGS Institute's most recent projects: quality control of carbon fiber reinforced polymer (CFRP) parts for the BMW i3 electric car, which has since gone into production.
Quality improved, time saved
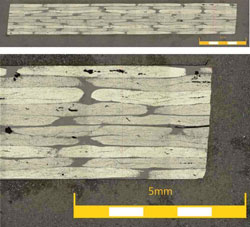
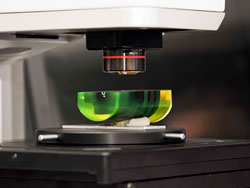 | As part of the quality control process, about 300 CFRP micrographs have to be prepared and examined in detail before the initial sample can be approved. Because a reliable assessment of the micrograph requires a complete image, this was previously accomplished at higher magnifications by using a microscope to capture 20 single frames and manually compiling them to create the full image. This cumbersome manual process was very time-consuming, with each micrograph taking between 15 and 20 minutes to compose. |
The arrival of the automated DSX510 microscope transformed this process and reduced the time of micrograph production to about five minutes. The microscope benefitted the SGS team in Dortmund for a number of reasons. First, jobs can be handled more quickly, which is important for meeting tight customer deadlines. Second, by reducing preparation time, highly qualified staff are instead able to focus on the important job of evaluating the images. Employing the DSX510 microscope has already proved to be worthwhile for SGS to help reduce cost and optimize quality.
Digital microscopy: innovations in quality assurance
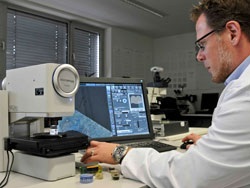 | These advances have been made possible thanks to the operational simplicity and automated image stitching capability of the DSX510 microscope. The microscope is very accurate when overlaying individual images and, unlike other microscopes, single frames no longer have to be defined manually. Users can now employ a motorized stage controlled by a fully automated, high-precision fine adjustment mechanism. The stage can accommodate very uniform structures, such as memory chips, where multiple locations are repeated, and it is difficult to determine where the first frame ends and the next begins, even at high magnifications. |
DSX510 microscope users benefit from improved ease of use because the microscope generates a selection of preview images from which users can choose the most suitable imaging method. By choosing a method, the user automatically selects the necessary parameters without having to input additional information. Users can maintain their orientation on the specimen, even when the image is reduced in size or enlarged because the Macro Map function always displays the viewpoint on-screen. Inspection is also facilitated with a 13-time optical zoom and a 30- time digital zoom.
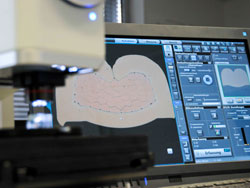 | According to the team at SGS, the DSX510 microscope offers many advantages in everyday quality assurance. For example, the team routinely investigates homogeneous looking micrographs of turbine blades from aircraft engines for potential material inclusions. When the magnifications are relatively high, it is not very difficult for a metallographer to try to find possible irregularities. The intuitive user interface of the DSX510 microscope also enables fast configuration for efficiently detecting possible material faults. Specialized functions of the microscope, such as the High Dynamic Range (HDR) and the proprietary WiDER processing algorithm, provide options for inspecting objects with defects or extreme differences in reflectance. |
Thanks to the automatic system and ease of use, even novice staff members can switch samples and capture images. Subsequently, the material experts only need to evaluate the captured images. This presents yet another way in which the DSX510 microscope can enhance efficiency, especially during the routine testing of large numbers of material samples. The DSX510 microscope, therefore, provides the laboratory a competitive edge.
Analyze uneven surfaces with differential interference contrast (DIC)
 | The DSX510 microscope’s technical features help the experts at SGS to do their work efficiently. The microscope's LED illumination enables brightfield and darkfield observation methods to be combined, enabling the easy detection of defects or irregularities. The differential interference contrast (DIC) function is also useful because it enables uneven surfaces to be analyzed for defects or irregularities down to the micro-scale. |
A customer in the dental technology field commissioned SGS to analyze material separation between two plastic parts. After delivery of the final micrographs, the customer called to say that he had never seen such impressive and informative images. DIC is not new in itself, but Olympus' enhanced digital technology provides new perspectives, and the customers of SGS appreciate the new possibilities provided by digital microscopy in general.

