Application
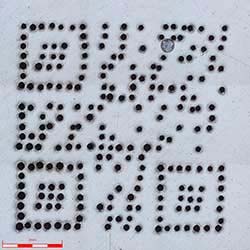
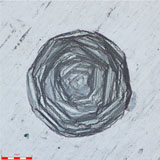
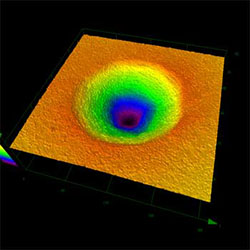
Marking is a technique applied to products or parts for the purpose of identification or traceability. Various marking methods are used including ink-jet, laser, and stamping. Metal stamping is a standard method in many industries and involves using a very hard material to stamp a design onto a metal piece. Unlike engraving, stamping does not produce chips in the metal. The size and position of each mark affects its visibility while the stamp’s depth affects durability. Evaluating these marks with a microscope is important to ensure that they are in the correct location and stamped to the correct depth.
Olympus' solution
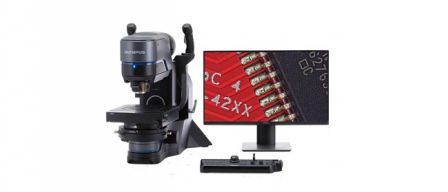
Olympus' DSX digital microscope can create a high-precision 3D image while maintaining focus across the entire image, even for a sample with large irregularities or a surface profile with level differences. This enables the user to easily measure the height or depth of a stamped mark as well as its diameter. The panorama function makes it easy to image an area wider than the field of view, enabling a clear view of the entire marking in a single image.
Marking stamped on a metal plate
5X objective lens; 3×3 stitching |
20X objective lens |
100X objective lens; 1X zoom |
3D, 100X objective lens; 1X zoom |


