![]()
Semiconductor Manufacturing and Wire Bonding
Semiconductors are manufactured using a precise process. One step is wire bonding, where electrodes on an integrated circuit are connected to lead frames using soldered gold, aluminum, and copper wires. These wires can be as small as 10 µm in diameter and require a soldering accuracy as small as 2 to 3 µm. The level of precision necessary to solder the wires means that tiny vibrations can cause weak bonding, which, in turn, can cause the electronic device to fail.
Manufacturers inspect semiconductor wire bonding for flaws such as disconnected wires, shifts in wire pitch, bonding separation or peeling, and migration. Since semiconductors are manufactured in large quantities, they are typically inspected by high-speed, automated equipment that provides a ‘pass/fail’ result for each chip. Semiconductors that fail are pulled off the line and examined in detail by the quality control department using a light or digital microscope.
3 Challenges when Inspecting Bonded Wires
  | The bonded wires are in a loop rather than straight, making inspecting them with conventional or digital microscopes difficult. There are three main challenges that inspectors face. During the first phase of the inspection, users will check the wires under low magnification so that they can observe the entire wire at the same time. However, most low-magnification objectives lack the resolution necessary to deliver very sharp images, making some types of bonding failures challenging to spot. A second challenge is that due to the shape of the wires, it can be difficult to bring the entire wire into focus under low magnification. Even if you are using a digital microscope that offers a good depth of focus when using high-magnification lenses, the resolution is usually not adequate for analyzing very small failures in bonding wires. Lastly, if a problem is identified under low magnification, an inspector using an optical microscope may have to switch to a high-magnification microscope or change lenses to conduct a more detailed observation, but this changeover takes time as the area of interest needs to be reacquired. If the inspector is using a digital microscope, the procedure for changing to a higher magnification depends on the system. Some digital microscopes only have one zoom objective lens. In this case, the low-magnification lens needs to be removed from the microscope body and a new one put on. |
Advantages of Inspecting Bonded Wires Using the DSX1000 Digital Microscope
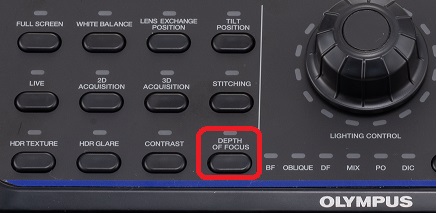
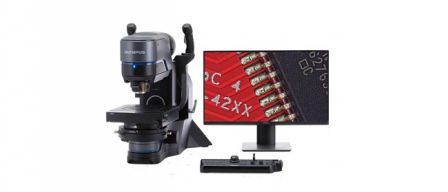
The DSX1000 microscope offers features that solve each of the inspection challenges discussed above. The microscope’s lenses use Olympus’ advanced optical technology to deliver both an excellent depth of focus and high resolution under low and high magnification. This feature makes it easier to spot smaller defects while having the entire wire in focus. And if you require an even greater depth of focus than what the objectives provide, the Focus Depth Up function enables you to increase the focal depth with the push of a button.
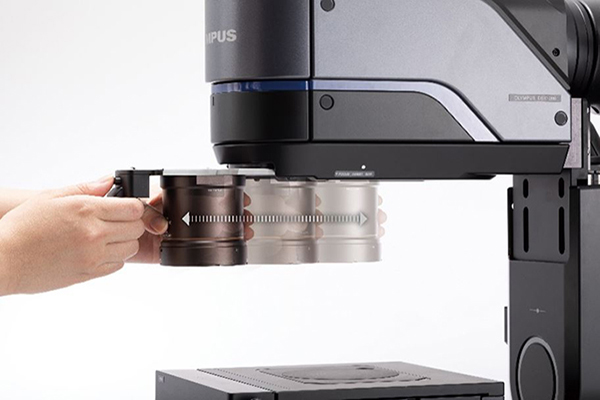
The microscope also makes changing from low to high magnification simple. The quick-change lenses slide in and out of the microscope body, so exchanging them is fast and easy. And because the lens position remains fixed, you don’t have to spend time reacquiring your area of interest.
*To guarantee XY accuracy, calibration work must be undertaken by an Olympus service technician.
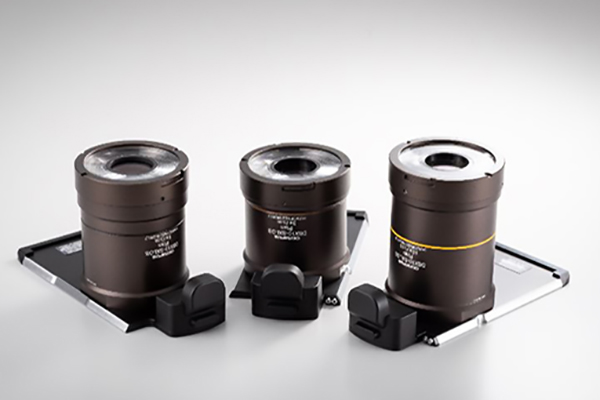
SXLOB series objectives |
Depth of focus up button |
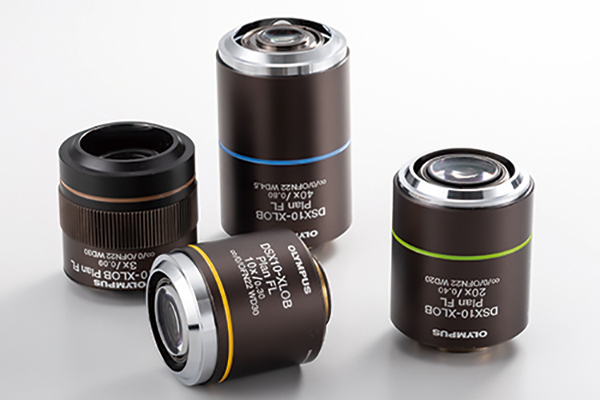
XLOB series objectives |
Quick-change lenses |
Images
Image observed at low magnification (150X)
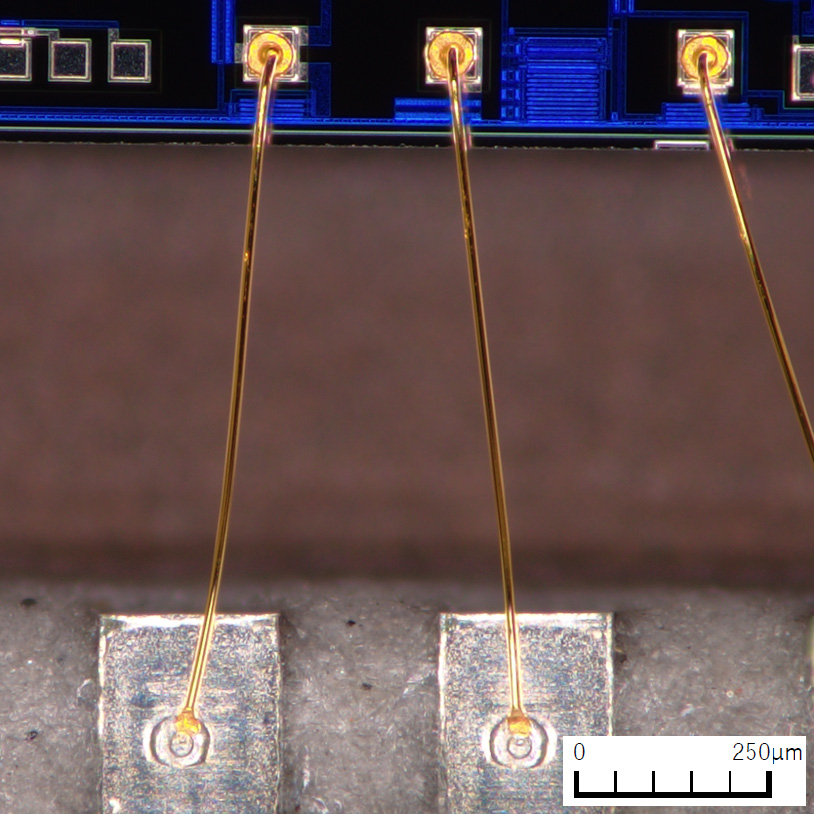
This image clearly shows the entire section where the pads are soldered during wire bonding.
Image observed at high magnification (560X)
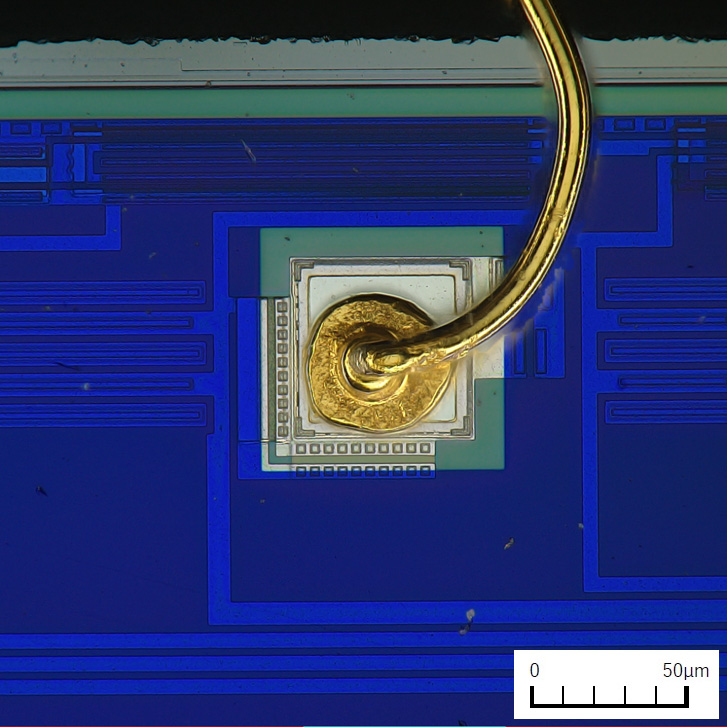
The image clearly shows the gold wire bonded to the pad.
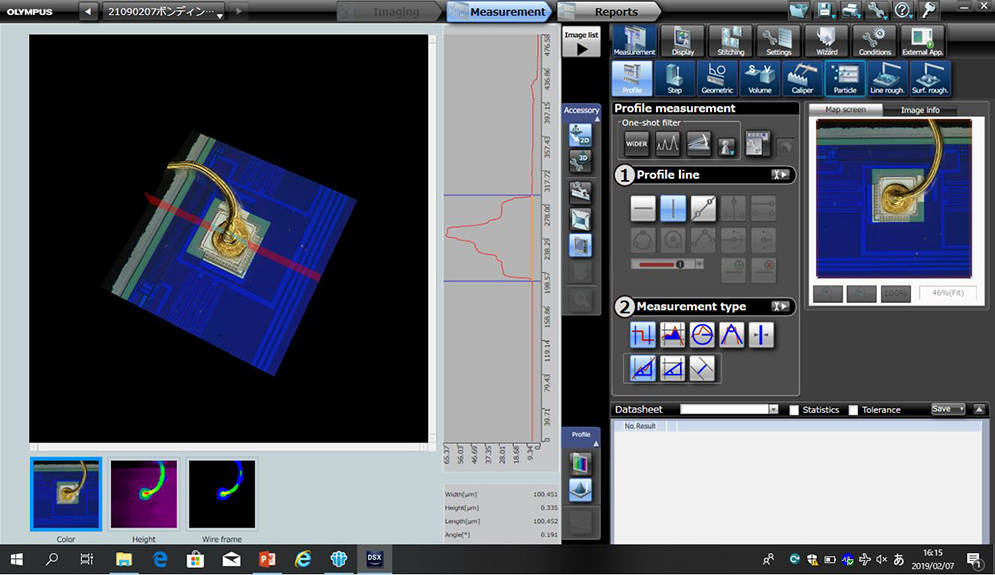
A profile of an arbitrary position is displayed in a 3D image, enabling you to make a 3D measurement.
