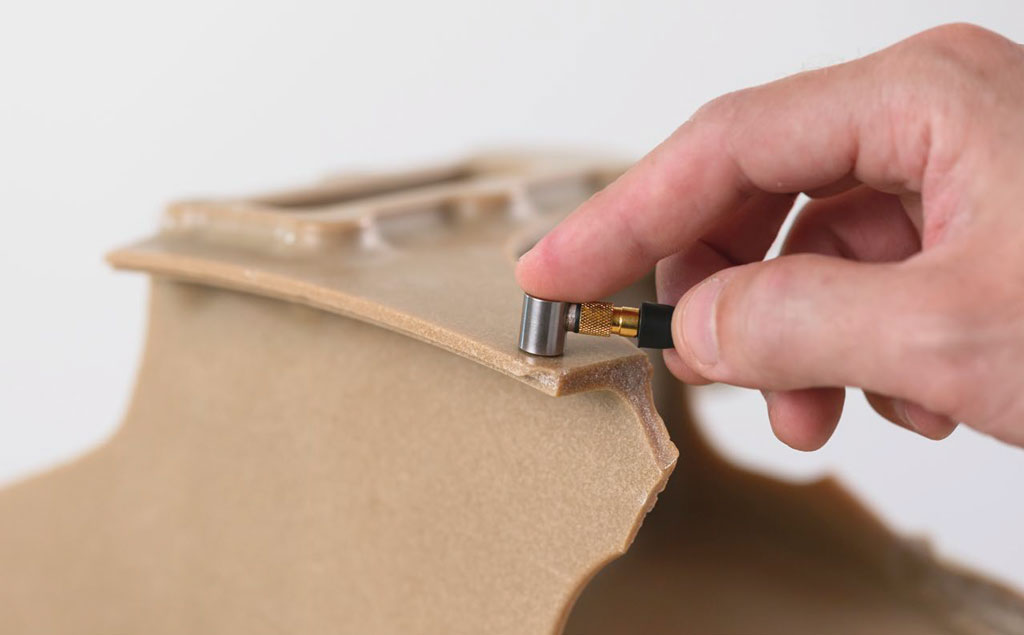
Lost wax casting is a process where wax patterns are dipped in a ceramic slurry and then burned out to create a mold, so precise dimensions of the wax pattern are critical. If one side of the wax pattern is difficult or impossible to reach, ultrasonic testing may be needed to measure its thickness. Wax patterns for cast turbine blades are good examples: the pattern thickness is crucial to produce cast blades that are within specifications.
With an ultrasonic gauge, inspectors can measure the thickness of the wax without destroying it. Some wax patterns are formed around ceramic cores. This is an important distinction because sound that is reflected from a wax-ceramic boundary reacts differently than sound reflected from a wax-air boundary. Although both measurements can be made, they require separate setups. For this process, make sure to let your local Olympus representative know which setup is needed. In general, samples are required so our experts can recommend the correct equipment.
Equipment
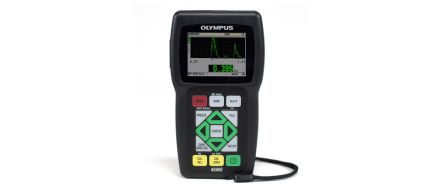
Precision ultrasonic thickness gauges are normally recommended for wax mold measurement. These include the 38DL PLUS™, 45MG (with single element software), and 72DL PLUS™ gauges. The ideal transducer depends on the thickness and geometry being measured. If the application includes wax over ceramic, accurate measurements rely on good bonding between the wax and core without areas of disbond. Wax over ceramic requires a special gauge setup (echo polarity inversion). These setups will result in less accurate thickness measurements when the wax is partially or totally disbonded. Some complex geometries such as sharply radiused turbine blades may require a focused immersion transducer and bubbler for proper sound beam alignment.


