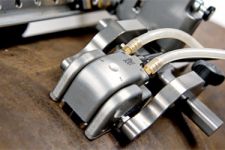
Phased Array Corrosion Solution
Overview
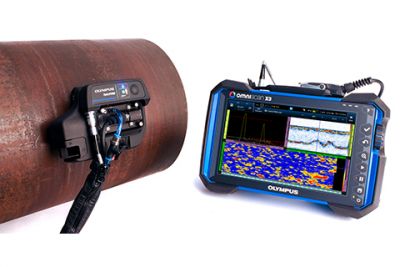 Corrosion Mapping Solutions
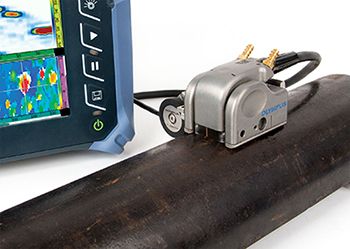
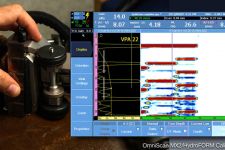
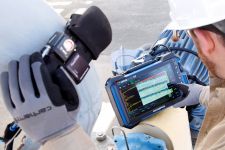
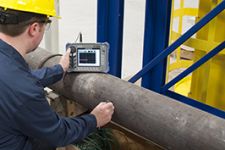
Phased array testing helps make corrosion inspection fast and efficient. Our solutions enable inspectors to be more productive and collect higher resolution data with fully encoded C-scan imaging.
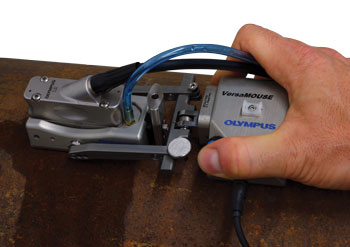
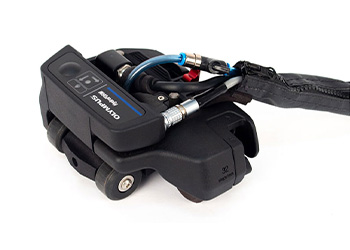
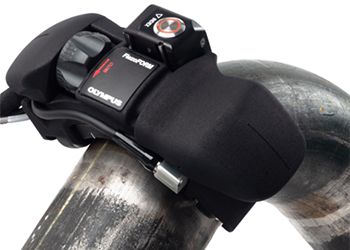
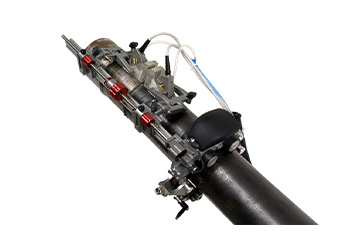
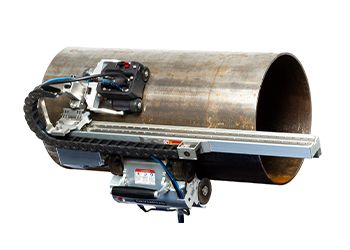
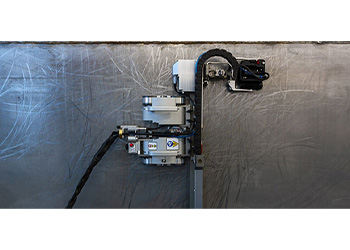
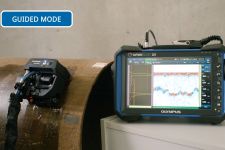
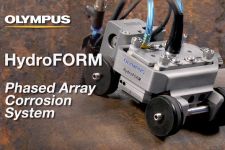
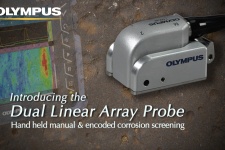
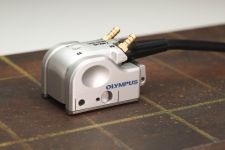
The HydroFORM® scanner, FlexoFORM™ scanner, RexoFORM wedge, and Dual Linear Array™ probe offer efficient inspection options for detecting loss of wall thickness due to corrosion, abrasion, and erosion. Our solutions can also detect mid-wall damage, such as hydrogen-induced blistering or manufacturing-induced laminations, and easily differentiate these anomalies from loss of wall thickness.
Scanning Methods
Manual and manual encoded
|
| ||
|
Semiautomated
|
| ||
|
Automated
|
|
Specifications Comparison
| DLA Corrosion | DLA Corrosion | FlexoFORM | HydroFORM | RexoFORM | RollerFORM | |
| Phased array probe | REX2 | REX1 | FA1 | 7.5L64-I8 | A12, A14 | WP1 |
| Maximum one-line scan coverage (width) | 60 mm | 32 mm | 64 mm | 60 mm | 38 mm (A12), 60 mm (A14) | 51.2 mm |
| Delay line medium | Rexolite | Rexolite | Water | Water | Rexolite | Water/acoustic polymer |
| Delay line height | 7.5 mm | 7.5 mm | 9 mm | 14 mm or 38 mm | 20 mm | 25 mm |
| Position of 2nd interface echo (in steel) | N/A | N/A | 34 mm |
Short plate: 54 mm
Tall plate: 114 mm | 50 mm | 28 mm |
| Max. recommended thickness (in steel) |
30mm (5 deg. roof)
95 mm (1 deg. roof) |
30mm (5 deg. roof)
95 mm (1 deg. roof) | 30 mm |
50 mm (14 mm delay line)
150 mm (38 mm delay line) | 46 mm | 25 mm |
| Typical near-surface resolution (1/8 in. FBH) | 1 mm | 1 mm | 2 mm | 1.5 mm | 2 mm | 3 mm |
| OD inspection range | 4 in. and greater | 4 in. and greater | 4.5 in. and greater | 4 in. and greater | 4 in. and greater | 4 in. and greater |
| ID inspection range | 10 in. and greater (16 in. with index encoder) | N/A | N/A | 10 in. and greater (16 in. with index encoder) | N/A | 20 in. and greater |
| Contact device with surface | Wheels | Carbides | Wheels | Wheels | Carbides | Wheels |
| Footprint | 110 mm x 130 mm | 40 mm × 65 mm | 92 mm × 230 mm | 110 mm x 130 mm | 40 mm x 95 mm | 144 mm × 144 mm |
| Scan direction | Circumferential | Circumferential | Longitudinal | Circumferential | Circumferential | Longitudinal and Circumferential |
| Scan speed at 1 mm x 1 mm resolution | 123 mm/s | 300 mm/s | 123 mm/s | 123 mm/s | 123 mm/s | 123 mm/s |
Software
OmniScan MXU Acquisition Software
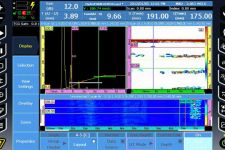
 | OmniScan MXU software displaying A-scan, S-scan, and C-scan views of corrosion. The OmniScan software has a full range of tools and displays for corrosion mapping applications:
|
TomoView Analysis Software
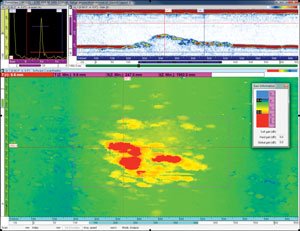 | TomoView software displaying A-scan, S-scan, and C-scan views of corrosion. Computer-based data analysis software with a full range of corrosion evaluation features:
|
