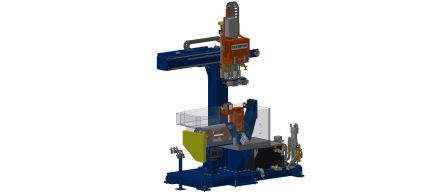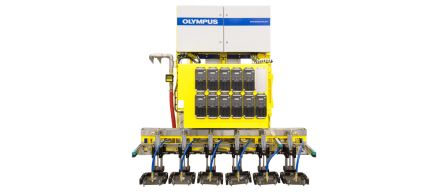
Introduction
Typical full-body tube inspection leaves a long untested portion at the ends of the pipe—a result of the testing equipment’s limitations. These areas must then be inspected manually, automatically with additional equipment, or cut and discarded. However, each of these options generates additional processing and losses for the tube manufacturer.
ChallengeAn ultrasonic testing system that leaves a very short untested length at both ends of the pipe is an advantage. Some inspection modes are inherently more problematic when it comes to inspecting pipe ends. Transversal mode is the most challenging when inspecting toward the end of the pipe, because a lot of energy reflects off the pipe’s edge and bounces back to the phased array probe. This results in a very high amplitude edge echo (typically over 100%) inside the transverse detection gates as the water wedge nears the end of the tube. Under these conditions, it is impossible to discriminate between the edge echo and other indications using the amplitude method. | 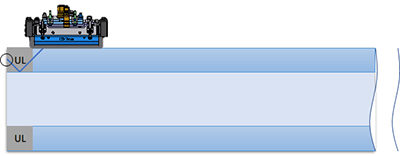 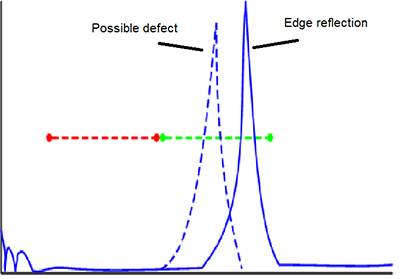 |
Olympus’ EOT Inspection Solution
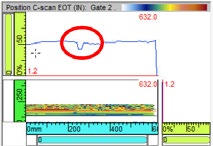 | Using a special algorithm and an adapted inspection sequence, transversal defects at the end of the pipe can be detected using the time-of-flight information. The signal coming from the end of the pipe is normally constant all around the pipe when the time of flight is considered. When a notch is added close to the pipe’s end, the system detects a shorter travel path. | 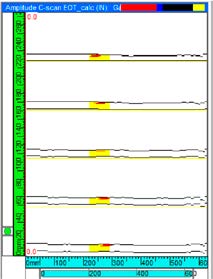 | For each channel, information is analyzed using the algorithm parameters, and the defect pattern can be identified. When a specific number of channels have the same pattern, the defect is confirmed. |
Results Provided by Olympus’ EOT SolutionConfirmed defects are displayed in the same view as other transversal defects as a “go/no go” verdict for the edges of the tube. Using this method, transversal defects can be detected within up to 5 mm of the end of a straight-cut pipe. When no defect is detected, the software displays a “go” verdict for the EOT zone, validating that an EOT inspection was performed for that tube. | 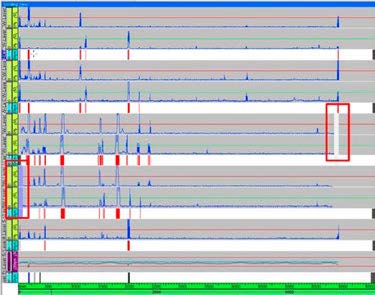 |
Key Benefits of This EOT Solution
The special algorithm and adapted sequence demonstrate that the untested length for all inspection modes can be reduce to as little as 5 mm from the end of the pipe. When the pipe needs to undergo further processing on the ends after final inspection, in most cases, a 5 mm untested length is minimal enough to eliminate the need for an additional inspection station, saving time and resources.

