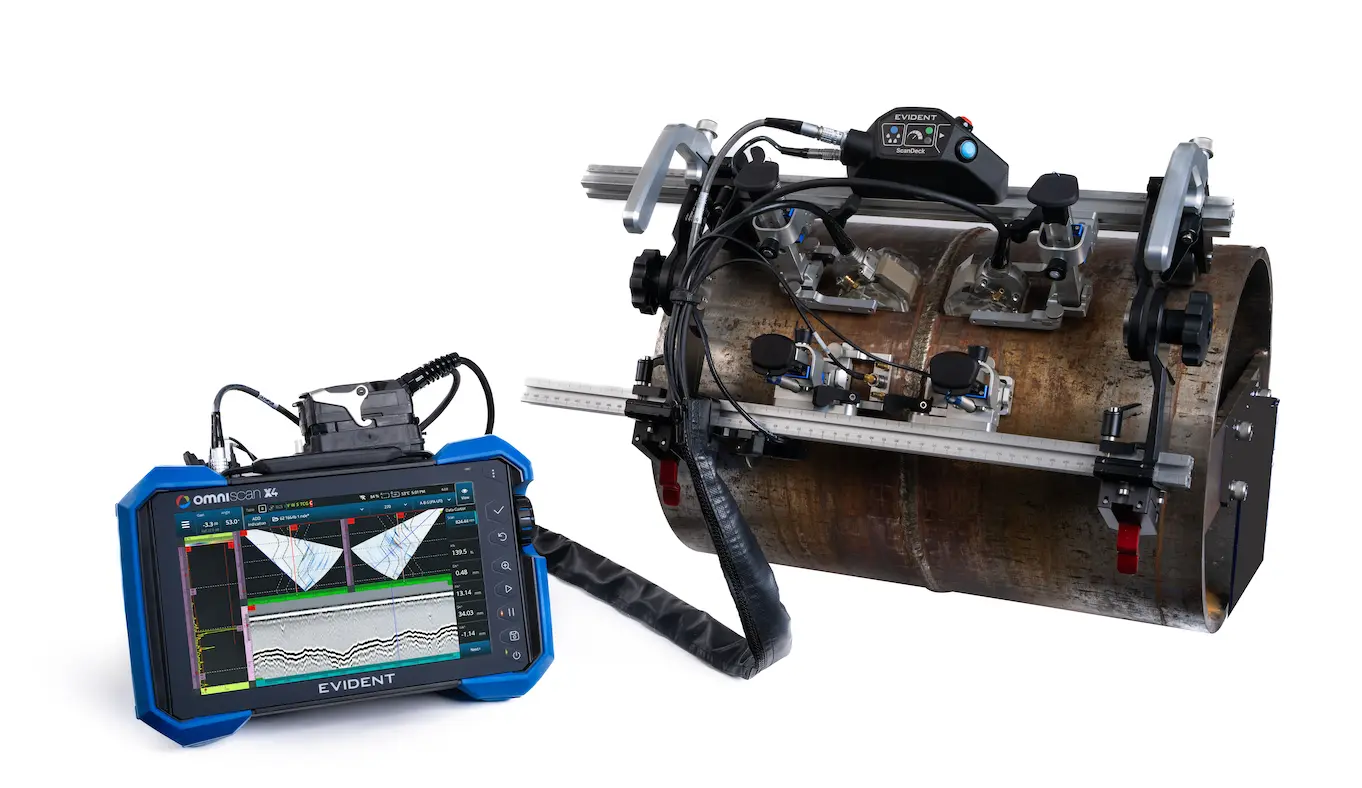
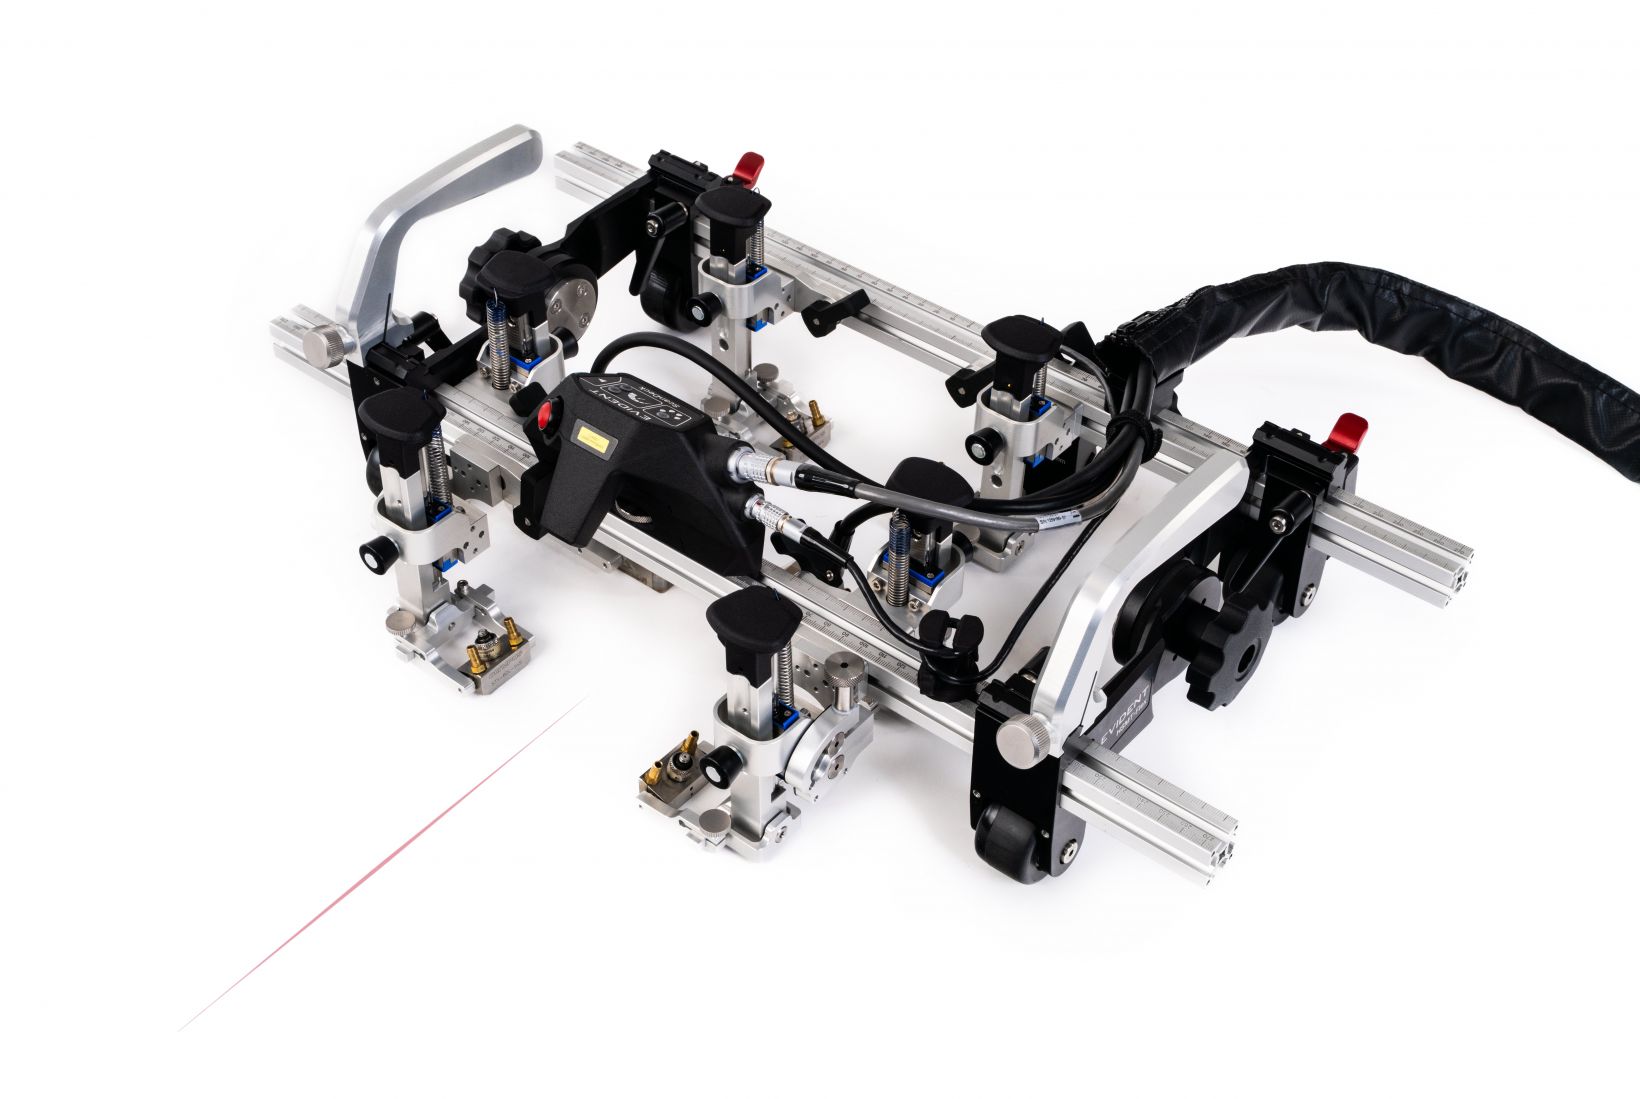
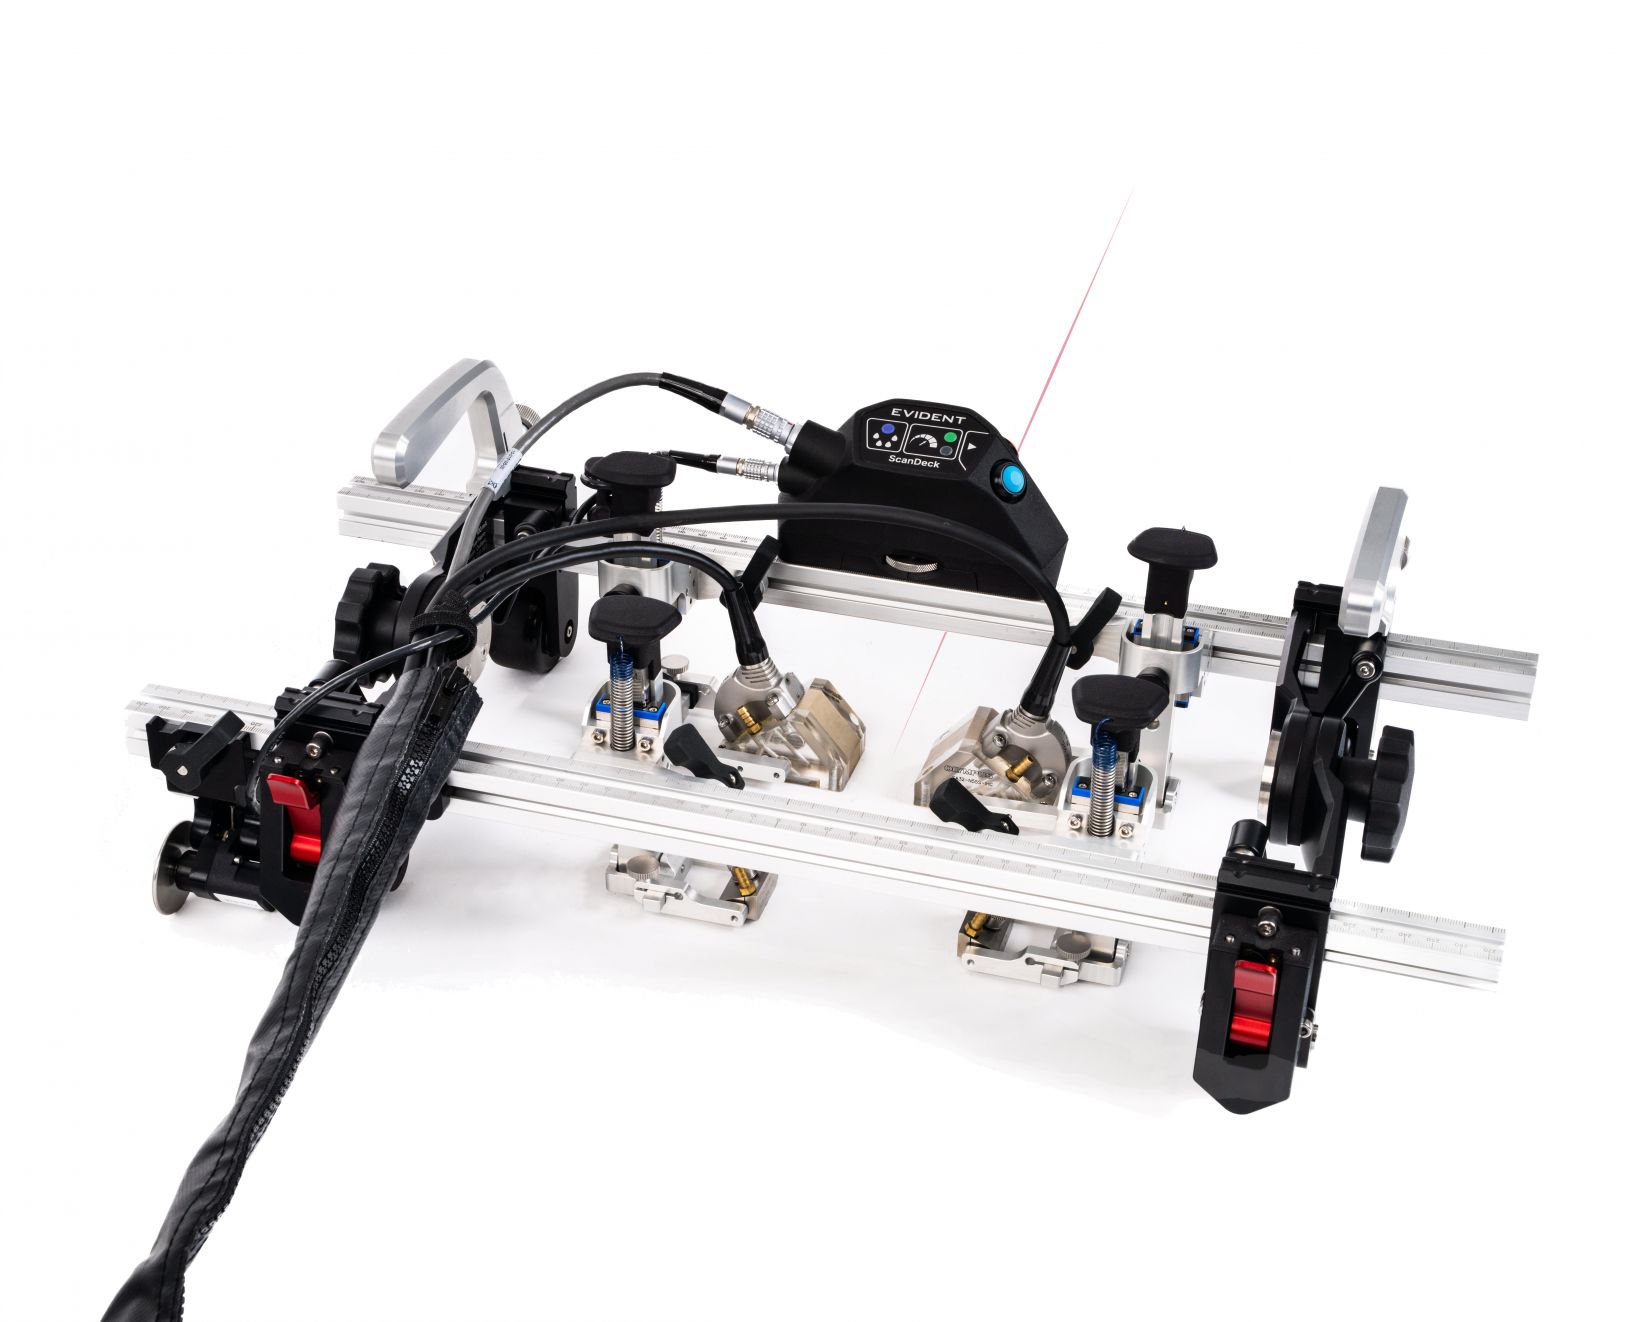
Inspecting pipe welds is challenging enough without bulky, overcomplicated scanning equipment slowing you down. When we developed the AxSEAM™ scanner, our goal was to simplify longitudinal weld inspections for NDT professionals. The overwhelmingly positive feedback confirmed we were on the right path.
Now, we’ve brought several innovations over to the HSMT-Flex scanner—our trusted solution for circumferential weld inspection. And for even more demanding conditions, the HSMT-Flex is now also available in a high-temperature version—designed to perform on surfaces up to 350 °C (662 °F) without requiring complete system shutdowns.
A Proven Solution, Now Smarter and More Adaptable
The HSMT-Flex scanner is a field-proven tool used by pipeline inspectors for two decades. Engineered for steady, encoded one-axis ultrasonic testing on circumferential welds, it supports phased array (PA), time-of-flight diffraction (TOFD), and conventional UT probes. It can be configured to hold up to eight probes to increase coverage when inspecting thicker materials and can fit on pipes as small as 114 mm (4.5 in.) in diameter.
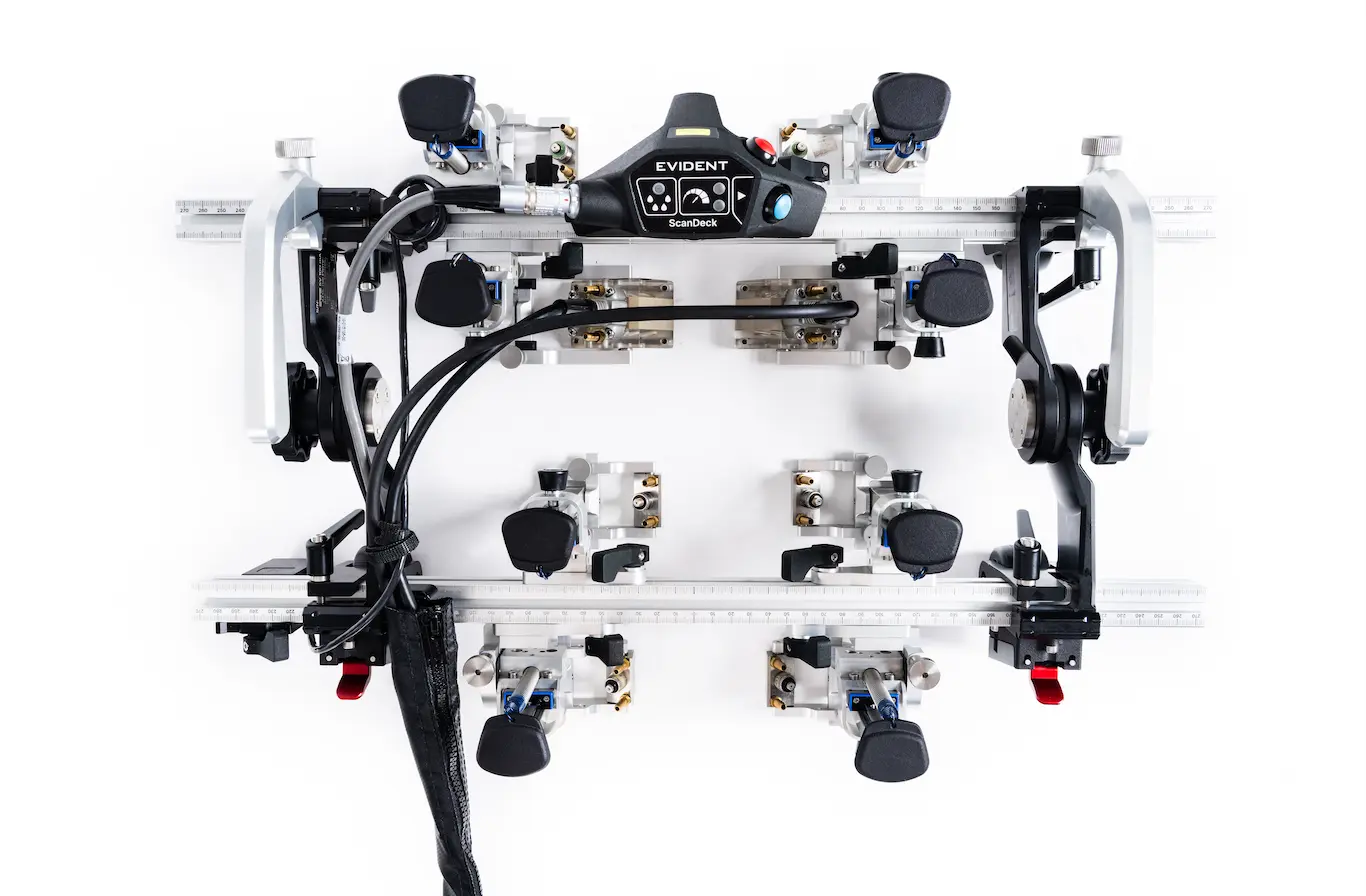
With recent updates, the HSMT-Flex scanner now offers:
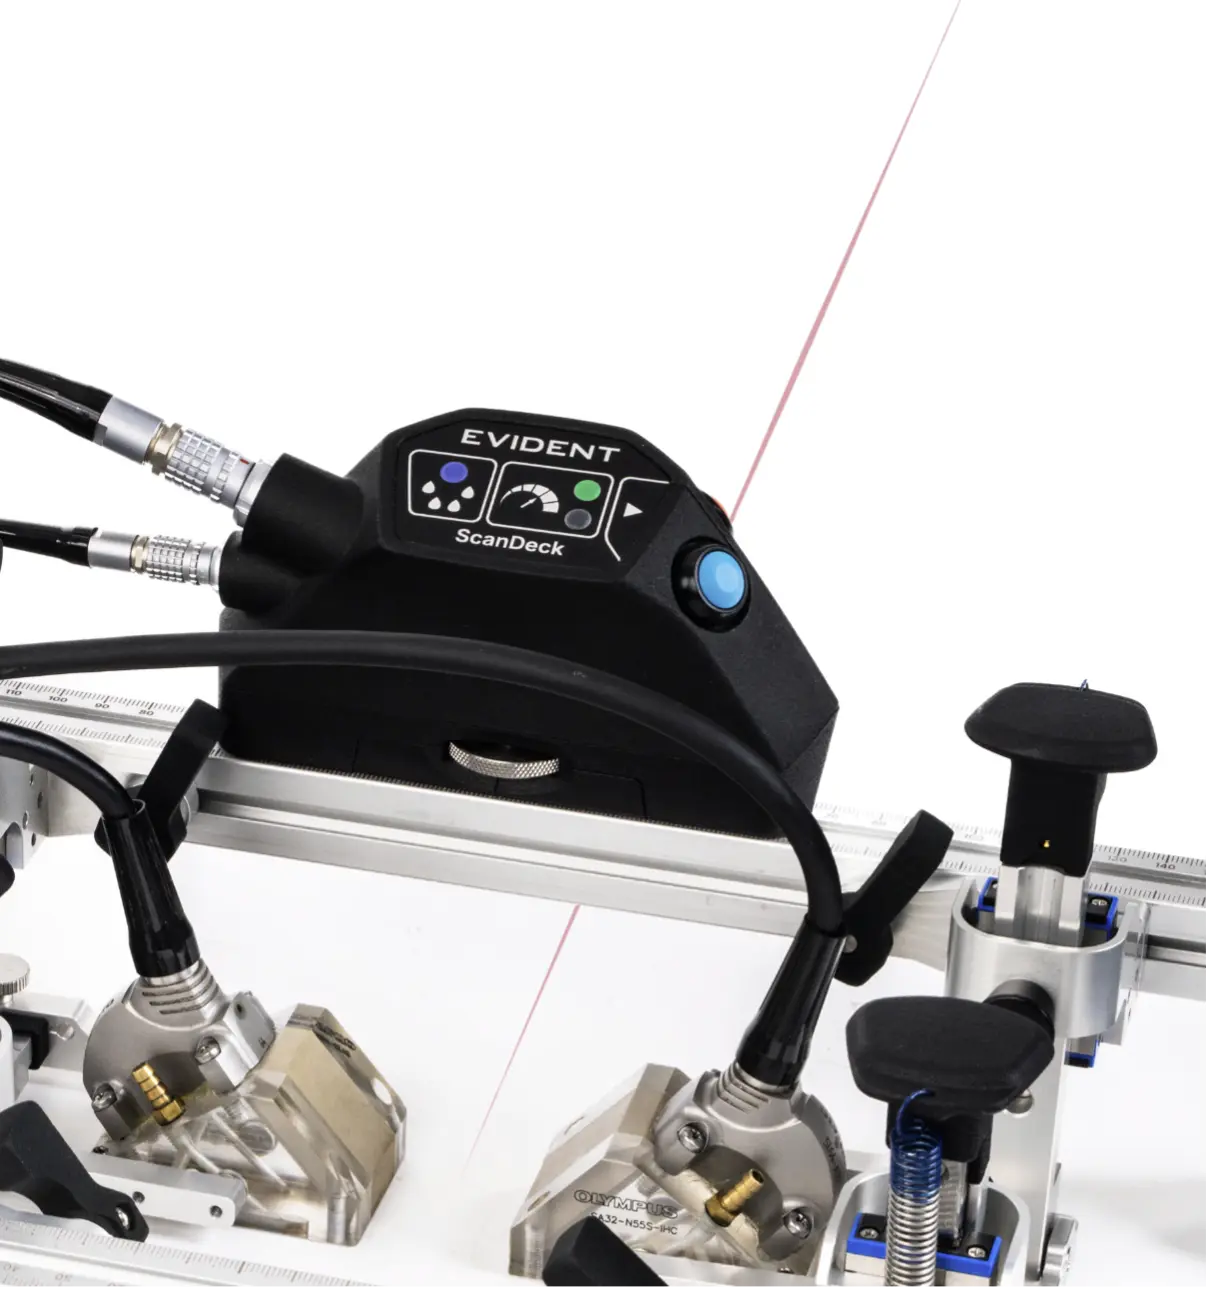
- ScanDeck™ module for real-time scan feedback and alerts
- Integrated laser guide for intuitive weld centerline alignment
- Optimized spring-loaded probe holders with quick, toolless adjustments
- Brake system allowing to maintain the scanner steady and preserving data integrity while manipulating the instrument.
- Completely tool-free operation and new zipper tube cable management system for faster and easier re-configurations
Minimize Setup Time with Tool-Free Adjustments
Redesigned for speed and flexibility, the HSMT-Flex scanner now allows complete operation and reconfiguration without the need for tools or dovetail nuts. This streamlined approach helps reduce setup time and simplifies adjustments in the field.
Tool-free adjustments include the operation or repositioning of the following components:
- Probe holders
- Encoder
- Cable management system
- ScanDeck module
- Brake mechanism
- Handles
- Frame sliding along the bar and bar length replacement
Acquire Quality Data on the First Pass
Designed for precision and consistency, the spring-loaded, pivoting probe holders help maintain optimal coupling while minimizing mechanical play. This ensures strong signal integrity and reduces the likelihood of missed flaws.
With support for multiple probe configurations and accessories like the laser guide, the HSMT-Flex scanner helps you stay aligned with the weld and achieve the necessary coverage—without guesswork.
j.jpg?rev=43FF)
Boost Autonomy and Inspection Efficiency
For even more control, the optional ScanDeck module can be used to remotely start acquisition on the OmniScan. It also monitors coupling and scan speed in real time, alerting inspectors if adjustments are needed.
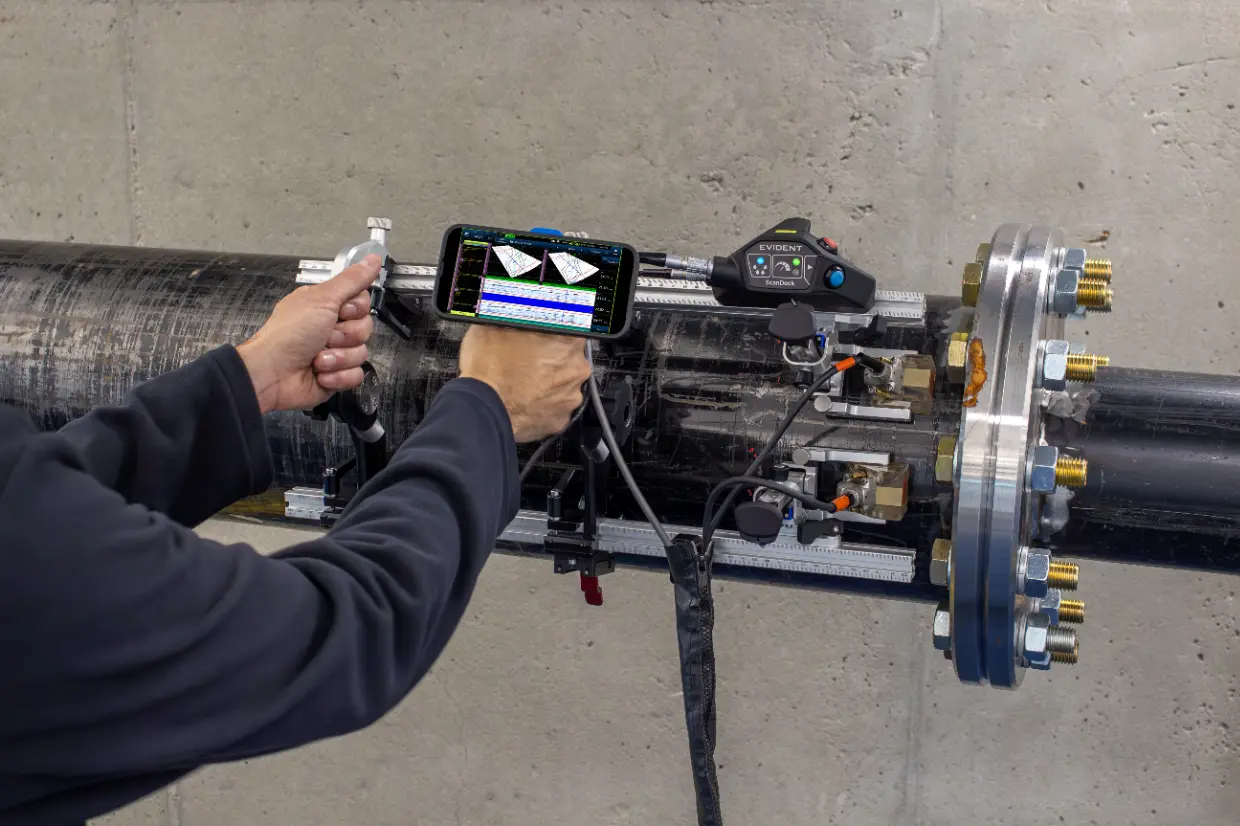
When paired with a smartphone mount that can be installed on the scanner handles, acquired data can be viewed live using the OmniScan™ X4 RCS app, enabling hands-on scanning without splitting focus between devices.
Built for Field Conditions—Now Including High Heat
Rugged yet lightweight, the scanner’s aluminum frame, magnetic wheels, and integrated cable management system are built to withstand tough environments. These mechanical updates help minimize maintenance needs and keep you productive with fewer disruptions.
Now also available in a high-temperature model, the HSMT-Flex scanner enables reliable inspection of hot surfaces—such as process pipes, tanks, and pressure vessels—at temperatures up to 350 °C (662 °F), or 300 °C (572 °F) for continuous scanning when using the ScanDeck module.*
This allows inspectors to identify potential issues before shutdown, reducing downtime and improving planning efficiency.
.jpg?rev=7E4D)
Related Content
Master Pipe Weld Scanning with This Versatile Tool
