Semiconductor and electronic component manufacturers use industrial microscopes as part of their quality control (QC) process. Microscopes enable the detection of defects and variations from targeted specifications, for example:
- False positioning of components on PCBs
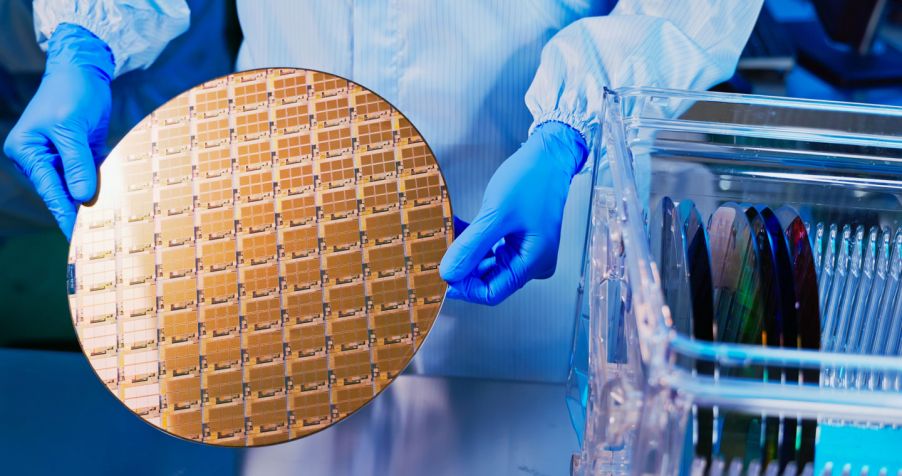
- Electroconductive contaminants on semiconductor wafers, which pose a short circuit risk
- Dead pixels on camera sensors and screens
They’re also used to validate that these complex components comply with international standards. Observing memory chip and microprocessor semiconductor technology under microscopes is necessary to ensure a thorough and reliable examination.

The QC process can be costly and time-consuming, so manufacturers continually seek ways to streamline their methods and improve efficiency. Choosing the right software to control their QC microscopes can have a big impact on the bottom line. It’s important that the software be designed for ease of use and provide workflow guidance, enabling reliable results and repeatable measurements independent of the operator’s experience.
Control QC Costs with Our Semiconductor Testing Solution
PRECiV™ software can optimize product inspection across multiple users to not only speed up detection, but also standardize microscope operation to improve the repeatability of results. Here are 5 ways that PRECiV software can help get your QC costs under control:
1. Easy-to-use system shortens defect detection time
The clean, user-friendly software interface eases microscope image acquisition and data recording, even for inexperienced users. See how simple it is to capture high-resolution images and examine them using PRECiV software’s live image enhancement features, such as high dynamic range (HDR) adjustment and halation removal:
Basic and Advanced 2D Measurement Tools
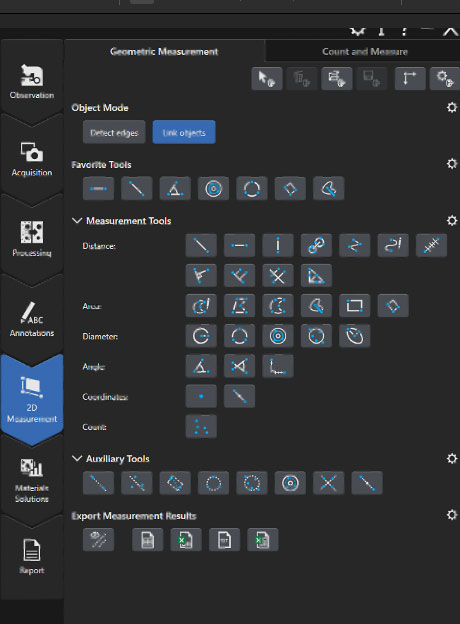
PRECiV software gives your QC inspectors direct access to an extensive set of 2D count and measure tools. It provides basic tools for defect measurement, including distance, area, diameter, angle, and coordinates, and also advanced tools:
- Detect edges mode for fast definition of start and end point of the measurement (using contrast detection).
- Link objects mode to reuse existing measurement in fewer clicks.
- Export Measurement Results buttons to directly export your results in the desired format to a shared drive.

2. Ease complete examination of large semiconductors and electronics
PRECiV software provides integrated control of compatible microscopes, motorized nosepieces, and microscope cameras, including short-wave infrared (SWIR) technology. Its live acquisition tools expand your imaging capabilities, enabling you to fully examine large semiconductor wafers and electronic components.
Automatically Focused, Panoramic Images
Gaining the ability to acquire all-in-focus images that extend beyond the field of view of manual microscopes is just one example how PRECiV software enhances measurement options. With motorized microscopes, you can also use instant mode and activate these automated functions with the press of a button:
- EFI (extended focal image): Acquires a stack of multiple images while different sample heights are in focus and creates an all-in-focus image.
- Panorama: Enables you to move the stage across the sample and then stitch those images together into one large image.
- Panorama and EFI: Panorama image is automatically reconstructed while the stage is moving. A colored frame indicates the quality. If the image is defocused, the user can refocus the image at any time.
See how:
Combine the panorama and EFI functions to obtain large, fully in focus images
Multiple Observations Options for Top to Bottom Semiconductor Testing
PRECiV software is user friendly so inspectors with minimal training can acquire and analyze images using brightfield, darkfield, MIX (directional darkfield), polarization imaging, and differential interference contrast (DIC) observation methods. With its integrated control of third-party SWIR cameras, the software also enables users to inspect optical components with coatings for the SWIR wavelength range.
3. Optimize your material measurement workflow
To standardize and improve the efficiency of your inspection process, PRECiV software offers a designated Materials Solution workflow. Users of different experience levels will find the steps straightforward and simple:
- Manual measurements are simple to use and can be reloaded when performing measurements on a series of recorded images.
- Complex manual measurements can be defined using auxiliary tools and automatic edge detection for reliable measurement between two points.*
- Workflow steps in specific optional solutions (e.g., particle distribution, phase analysis) provide guidance for improved repeatability.

*Available in PRECiV Pro and PRECiV Desktop.
4. Increase efficiency through connectivity
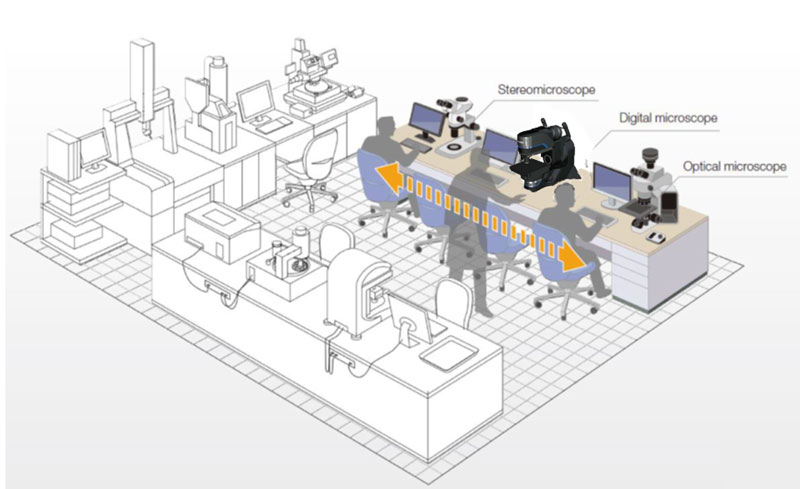
A QC team equipped with PRECiV workstations can streamline and standardize its procedures through network sharing of data and settings:
- Save and reload imaging conditions with each image data file, including calibration information, which is saved in the header of image (JPEG) files.
- Save measurement parameters, files, and other settings (processing, materials solutions, annotations, etc.), and they can be recalled on any PRECiV workstation.
- Define access rights so only authorized users can modify system parameters.
5. Achieve systematic compliance across multiple users
PRECiV software is conducive to multiuser environments that comply with Fabs and Security policies. It provides automated features that help ensure all microscope calibrations and measurements are conducted in accordance with international fabrication regulations, avoiding operator errors.
- Calibration checking of the optical chain using Automated Magnification calibration with a calibrated traceable scale micrometer.
- Set of Materials Solutions to guide users through the workflow, from image acquisition to exporting reports that are compliant with international standards.
- Ability to export all measurement analyses in an Excel file (direct file saving) or directly to a report.
PRECiV software is a modular solution, which can be expanded to fit potential future needs. Visit www.olympus-ims.com/microscope/preciv/ to explore the different Software Packages that are available or contact your local Olympus representative to get more details.
Related Content
Speed Up Your Metallurgical Image Analysis Using This Simple Setup
Video: Introducing PRECiV™ Image Analysis Software
Download the Brochure: PRECiV: Take Control of Your Microscope
Get In Touch


.jpg?rev=A905)