Burrs and porosity are factors that have a significant impact on product quality in the processing of industrial parts. It is critical to find these defects through inspection to help ensure that defective products aren’t delivered to the customer.
Although efforts are made to reduce burrs and other defects at the design and manufacturing stages, it is still difficult to fully eliminate the occurrence of defects. Therefore, inspection, which is performed to catch even the slightest defect, is an important process to help ensure product quality.
Here we introduce visual inspection methods for defect detection in parts, taking a deeper look at borescope inspection and how to improve it with the latest technology and techniques.
Common Visual Inspection Methods to Detect Component Defects
The following inspections are generally used to detect defects in the component production process. Let’s explore their advantages and limitations:
1. Direct visual inspection
This inspection method involves direct visual examination of a part’s surface using the naked eye. As a trained inspector makes defect judgments based on their experience, it’s a flexible way to inspect a variety of samples. Another benefit is that there’s no initial cost—unlike when installing special equipment. The only cost is labor.
The disadvantage is that it’s difficult to maintain a constant inspection quality because of variations in the judgment of what’s considered good or bad. Inspectors have different skill levels that affect the judgement. Another major limitation is that inspection is impossible in areas with low visibility, such as inside parts.
2. Inspection using industrial microscopes
Inspection using an industrial microscope is an excellent way to nondestructively detect minute defects that aren’t distinguishable by the naked eye. Paired with cameras and image analysis software, industrial microscopes can detects defects and perform analysis and verification.
A limitation is that a microscope stage may not be large enough to fit the sample in some cases, requiring processing of the sample to fit the stage. Manual visual inspections with a microscope may also face similar quality consistency issues as direct visual inspection, as the assessment depends on the operator’s skill level. Microscopes featuring custom stages and intuitive software workflows can assist with these challenges.
3. Automated inspection using cameras
In this inspection, a camera captures samples and image processing and analysis determines defects. Unlike inspection done by operators, automation minimizes human errors. This can enhance inspection quality. Automation also improves throughput, which can increase productivity.
The disadvantage: the equipment is expensive and requires some maintenance costs, making the hurdle to introduction high.
4. Inspection using borescopes
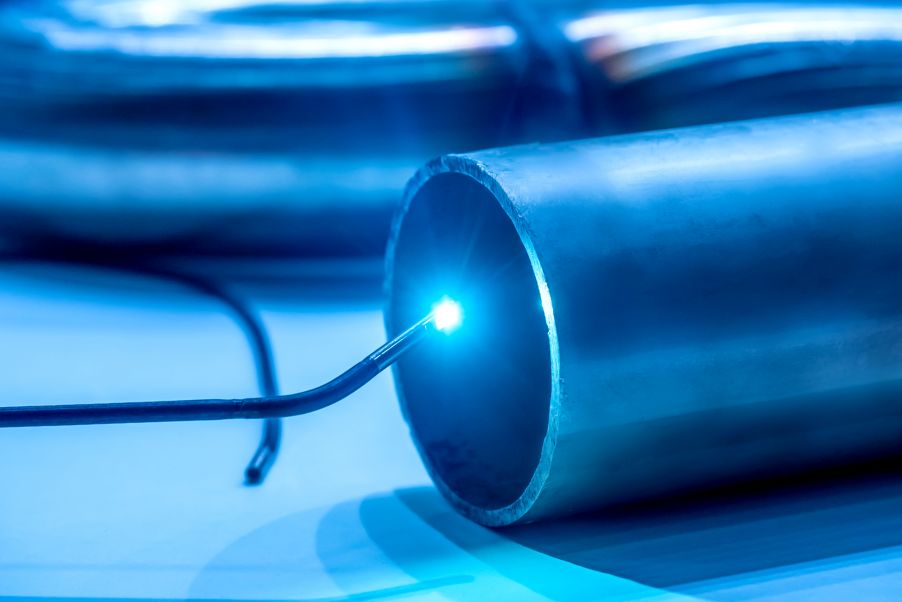
The inspection methods mentioned so far are mainly used for visual inspection. As a result, they may be unsuitable for inspecting deep locations, such as inside a product. This is where remote visual inspection with a borescope comes in. A borescope is an optical tool that is inserted into areas to transmit an image of the target object in real time.
A key benefit of borescope inspection is that it enables nondestructive observation of inaccessible and hard-to-access places. Inspectors of all skill levels can perform a borescope observation. Further, the cost of maintaining the borescope equipment is minimal with proper care, so the hurdles to introduction and operation are low.
However, sufficient inspection quality requires the selection of the best borescope for the inspection task.
4 Considerations to Select the Right Borescope for Defect Detection
Borescope inspection is an excellent method for internal examination of products. To take advantage of its performance, make sure to select the appropriate borescope for the sample. While the thickness and length of the borescope must be suitable, there are cases where these factors are not enough to observe the product as expected.
Here are four key performance features to look for in a borescope:
1. Insertion performance
Insertion performance indicates how easy it is to maneuver the industrial borescope to the site of observation. To determine the insertion performance, comprehensively evaluate a combination of several factors: the distal end, articulation section, and insertion tube. Read on to learn about each one.
2. Distal end length
The distal end can’t bend due to the structure of the borescope. If is too long, it tends to get caught in the observation site, leading to poor operability. Choose a borescope with a shorter distal end to improve the insertion performance.
3. Stiffness of the insertion tube
Stiffness is another factor to evaluate. If the base of the insertion tube is too soft, force may not transmit properly when pushing in, making it difficult to reach the required depth.
If the insertion tube is too hard, it tends to get stuck. Insertion performance improves if the insertion tube is harder at the base and softer at the tip. It worsens when the tube is hard from the tip to the base.
In summary, select a borescope with a short distal end, a short articulation section, and a moderately stiff insertion to enhance the insertion performance.
4. Observation performance
Another important aspect of borescope performance is the observation performance. This refers to the performance of the lens, such as depth of view and angle of view.
The depth of view of a lens depends on its focal length. As its name implies, a far focus lens is a lens that focuses on the part far from the lens. Conversely, a near focus lens is a lens that focuses on the part close to the lens. For proper observation, the target object and the depth of observation must match. Otherwise, the object will be out of focus.
The angle of view of the lens is also important. Use wide-angle and far focus lenses according to the target object. Wide-angle lenses have a wide field of view. They’re suitable for observing multiple defective areas at once while viewing the entire sample. Far focus lenses can magnify the object for a more detailed inspection.

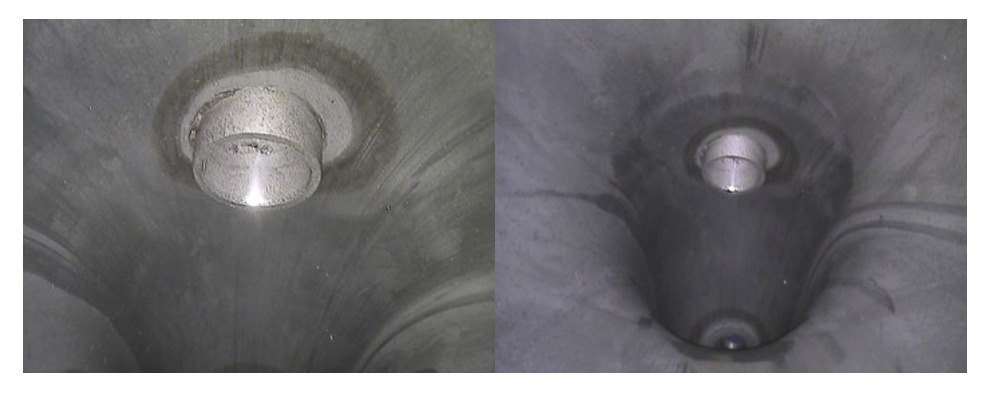
Video borescope images of a pipe with a (left) narrower viewing angle of 40 degrees and (right) wider viewing angle of 120 degrees with far focus. Images were captured from the same distance.
Simply put, select the observation depth and angle of view depending on the target object to improve the inspection quality.
When Is Borescope Inspection Effective for Defect Inspection?
Borescope inspection is usually effective in detecting defects in areas that are not visually apparent. For example, cracks and other casting defects occur inside the intricate structure of castings such as die-cast parts. Here borescope inspection, which can detect defects nondestructively, is suitable.

Residue inside casting. Image captured using an industrial video borescope.
Borescopes are also often used to observe burrs that occur at the intersections of hydraulic parts in automobiles and other vehicles. The space at the intersection of these parts is narrow, and the observation distance is short. For this reason, it is important to select a lens with observation performance that matches the application.
Challenges and Opportunities in Borescope Inspection
As described, inspection using a borescope is a useful nondestructive method to detect defects on samples. However, as an inspection performed by operators, it brings the risks of human error, such as variation and oversight. Another challenge is the time it takes to detect defects, which depends on the skill level of the inspector.
In recent years, a method has emerged that uses artificial intelligence, or AI, to diagnose whether a product is acceptable or not. This method, known as AI inspection, involves inputting many images of defective products in advance so that the AI can learn the characteristics of defects on its own, make judgments like a skilled inspector, and detect defects.
One key advantage of AI inspection is that it eliminates oversights and variations that have been an issue in manual, operator-led inspections. It also enables real-time diagnosis. Harnessing emerging visual inspection technologies such as AI can help streamline the defect detection process further.
Key Takeaways about Visual Inspection of Part Defects
The journey toward better product quality involves a multifaceted approach that embraces advancements in technology alongside traditional inspection methodologies. Through a comprehensive understanding of available visual inspection techniques and a commitment to continuous improvement, industries can fortify their quality control mechanisms and uphold standards of excellence in product delivery.
Related Content
Internal Inspection of Various Hoses of Automobiles Using Industrial Videoscopes
Inspection of Machined Holes on Automotive Fuel Injection Valve
Automobile Engine Water Jacket Inspections with Industrial Videoscopes


