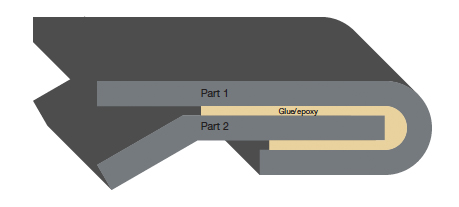
In automobile manufacturing, the edges of parts such as car doors, hoods, and trunks are typically joined together using the adhesive bond seam process. Two parts are matted and sealed with adhesive to ensure the bond strength, increase corrosion resistance, and reduce vibration. To perform quality control of these bonded seams, automotive manufacturers can use ultrasound to observe the attentuation of sound in the areas where adhesive is present and reflections off the back wall where there is no adhesive.
 |  |
Problems with Current Ultrasound Inspection Equipment
The car parts that need to be inspected for this application vary in shape, thickness, and surface condition from one to the other. They are geometrically complex, both on the exterior and interior.
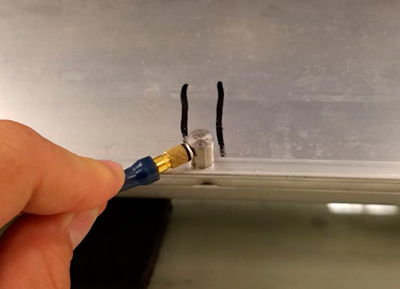
Using conventional ultrasound probes enables operators to track the bond seam with accurate sizing, but this technique has its downsides. You need to raster the probe in a two-axis pattern to get full coverage of the bond seam, it leaves marks on the part, and it is difficult to image the entire bond seam.
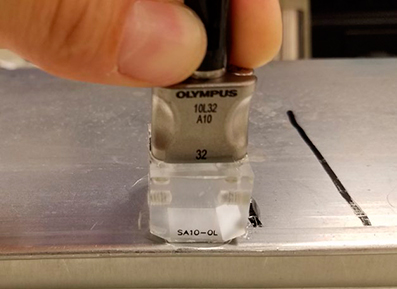
With a contact phased array probe, full coverage is impossible due to part geometry. This method also leaves marks on the part. There are coupling issues as well, as the changes in the geometry make constant adherence difficult.
 |  |
 |  |
Solution Using Olympus’ Bond Seam Phased Array Wheel Probe
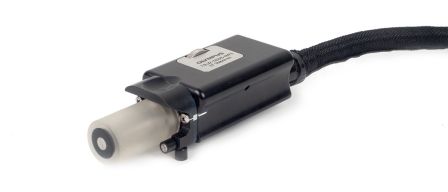
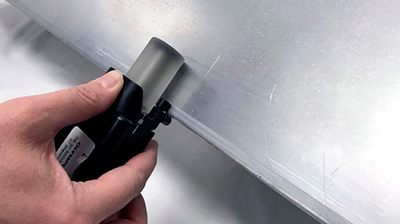
To address the complex geometries and large variety of automotive parts, Olympus has developed the EdgeFORM™ phased array wheel probe. The EdgeFORM wheel probe couples to the edges of parts containing bond seams, has an aperture length that’s adjustable from 4 mm to 32 mm (0.16 in. to 1.26 in.), conforms to complex geometry, and tracks the bond seam with an easy-to-interpret C-scan.

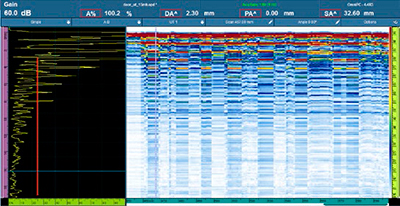
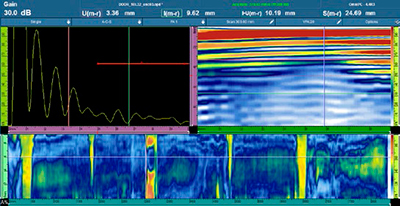
The EdgeFORM probe rolls smoothly on unpainted surfaces, leaving no scratches or visual defects. The compression of the wheel offers equal coupling along the bond seam, and the C-scan clearly displays the unbonded areas in red and the bonded areas in blue.
 |  |

