Support
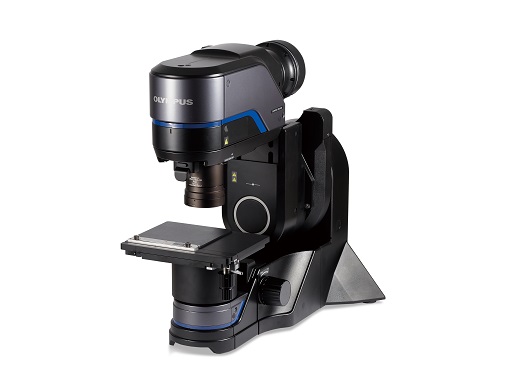
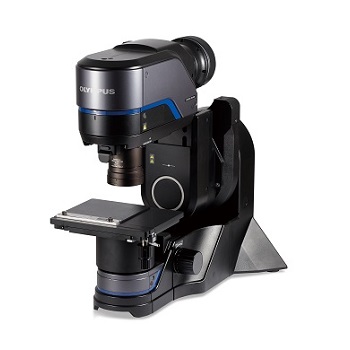
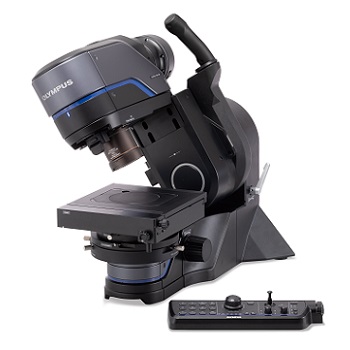
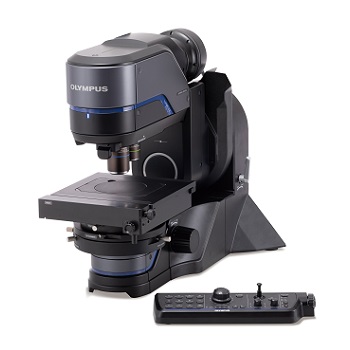
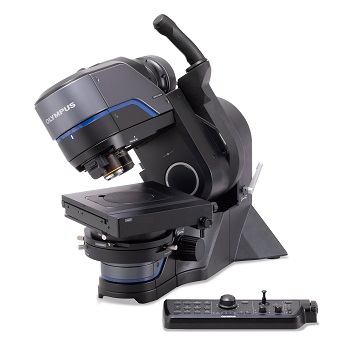
DSX1000 Digital Microscopes - Entry Model
Loading...
Overview
Easy to Use with Basic Functionality
DSX1000 Entry Model
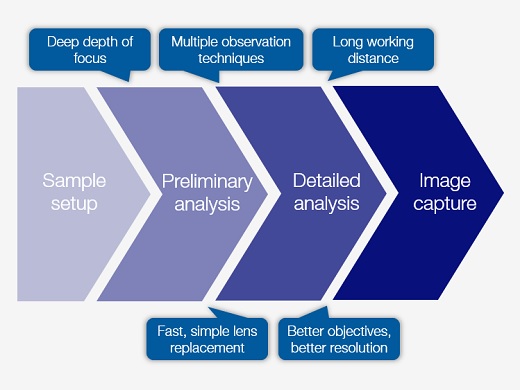
Preliminary Inspection and Micron-Level Analysis with One System
Reduce trial and error during observations for faster inspections
Conduct an initial macro analysis and detailed micro analysis using one instrument
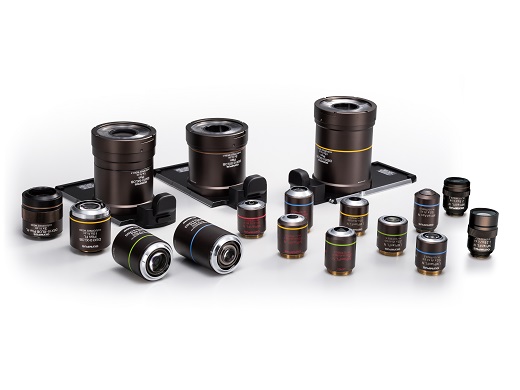
Choose the Best Lens for Your Analysis
Our lineup of 17 objective lenses provides flexibility to obtain a wide range of images
Minimize the chance of crashing into your sample with a long working distance
High resolution and a long working distance in one objective
See all the objectives
Be Confident in Your Measurements
Telecentric optical system enables you to obtain high-precision measurement with guaranteed accuracy and precision*
*To guarantee XY accuracy, calibration work must be undertaken by an Evident service technician.
5 Advantages of the DSX1000 Series Digital Microscope Over Conventional Digital Microscopes
01 All-in-One System with a Wide Magnification Range
With the DSX1000 digital microscope:
Complete your inspection using one easy-to-use system
With a conventional digital microscope:
Two microscopes, a low-magnification and a high-magnification model, are needed to complete an inspection
02 High-Resolution Image at High Magnification
With the DSX1000 digital microscope:
High resolution and long working distance in one objective
With a conventional digital microscope:
Resolution decreases as magnification increases
03 Long Working Distance Objectives
With the DSX1000 digital microscope:
Observe uneven samples without bumping into them
With a conventional digital microscope:
The objective can crash into the sample, potentially damaging it
04 Multiple Observations with a Single Click
With the DSX1000 digital microscope:
All 6 observation methods are available at all magnifications
With a conventional digital microscope:
Only one or two observation methods are available, limiting what can be seen in the sample
05 Guaranteed Accuracy and Precision
With the DSX1000 digital microscope:
Both accuracy and repeatability are guaranteed at all magnifications
With a conventional digital microscope:
The measurement precision is not guaranteed
Get more details about the advantages
Models
DSX1000 Digital Microscope Lineup
You can meet various observation needs with the DSX1000 Series from entry level to high end.
See Full Specifications Chart
DSX1000 Objective Lenses
Our lineup of 17 objective lenses, including super long working distance and high numerical aperture options, offers flexibility to obtain a wide range of images.
Super Long Working Distance Objective Lens Provides a long working distance between the lens and sample.
View Product Details
High-Resolution, Long Working Distance Objective Lens Delivers both high resolution and a long working distance.
View Product Details
High-Performance, High Numerical Aperture Objective Lens Delivers high performance at the nano scale.
View Product Details
Specifications
DSX1000 Digital Microscope Specifications
DSX10-SZH
DSX10-UZH
Optical System
Optical system
Telecentric optical system
Zoom ratio
10X (motorized)
Zoom magnification method
Motorized
Calibration
Automatic
Lens attachment
Quick-switch, coded lens attachments automatically update magnification and visual field information
Maximum total magnification
9637X
Working distance (W.D.)
66.1 mm – 0.35 mm
Accuracy and repeatability (X-Y plane)
Accuracy*1
± 3%
Repeatability 3σn-1
2%
Repeatability (Z axis)*2
Repeatabilty σn-1
1 μm
Camera
Image sensor
1 / 1.2 inch, 2.35 million pixel color CMOS
Cooling
Peltier cooling
Frame rate
60 fps (maximum)
Low
960 × 600 (16:10)
Medium
1600 × 1200 (4:3) / 1920 × 1080 (16:9) / 1920 × 1200 (16:10) / 1200 × 1200 (1:1)
High (pixel shift mode)
2880 × 1800 (16:10)
Super high (pixel shift mode)
5760 × 3600 (16:10)
3CMOS mode (high quality)
Not available
Available (high and super high modes only)
Illumination
Color light source
LED
Lifetime
60,000 h (design value)
Observation
BF (brightfield)
Standard
OBQ (oblique)
Standard
DF (darkfield)
Standard
MIX (brightfield+darkfield)
Standard
PO (polarization)
Standard
DIC (differential interference)
Not available
Standard
Contrast up
Standard
Depth of focus up function
Not available
Standard
Transmitted lighting
Standard*3
Focus
Focusing
Motorized
Stroke
101 mm (motorized)
*1 Calibration by an Evident or a dealer service technician is necessary. To guarantee the accuracy of XY, calibration with DSX-CALS-HR (calibration sample) is required. To issue certificates, calibration work must be undertaken by an Evident calibration service technician. *2 When using a 20X or higher objective. *3 The optional DSX10-ILT is required.
Objective
DSX10-SXLOB
DSX10-XLOB
UIS2
Objective lens
Maximum sample height
50 mm
115 mm
145 mm
Maximum sample height
50 mm
Parfocal distance
140 mm
75 mm
45 mm
Lens attachment
Integrated with lens
Available
Total magnification
27 – 1927X
58 – 7710X
34*4 – 9637X
Actual F.O.V. (μm)
19,200 µm – 270 µm
9,100 µm – 70 µm
17,100 µm – 50 µm
Adaptor
Diffusion adaptor (optional)
Available
Not Available
Eliminate reflection adaptor (optional)
Available
Not Available
Lens attachment
Number of objectives that can be attached
Up to 1 piece
Up to 2 pieces
Objective lens case
Three lens attachments can be stored
*4 Total (maximum) magnification when using MPLFLN1.25X
Stage
DSX10-RMTS
DSX10-MTS
U-SIC4R2
XY stage: motorized / manual
Motorized (with rotation function)
Motorized
Manual
XY stroke
Stroke priority mode: 100 mm × 100 mm
100 mm × 100 mm
100 mm × 105 mm
Rotation angle
Stroke priority mode : ±20°
Not available
Display rotation angle
GUI
Not available
Load-resistance
5 kg (11 lb)
1 kg (2.2 lb)
Frame
DSX-UF
DSX-TF
Z-axis stroke
50 mm (manual)
Tilt observation
Not available
±90°
Tilt angle display
Not available
GUI
Tilt angle method
Not available
Manual, fix / release handle
Measurement
Standard
Basic interactive measurements
3D Line profile measurement and simple 3D measurements
2D Line profile measurements
Advanced interactive measurement, including auto-edge detection and auxiliary lines
Neural Network Labelling
Live AI
Offline EFI, Offline Panorama
Image enhancement filters
Optional
3D Analysis Application*
Count and Measure
Neural Network Training
Material Solutions
Auto edge measurement
Particle analysis
Sphere/cylinder surface angle analysis
Multi-data analysis**
*Requires PV-3DAA.
Display
27-inch flat panel display
Resolution
1920 (H) × 1080 (V)
System total
Upright frame system
Tilt frame system
Weight (frame, head, motorized stage, display, and console)
43.7 kg (96.3 lb)
46.7 kg (103 lb)
Power consumption
100 – 120 V / 220 – 240 V, 1.1 / 0 .54 A, 50 / 60 Hz
Sorry, this page is not available in your country
Let us know what you're looking for by filling out the form below.
Redirecting
You are being redirected to our local site.
Attention: Please enable JavaScript
Sorry, this page is not available in your country
