The Evident customization team designs personalized workflows in Stream Enterprise database management software for specific applications. The software operation process is set up for your requirements so that you can quickly solve challenges and achieve your industrial microscope inspection goals.
Custom Solutions Available for Stream Software
These custom solutions are compatible with OLYMPUS Stream Basic, Essentials, Motion, and Enterprise. *All motorized solutions are only compatible with Motion or Enterprise.
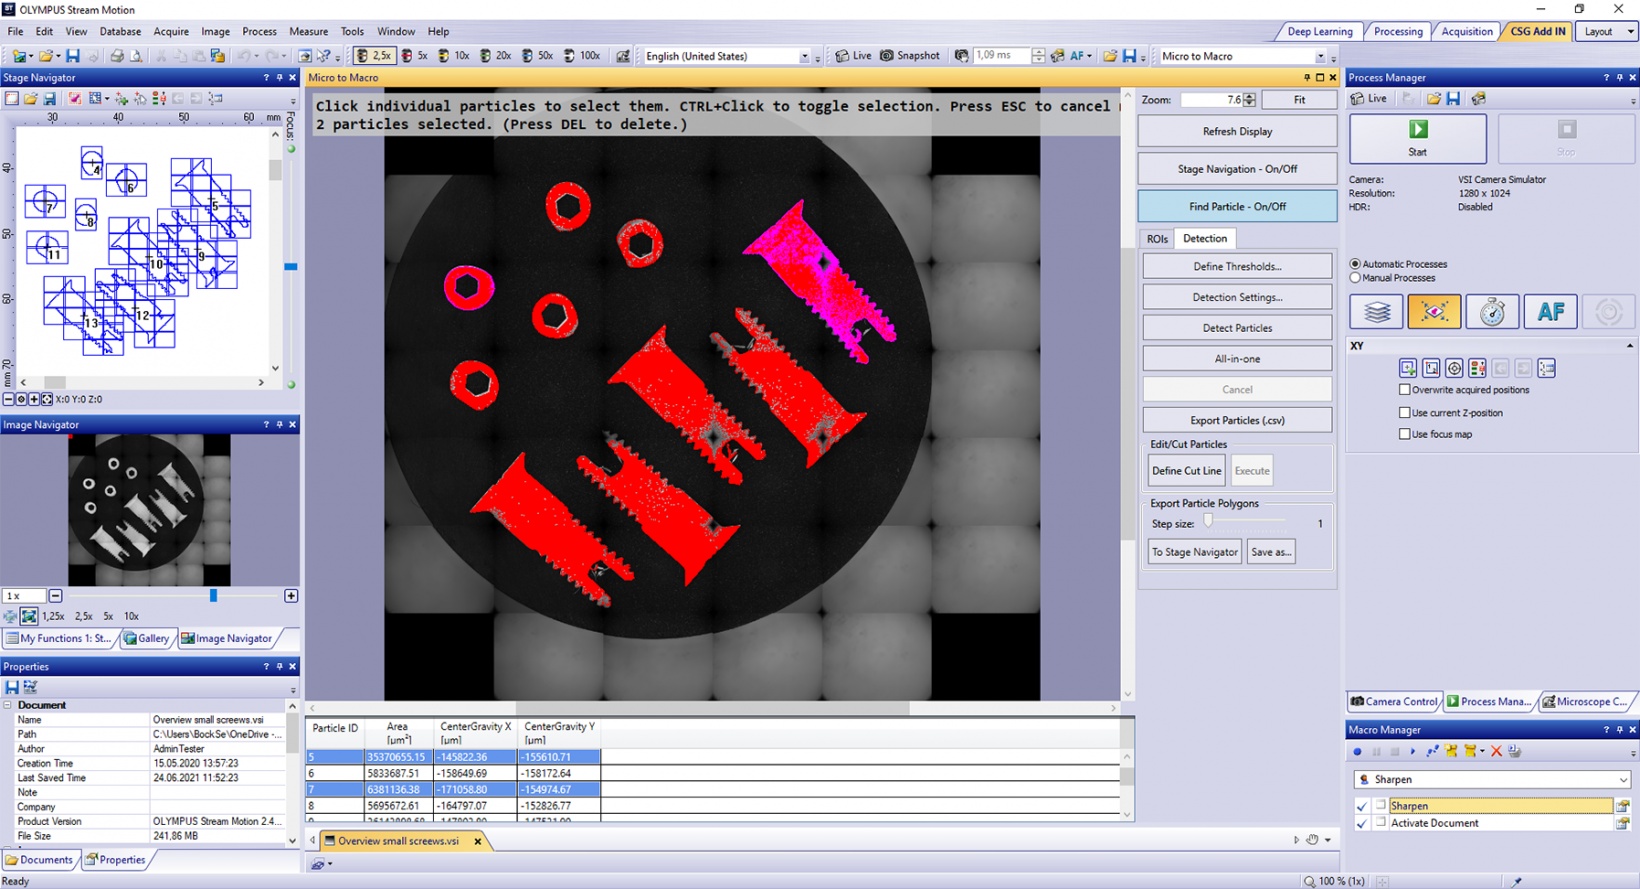
Macro to Micro*
Detect particles from an overview image and transform the particle outline into a scan area for acquisition at higher magnification and further processing.
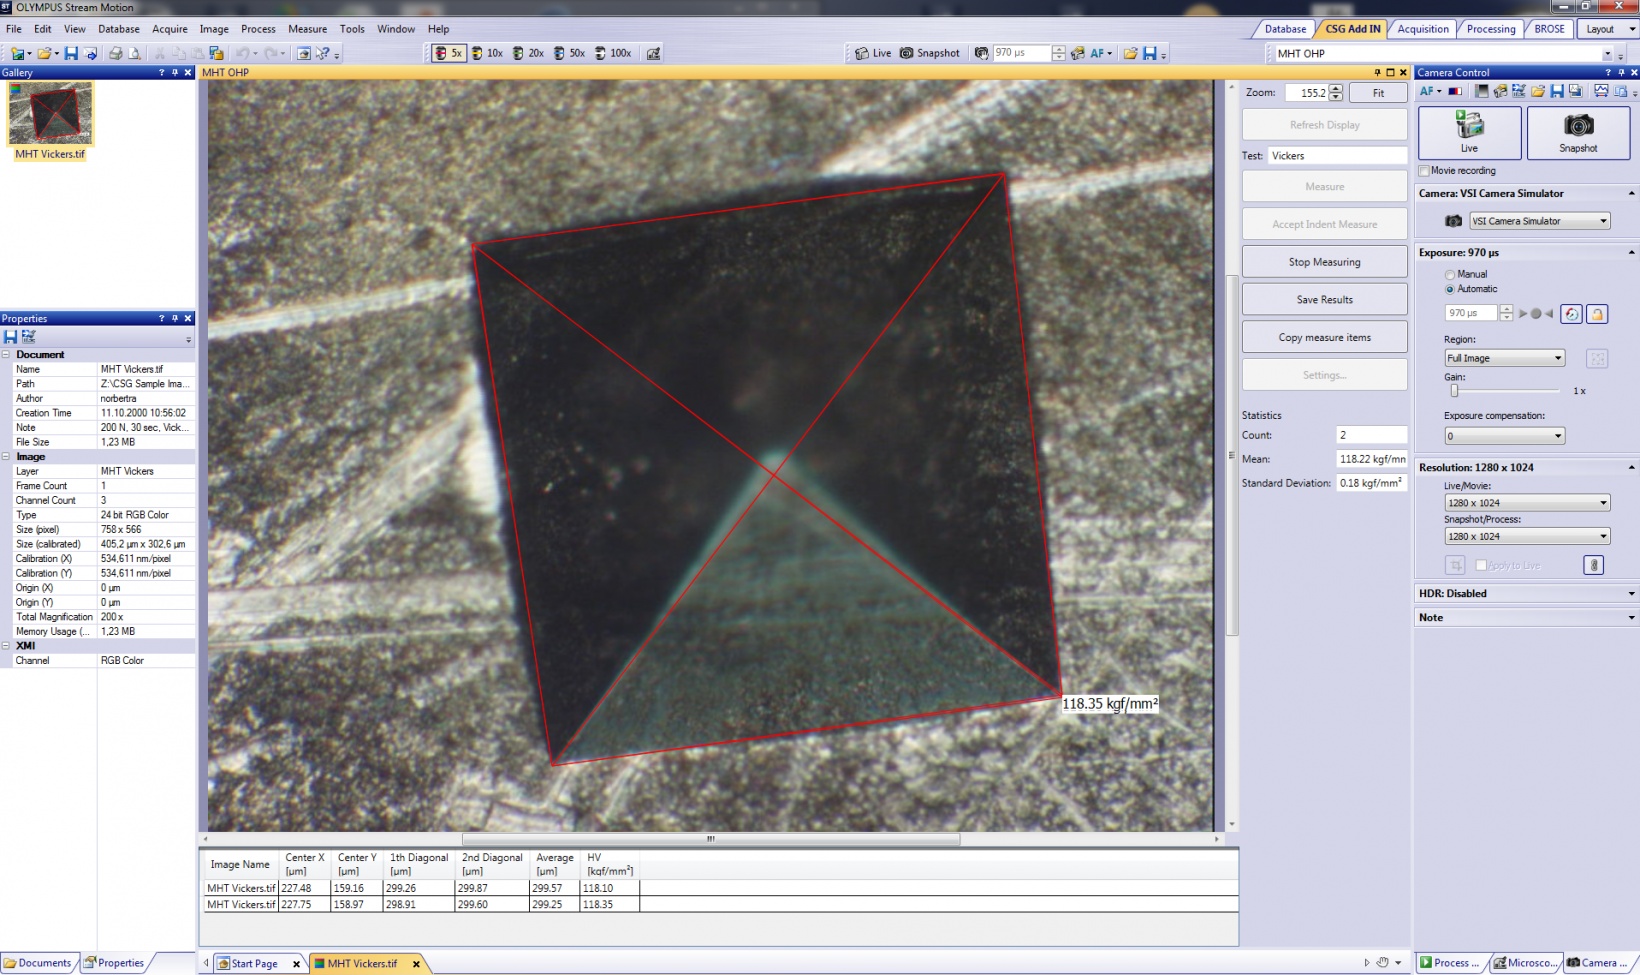
Micro Hardness Testing
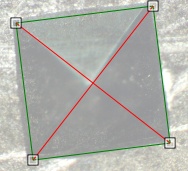
Calculate HV and HK values from the indentation print in a material. Indentation is measured from the Vickers or Knoop pyramid, and test parameters (load, indentation speed, and time) are used as input.
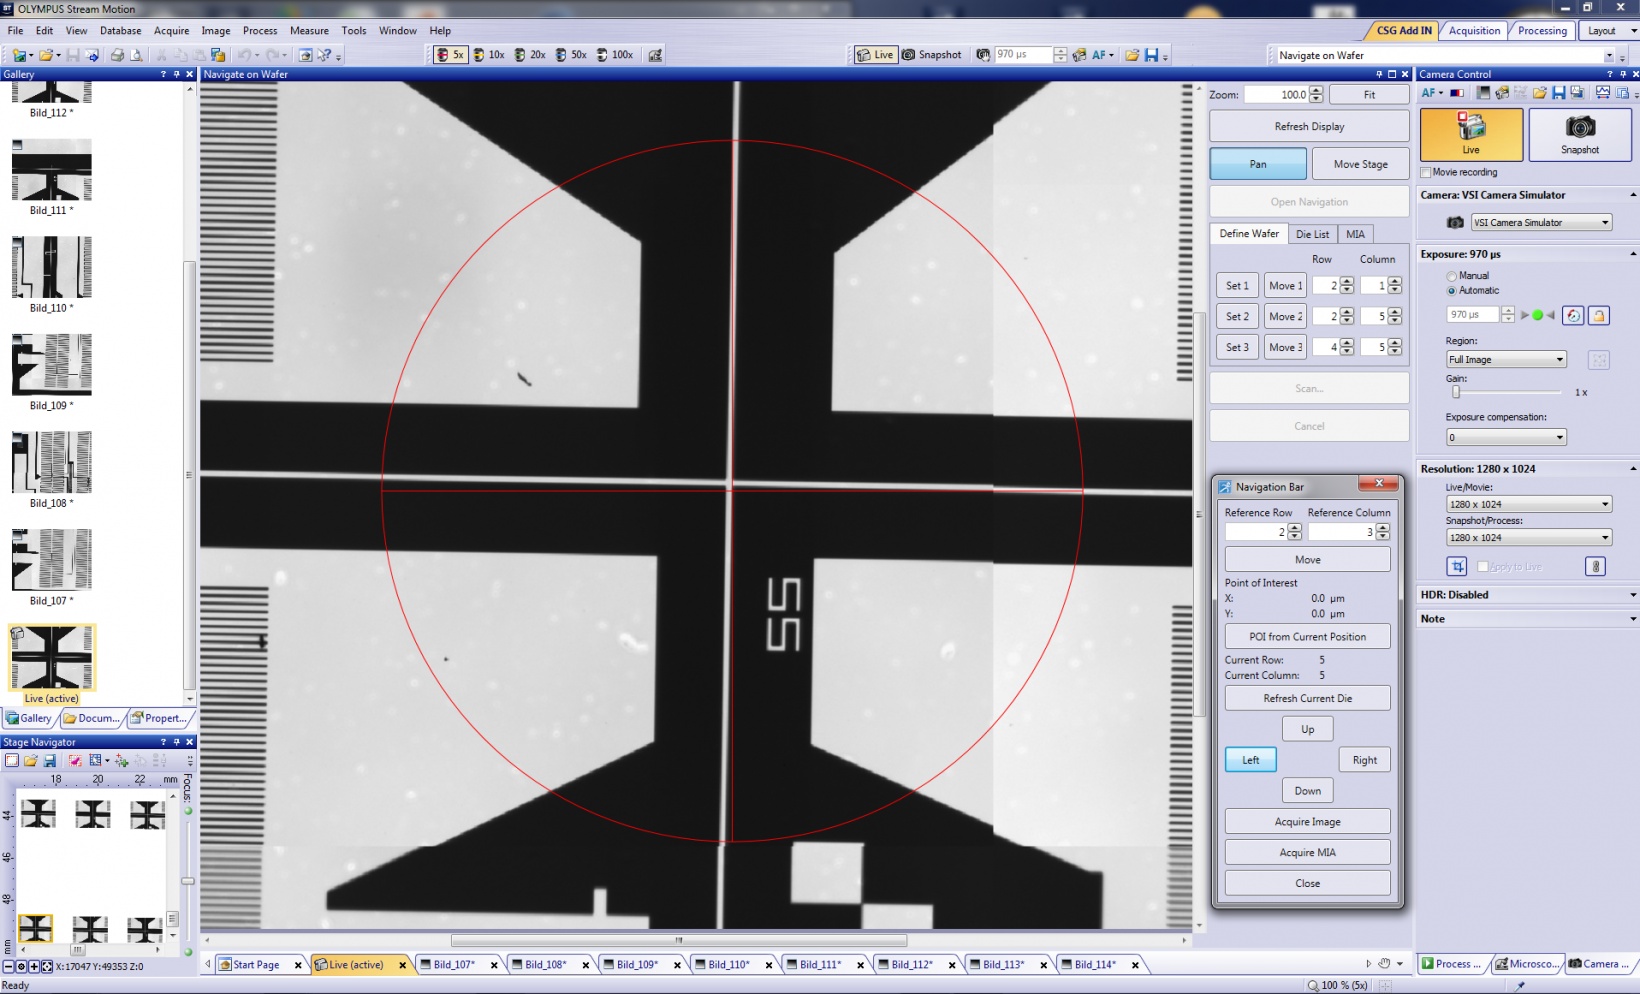
Navigate On Wafer*
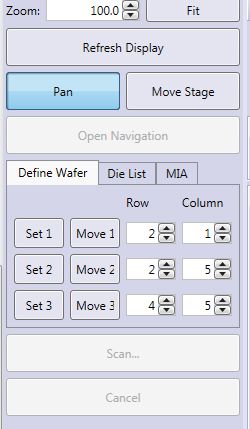
Define arbitrary points of interest on a wafer for automatic navigation and image acquisition of structures on identical wafers. Easily reposition the sample using a 3-point alignment, and navigate based on the row and column index for periodically recurring structures.
Point Count Phase Analysis According to ASTM E562
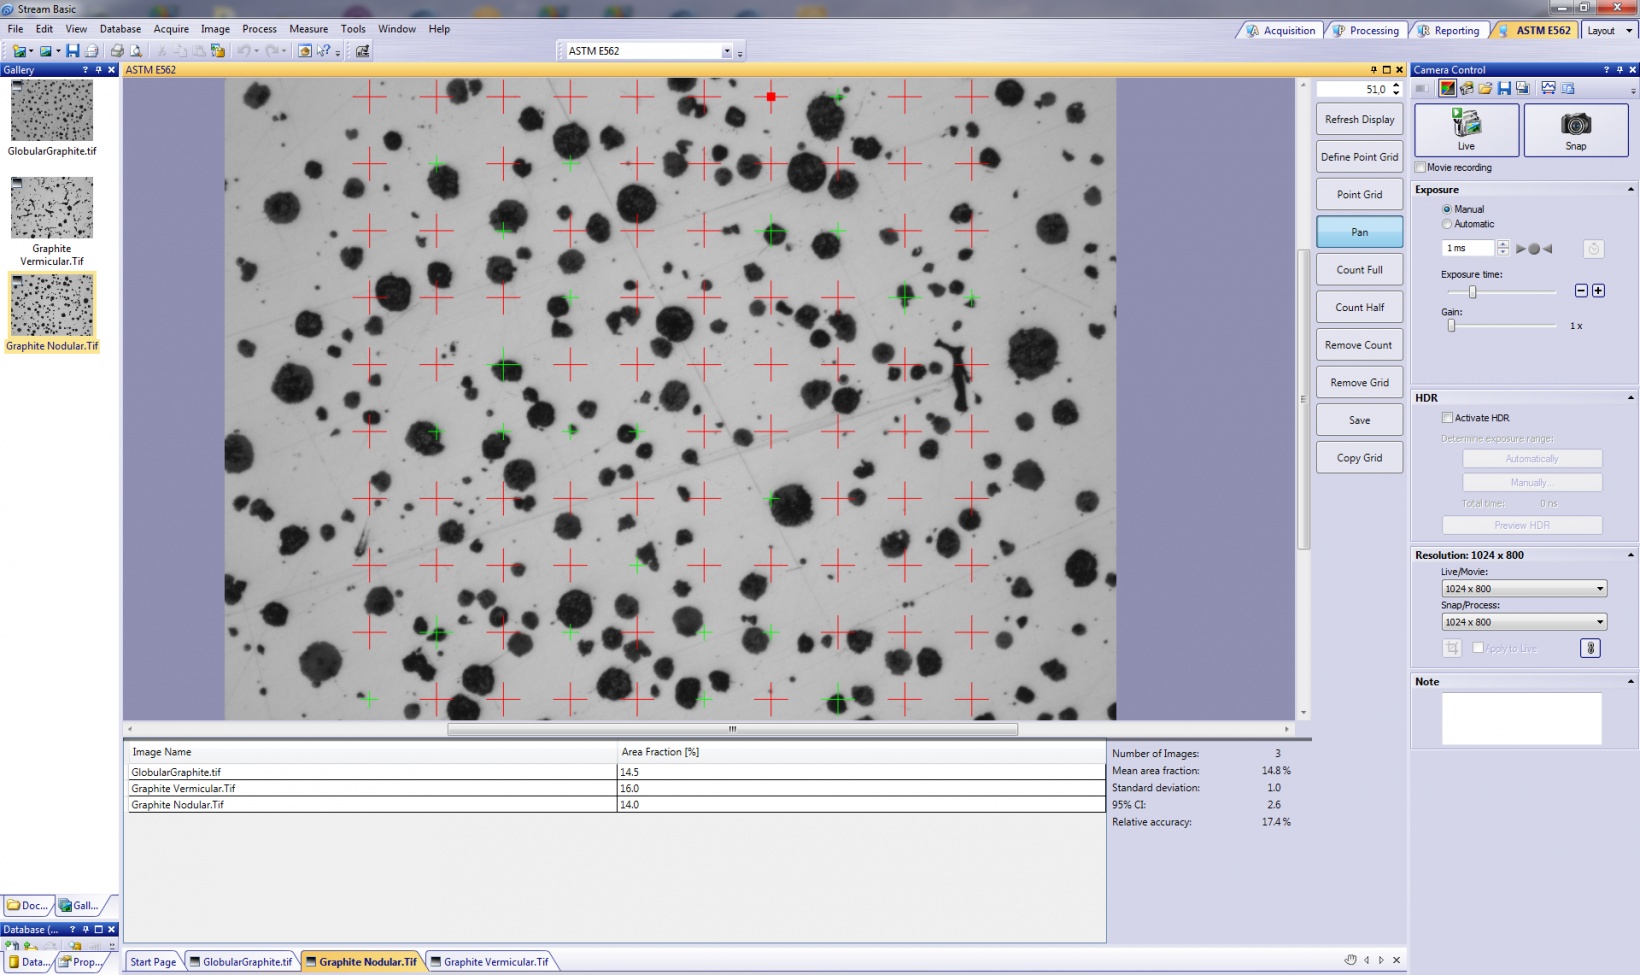
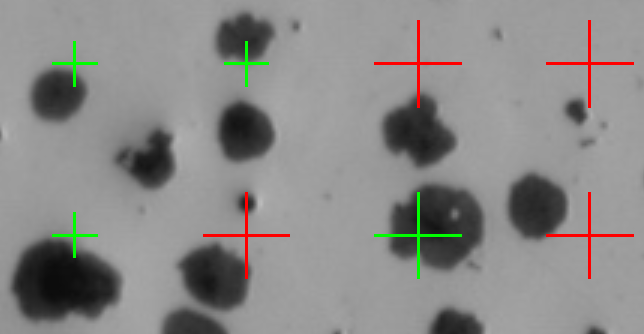
The ASTM E562 standard defines a manual operation to measure phase analysis using interactive evaluation on a predefined grid. The user selects if the grid point fully or partially covers the phase.
Learn more about Point Count Phase Analysis According to ASTM E562
Banding Measurement Compliant with ASTM E1268
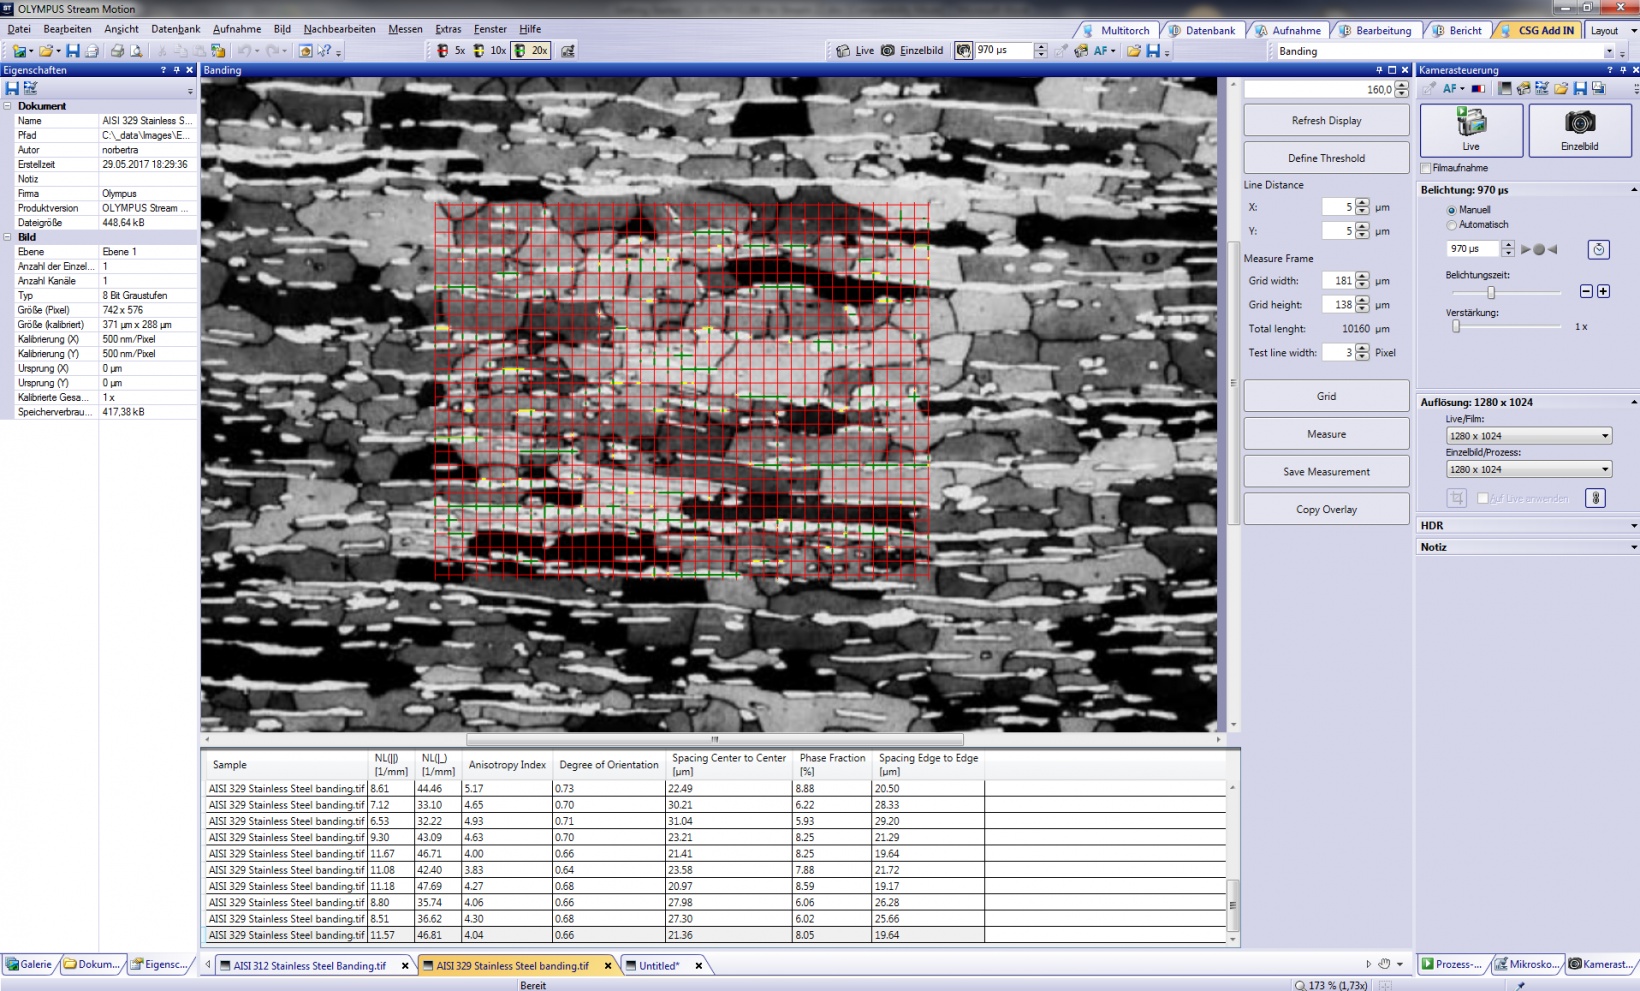
Determine the degree of banding in compliance with ASTM E1268 standards. A common example of banding is the layered ferrite-pearlite structure of wrought low-carbon and low-carbon alloy steels.
Learn more about Banding Measurement Compliant with ASTM E1268
Chain Measurement
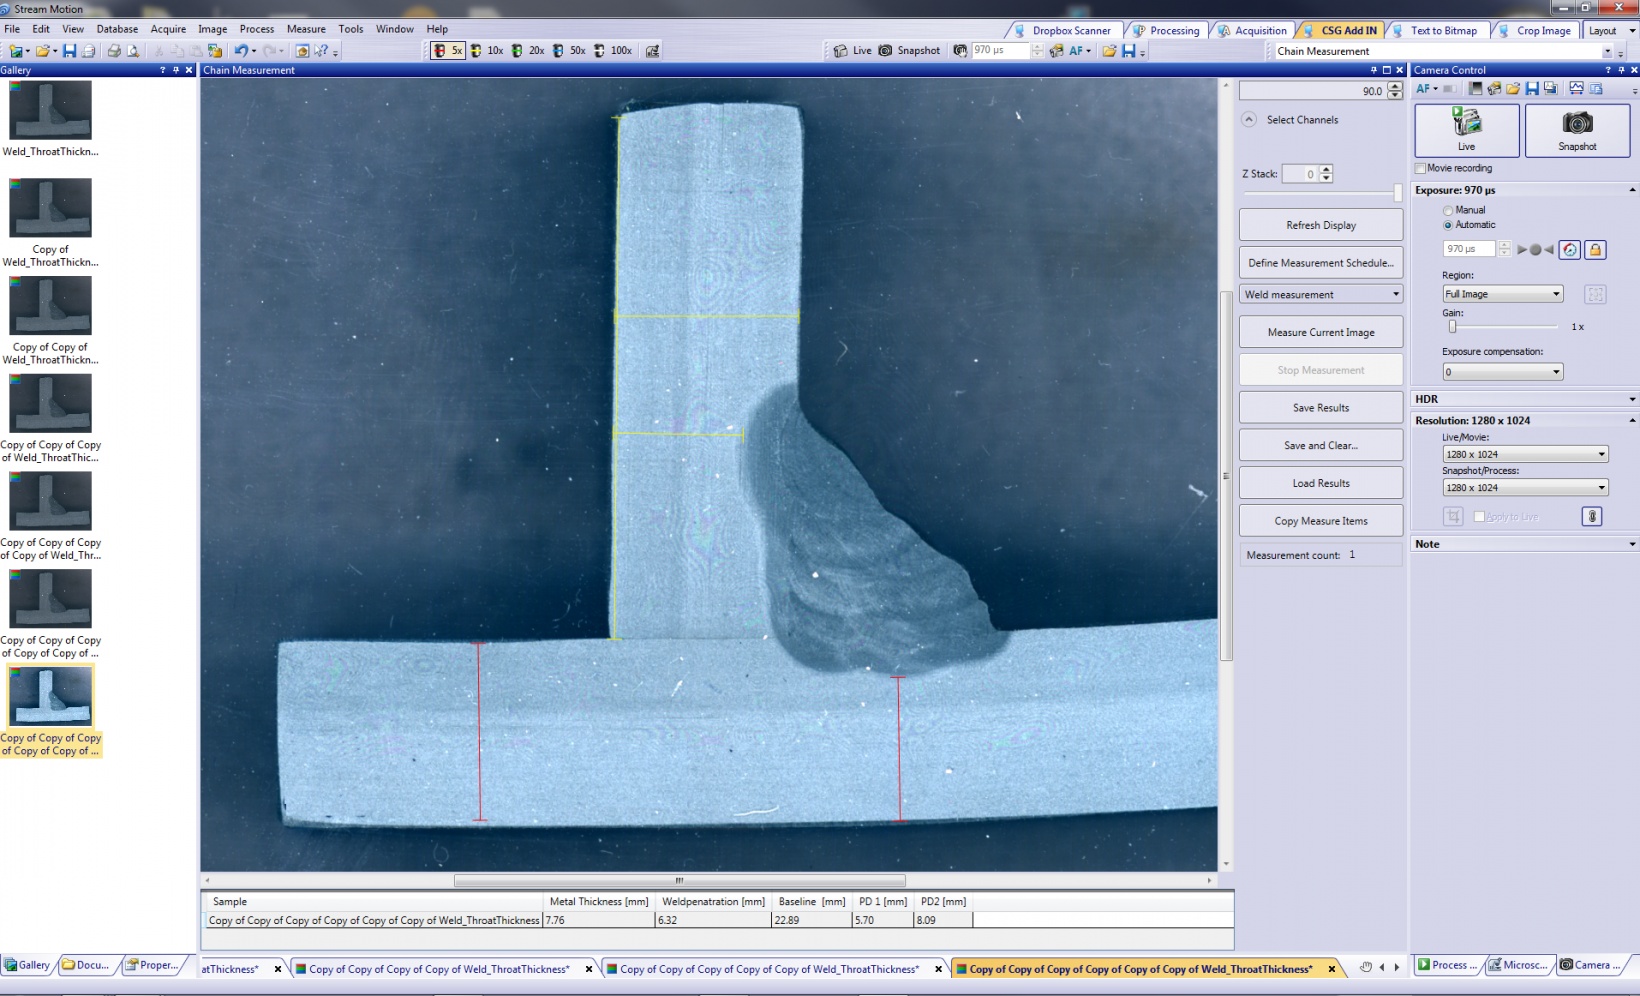
Execute a measurement schedule on an image according to a predefined recipe that includes selected 2D measurements. Results are stored as CSV files, and measurement recipes are stored as XML files.
Measuring with Stages*
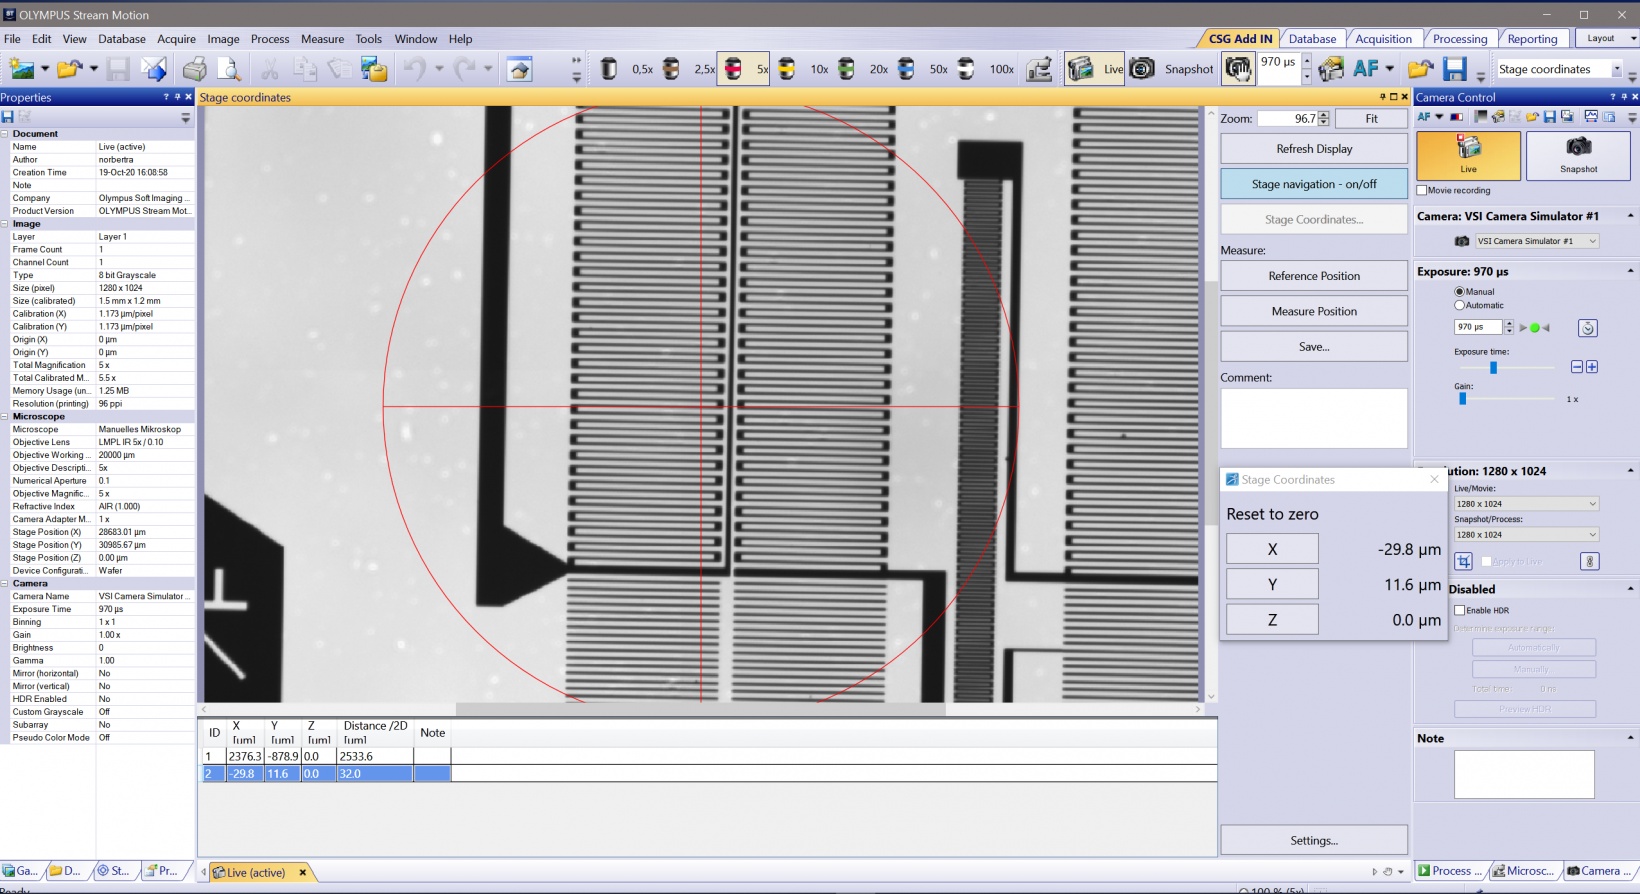
The coordinates from a motorized or coded stage are read to set the start and endpoints of an individual length measurement. The 2D measurement result includes the X, Y, and Z positions.
Layer Thickness Measurement Using Thresholds
Perform a layer thickness measurement using threshold-based line scan/caliper measurements on user-definable regions of interest.
Porous Coating According to ASTM F1854
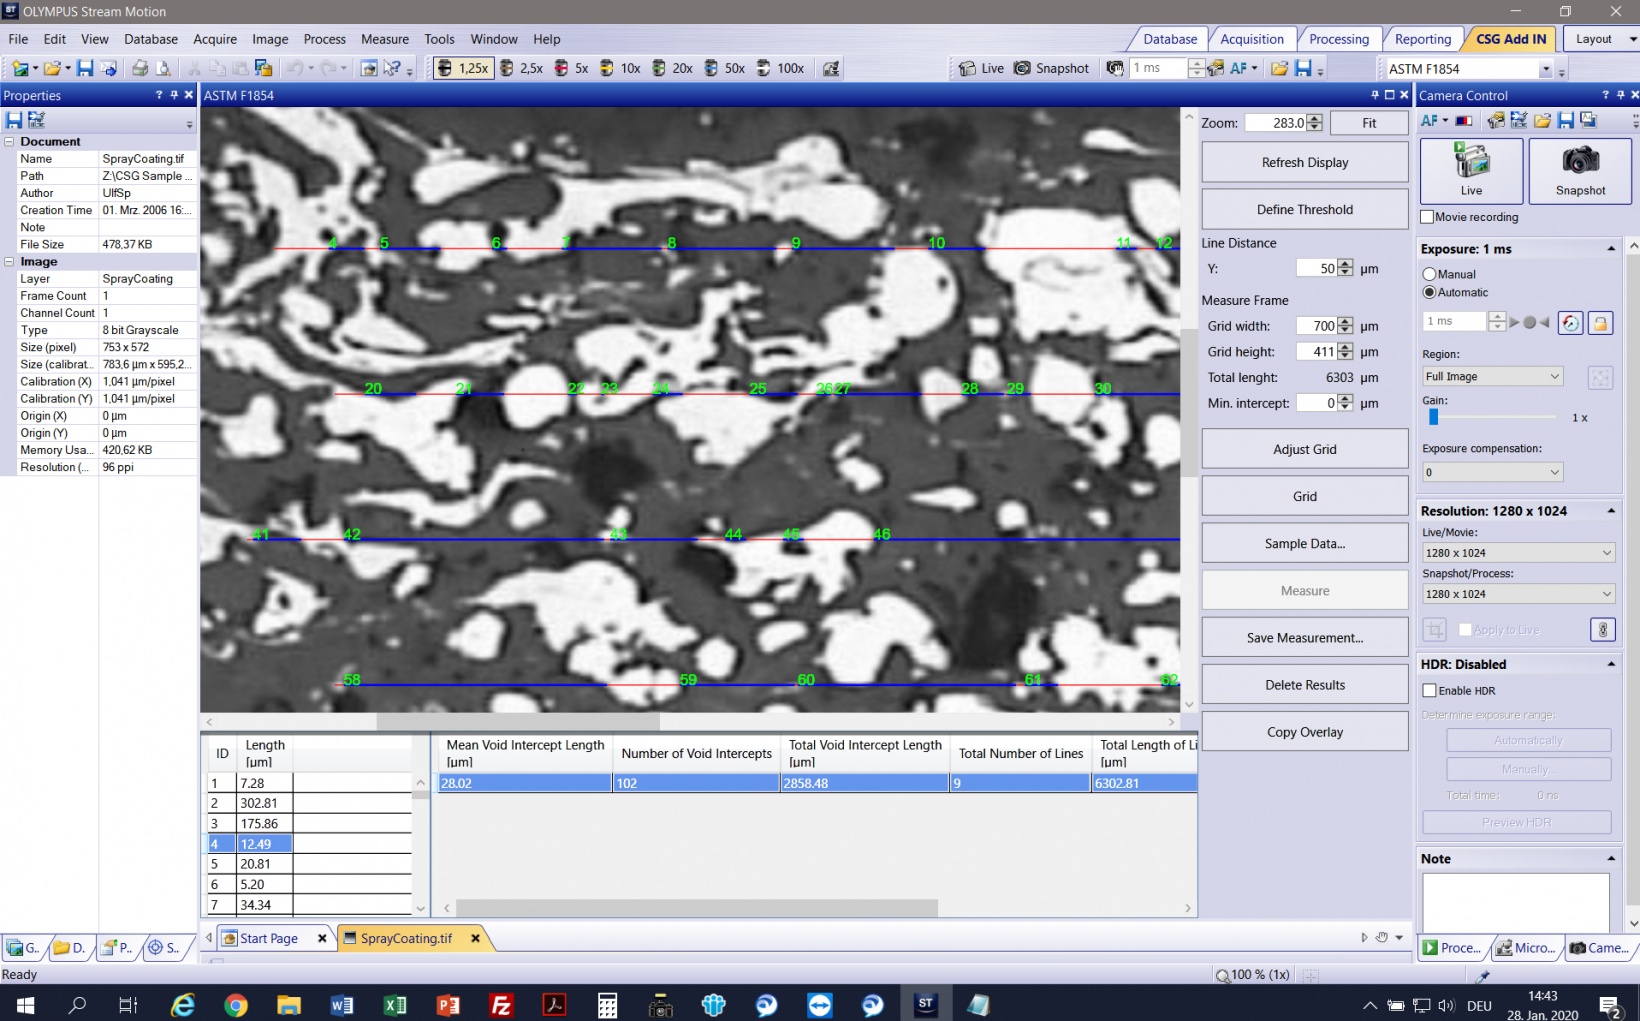
Determine the mean void intercept length in compliance with part of the ASTM F1854 standard (stereological measurement).
Customize Your Industrial Microscope Inspection Workflow
To learn more about our custom solutions or to request a personalized workflow for your material inspection needs, reach out to us today.
