Carbon Steel Weld Inspection
Magnetic particle inspection is used to help monitor the integrity of welded pipes and pressure vessels. This method was used for decades, primarily because of its portability and ease of use. It is a common industry practice to use specifically-designed oil and water-based carriers for magnetic particles, adding extra cost for chemicals and chemical waste disposal. In addition, this method also requires paint removal and repainting, adding additional cost to the inspection.
Eddy current inspection is an economical, nondestructive alternative to magnetic particle inspection. Eddy current inspection is fast, reliable, easy to use, and can inspect directly through painted surfaces. With eddy current, inspectors no longer have to strip and repaint pipes and vessels. As an added feature, eddy current makes it easy to record the defect length and depth.
Benefits of Eddy Current Array for Weld Inspection Compared to Magnetic Particle:
- Eddy current array can be used through paint
- Data can be recorded through paint
- A welded part can be inspect using eddy current with lift-off compensation technology
- Eddy current inspection is less impacted by weather
- Intuitive, easy-to-understand imaging
- Traceable results and post-process analysis
- High scan speed and instant results
- Quickly evaluate the depth of defects
- Adjustable sensitivity
The inspection process using eddy current technology is fast, and the preparation is kept to a minimum—no intensive cleaning or paint removal is required. Eddy current inspection is also effective in most weather conditions including rain, heat, and cold. For easy post-processing analysis and data archiving, setup files can be saved and recalled for the next job. In addition, report files can be easily created directly from the instrument.
New Software Designed for Weld Applications
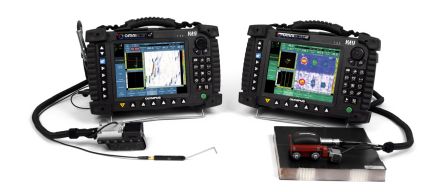
Eddy Current Array (ECA) Solution — OmniScan® Instruments
- OmniScan MX flaw detector with ECA module
- New software dedicated to weld inspection
- C-scan view
- Battery operated instrument
- Encoded or time-based scan
- Record set-ups and data
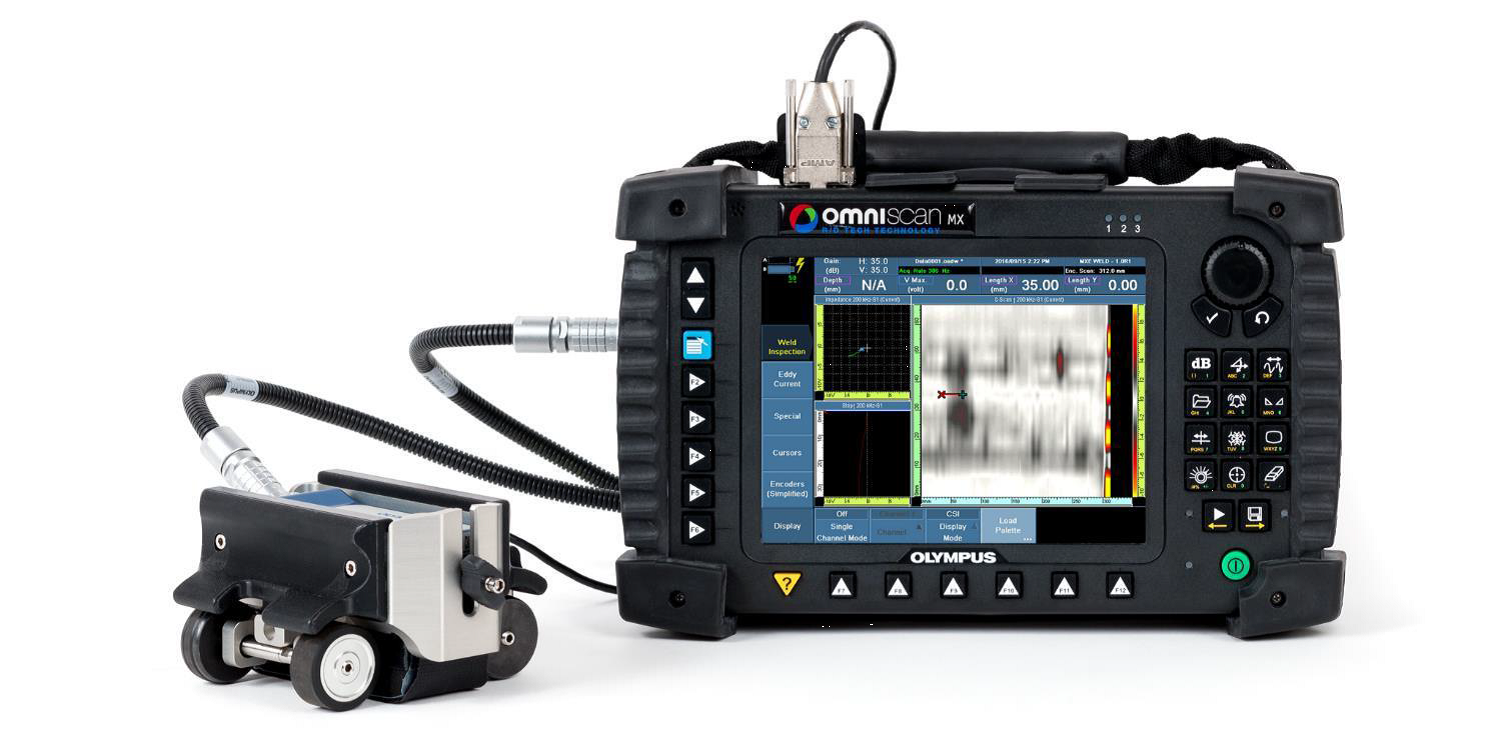
Figure 1: The Omniscan MX flaw detector with the MagnaFORM probe.
New ECA Probes Using Dynamic Lift-Off Compensation Technology
- Robust ECA probe specially designed for weld applications
- Flexible array probe helps ensure consistent contact with the weld
- Dynamic lift-off compensation corrects sensitivity
- Wear resistant probe protector, good for up to 22 km
- Tool-free interchangeable wedges fit most pipes and vessels
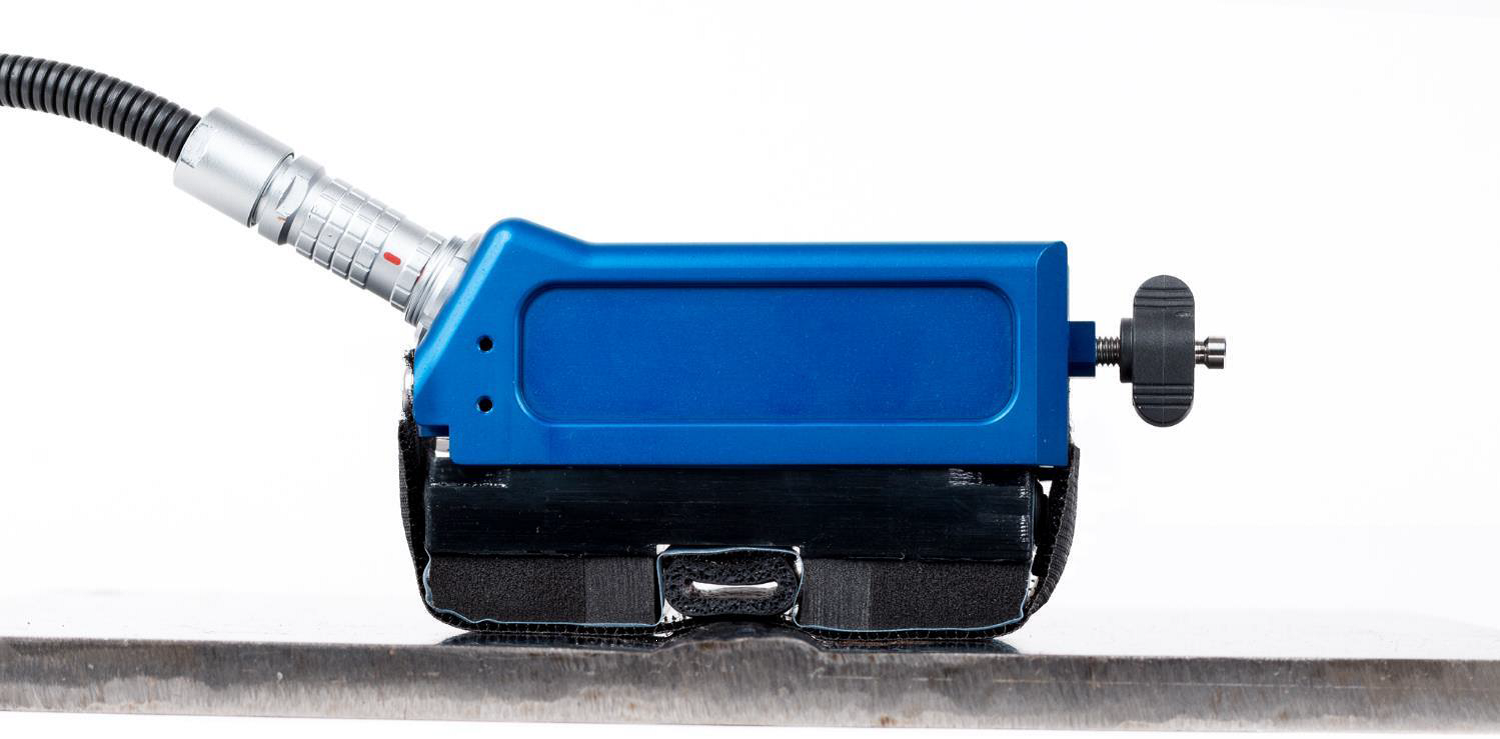
Figure 2: The MagnaFORM probe.
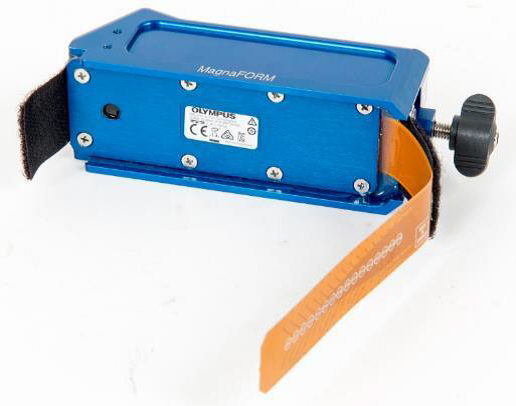
Figure 3: The MagnaFORM probe unassembled.
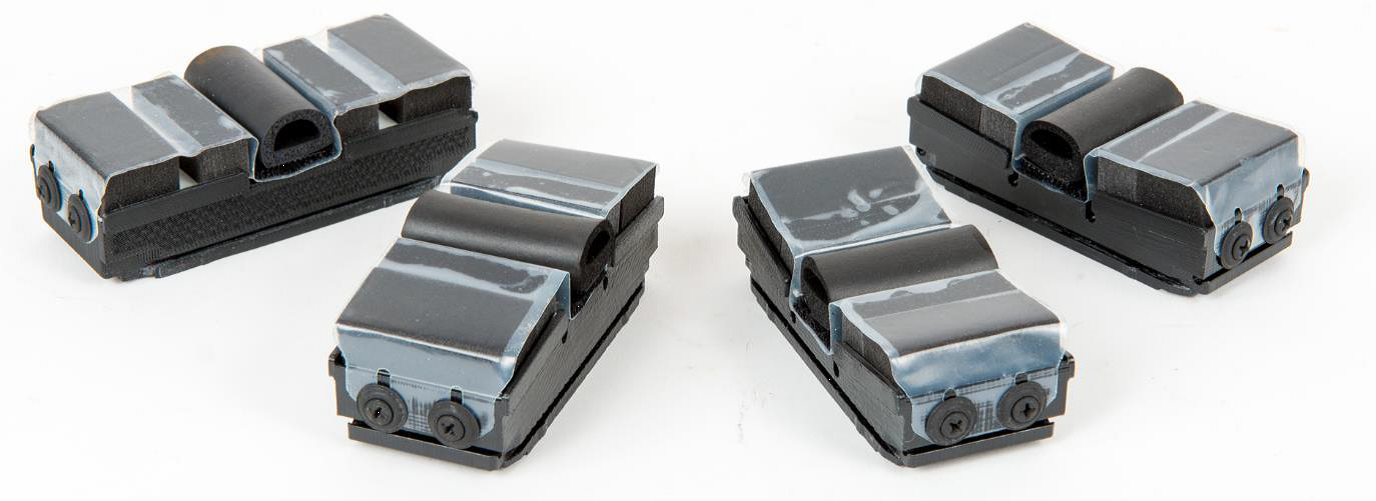
Figure 4: The probe’s interchangeable wedges.
Ready for Scanners
- Hand scanners, semi-automated scanners, and motorized scanners are available
- Scanners suit pressure vessel and pipes

Figure 5: Image of MagnaFORM probe mounted on scanner
New Defect Depth Evaluation Tool
- Quickly evaluate the size and depth of defects
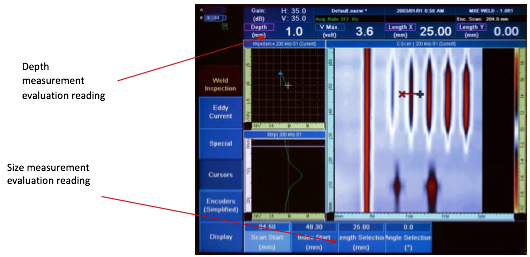
Figure 6: A screen shot of the flaw detector’s measurement tools.
Reliable Defect Detection
The probe’s flexible PCB technology combined with dynamic lift-off compensation technology enables the solution to detect defects in all areas of the weld.
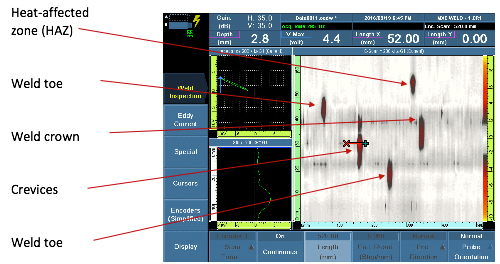
Figure 7: The defects located during a weld inspection.
Instant Reporting
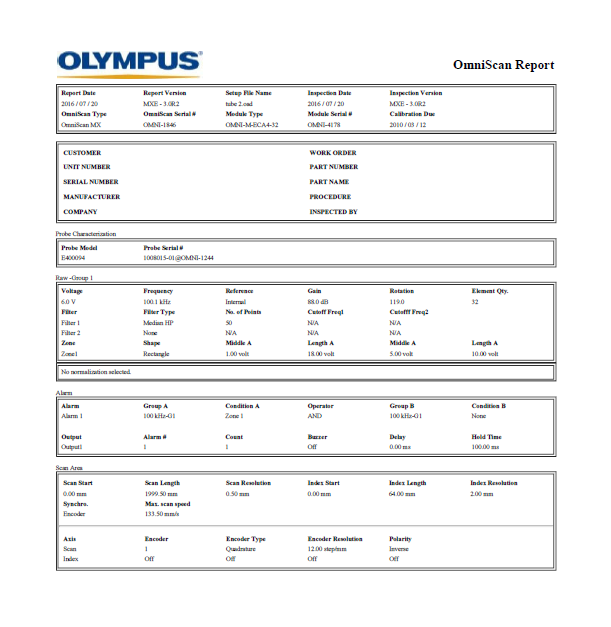
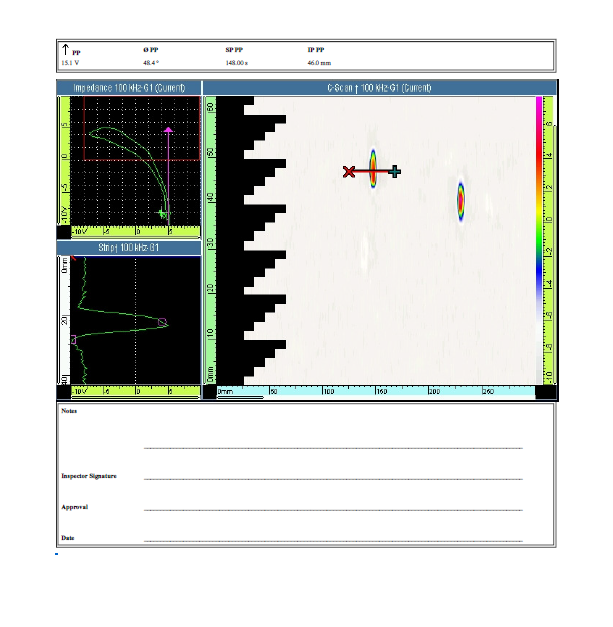
The OmniScan MX flaw detector features built-in reporting at the touch of a key. Reports can also be configured and customized by advanced users.
|
|
Easy Archiving
Archiving inspection data files is easy, simply press a key during acquisition or analysis to store the data on the instrument’s memory card.

Figure 7: The defects located during a weld inspection.
