7.1 原生金属


Primary metal products such as ingots, bars, plates, and tubes are the raw material from which numerous products are made. Since flaws in the material will result in flaws in the finished products, these primary products are commonly inspected at their origin.
- Ingots – Discontinuties such as shrinkage cavities (piping) and nonmetallic inclusions in ingots can often be identified though simple straight beam tests looking for localized echoes that appear ahead of the backwall. Both contact transducers and immersion scanning systems can be employed. The minimum flaw resolution in a given test is primarily governed by ingot thickness and grain structure.
- Plates – The testing of plates is similar to that of ingots in that straight beam contact transducers or immersion scanning are commonly used. Laminar cracking can be identified through straight beam testing. If cracking perpendicular to the surface is suspected, angle beam testing can also be performed.
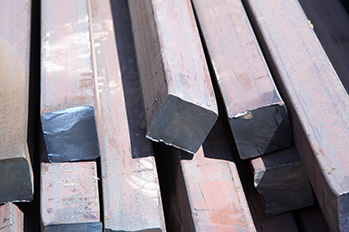
- Bars and Tubes – Solid bars are commonly tested with straight beam longitudinal wave transducer in either contact or immersion mode, looking for laminar cracking, piping voids, and inclusions. Contact testing is also performed from the ends to check for cracks parallel to the ends.
As mentioned above, multi-channel immersion systems are available for automated testing. By using several probes at once and moving the product past the probes or the probes across the part, inspection speed and defect detection can be increased. For example, tubes and pipes are commonly tested for cracking with shear waves generated by either angle beam or immersion transducers and aimed both axially and circumferentially. Plate inspection often raster scans a paintbrush probe across the part ensuring 100% inspection.