A dental handpiece and miniature bearings used in the drill portion on the tip
Application - Measuring the Surface Roughness of a Miniature Bearing for a Dental Handpiece
A dental handpiece is an instrument used to shave, cut, and drill teeth in dental treatment. The main performance requirements for these handpieces are:
- High-speed rotation, estimated at 400,000 to 500,000 revolutions per minute (rpm), of the drill to enable smooth cutting of hard teeth
- Minimal vibration for intraoral safety (low vibration)
- Resistance to sterilization treatment that must be performed after cutting (chemical resistance and high-temperature resistance)
- Silent rotation that does not distress the patient (quietness)
Among these required performances, high-speed rotation has been achieved by incorporating an air-turbine into the handpiece.
Compressed air is used to spin the air-turbine at high speed, and this compressed air normally contains oil mist to ensure smooth rotation and cool the unit. In addition, since the air-turbine is held by a bearing, the specifications for this bearing must enable it to meet all the above-mentioned requirements. The material used must be robust to friction wear and resistant to sterilizing agents and high-temperature environments. And the bearing must have a shape that maintains low-vibration and low-noise conditions for the long term even after undergoing high‐speed rotation and repeated sterilization using chemicals and heat.
Evaluating the shape of these bearing components by measuring their surface roughness is one technique for verifying whether they meet required performance standards. Measuring the surface roughness of the components makes it possible to quantitatively evaluate a bearing's qualities, including whether friction wear due to high‐speed rotation is within the design standard values, whether the sliding property has not been impaired after cleaning, and whether it can rotate silently without vibration.
However, the bearings used for handpieces are very small; the most frequently adopted bearing has dimensions of 3.175 mm (0.125 in.) for the inner diameter and 6.35 mm (0.25 in.) for the outer diameter. The parts comprising the bearing for which surface roughness measurement is considered particularly necessary—including the bearing balls, inner ring, and outer ring—are naturally very small. In fact, the bearing balls are about 1 mm (0.04 in.) in diameter.
Although these components are round, their small size means that the gradient of the surface to be measured is very steep. For this reason, it is very difficult to perform precise measurement using a conventional contact-type surface-roughness tester, which measures roughness by tracing the surface with a probe. In addition, measurement may be difficult using certain models of noncontact measurement types of laser microscopes, depending on the lens performance and detection sensitivity for the reflected light.
Solving the Challenges of Small Bearing Inspection Using the LEXT OLS5000 3D Laser Microscope
[1] 4K Scanning Technology
The incorporated 4K scanning technology enables you to scan in the X direction at a resolution of 4,096 pixels, which is four times higher than the conventional resolution. This makes it possible to measure roughness with high accuracy even for an almost vertical gradient without the need for image correction.
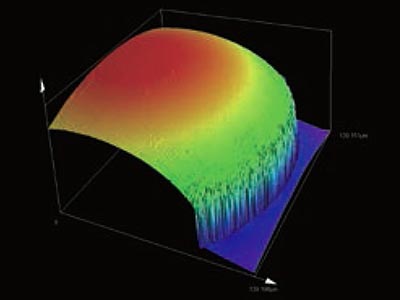
Even the shape of an 87.5° gradient can be detected.
[2] HDR Scans
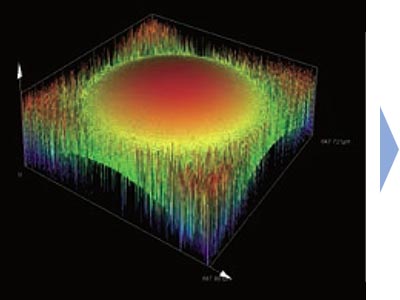
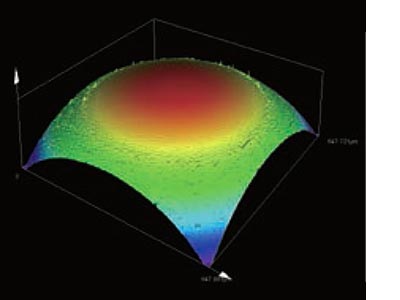
By changing the detection sensitivity according to the sample shape, you can obtain precise images that are automatically constructed based on the two sets of shape data.
Conventional product |
OLS5000 microscope |
[3] Guaranteed Accuracy and Repeatability*
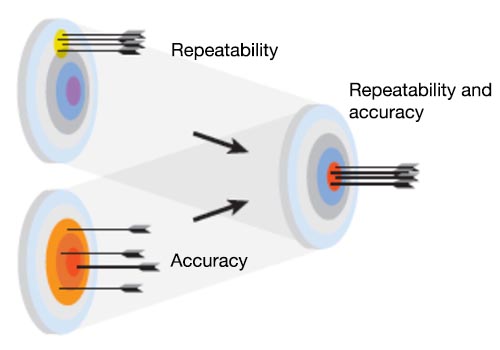
Accuracy refers to the closeness of the measurement to the true value, and repeatability represents how small the variability is among several repeated measurements. Olympus guarantees accuracy and repeatability based on the traceability system diagram.
[4] Measurement Screen—Gradient Correction Function
The following images of three bearing components—a bearing ball, the outer ring, and inner ring—show how the LEXT OLS5000 microscope’s functions help facilitate this surface-roughness evaluation application.
1. Bearing ball
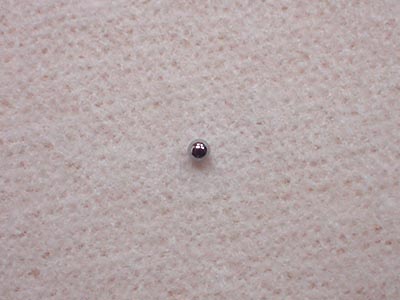
Appearance of a bearing ball
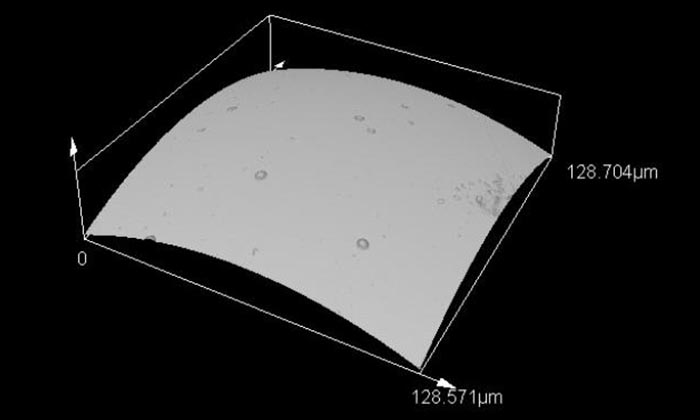
Color image of a bearing ball (magnified at 2,337X)
The image shows the ball's smoothness.
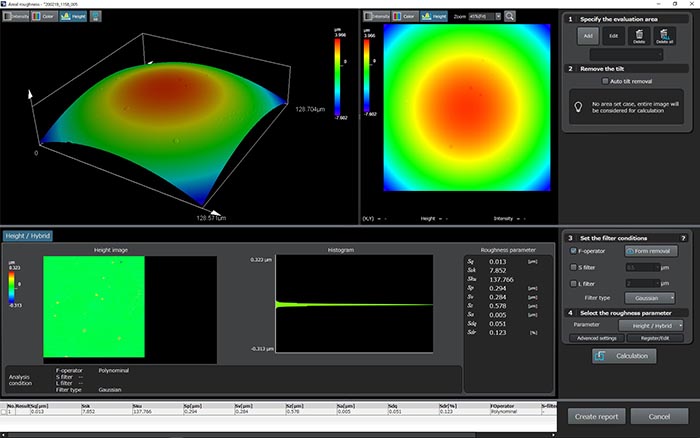
Surface roughness measurement screen for the bearing ball
The clear measurement image shows that you can obtain noiseless data even from a ball with a small diameter.
2. Outer ring (cut sample)
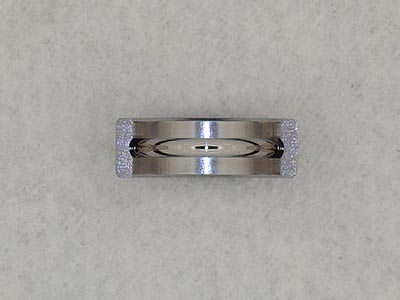
Appearance of an outer ring
An outer ring has been cut at the center so that the orbit can be measured.
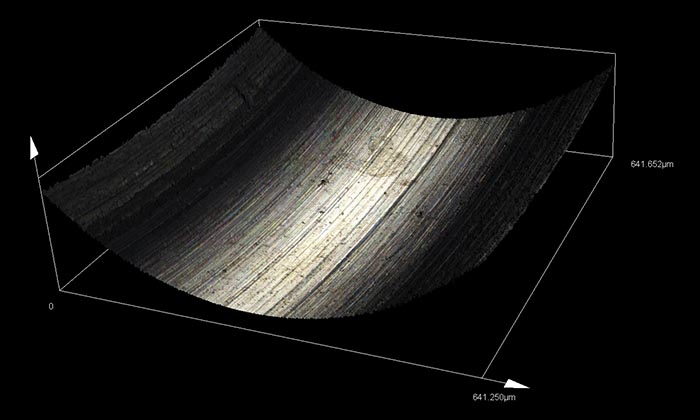
Color image of the orbit plane of the outer ring (magnified at 4,674X)
On disassembling the bearing, you can already identify the trace of balls passing around the orbit, even though it is a new article.
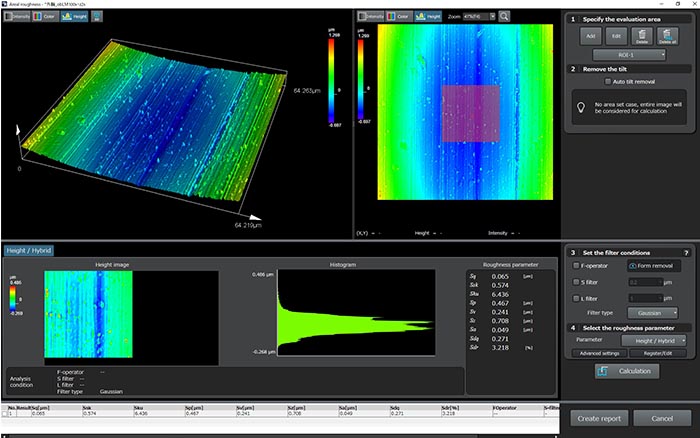
Surface-roughness measurement screen for the outer ring of the orbit portion
The measured area is marked with the dark rectangle in the upper-right image.
3. Inner ring
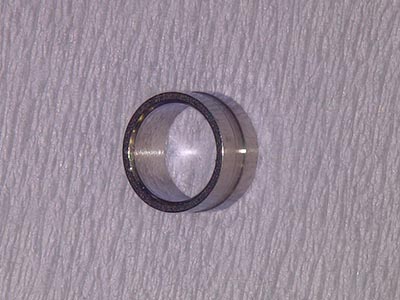
Appearance of an inner ring
This shows that outer surface is depressed along the orbit portion.
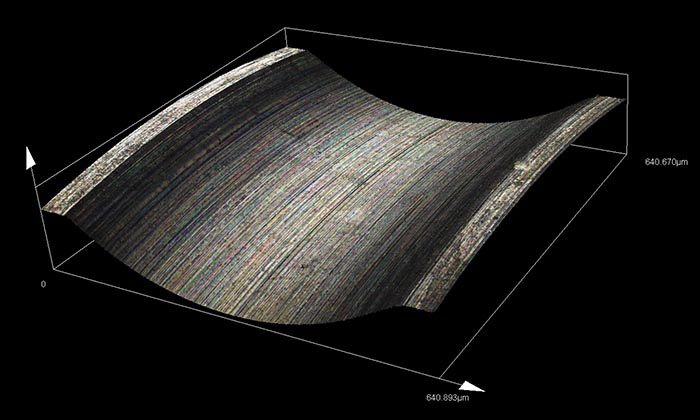
Color image of the orbit portion of the inner ring (magnified at 4,674X)
A clear image has been acquired despite the fact that the gradient is even steeper than that of the outer ring
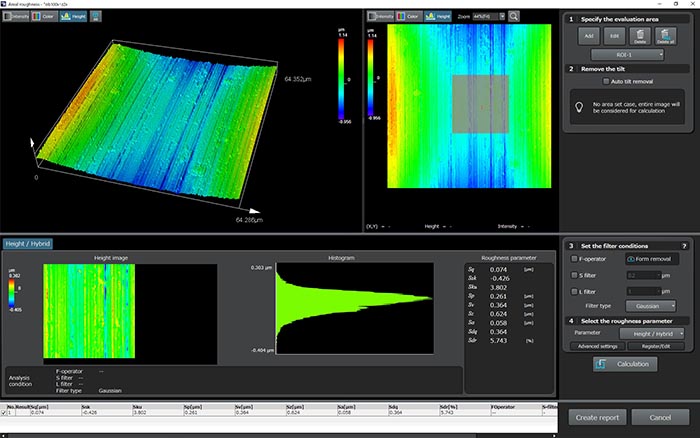
Surface-roughness measurement screen for the orbit portion of the inner ring
Even when measuring a site with a steep gradient, you can obtain measurement results that are as precise as for flat surfaces thanks to the gradient correction function.
*Guaranteed when used in a constant-temperature environment (20 °C + 1 °C, humidity: 60% + 1%. Guaranteed under Olympus Certificate System. See your local rep for more information.
