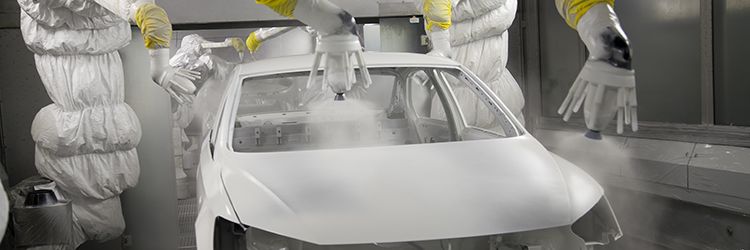
Henry Ford is reported to have said: “Any customer can have a car painted any color that he wants so long as it is black.” Whether he really said this is up for debate, but one thing’s certain—cars certainly come in more than just black now. Today, there’s an increasing demand for metallic, pearlescent, matte, and other paints, all in a vast array of colors and all more durable than ever. Advancements in paint technology have been made possible through the use of microscopy, both for development and quality control.
As the quality of automotive paint finishes improve, so does the customer’s expectation for a flawless finish, especially on high-end vehicles. Though the eye of a paint shop quality control engineer is hard to rival, it’s also nearly impossible to quantify. Fortunately, digital microscopes provide results that help engineers measure the quality of a paint’s finish.
Identifying defects
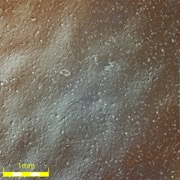
Micro scratching, contaminants, and orange peel are all enough to send a luxury vehicle back to be refinished, a process that costs manufacturers additional time and money. Costs can be greatly reduced, however, if the problems are found at the factory rather than the showroom. That’s why quality control engineers use digital microscopes.
Quality engineers use digital microscopes to quantify the presence of defects in their painting process. Sample ‘paint chips’ are sprayed along with the vehicle, and the quality of the paint on the chips is then inspected using a digital microscope. In some cases, paint samples cut from rejected body panels can serve as the specimen that’s inspected.
Quality assurance managers rely on various microscopy observation techniques to identify defects.
- Darkfield: an illumination method that helps make it easier to see minute scratches
- Differential interference contrast (DIC): a technique where the illumination is diffracted through a DIC prism; this technique is effective for highlighting very minute height differences on a sample
- High dynamic range (HDR): a technique where several images taken at different exposures are combined to reveal fine surface details regardless of differences in brightness across your sample’s surface
An advantage of digital microscopes is that it’s easy to use these different techniques in a repeatable way and switch between different methods just by pressing a button.
Below are some examples of defects identified using these techniques.
 Clearcoat contamination under polarized light—277x, DSX510 microscope. |
 Clearcoat contamination under directional darkfield—277x, DSX510 microscope. | 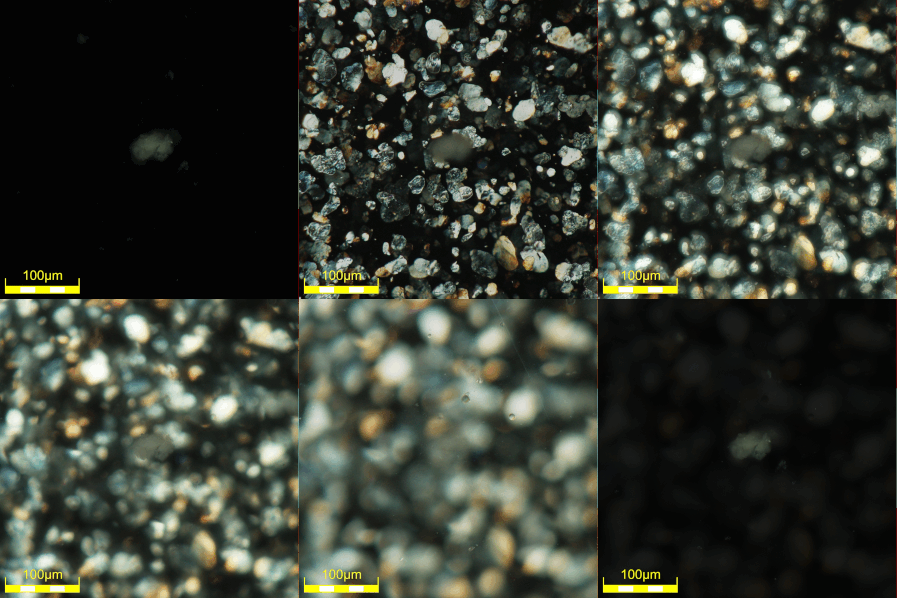 Particle suspended in clearcoat—693x, DSX510 microscope. |
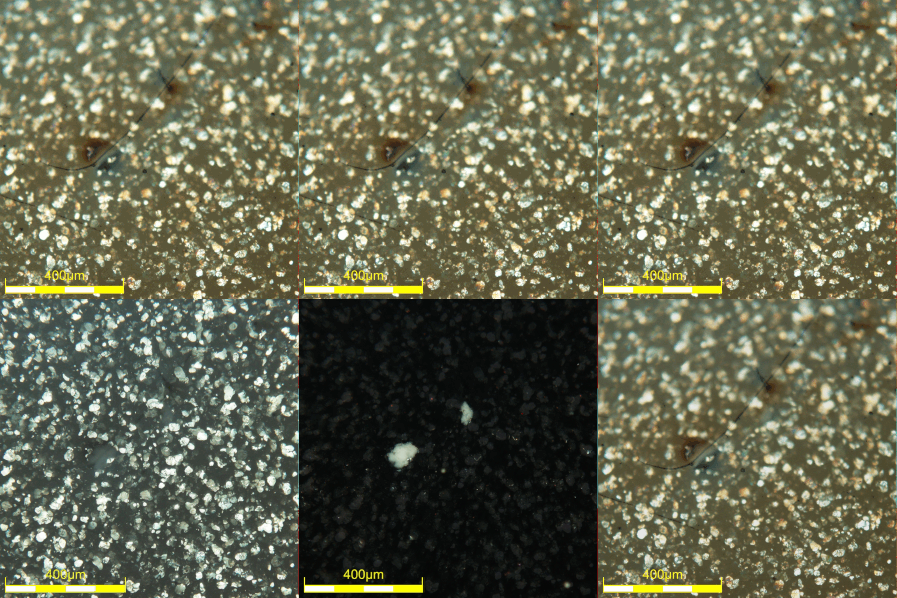 Defect under DIC, DF, and POL, showing how, despite being subsurface, it has effects on the surface finish—277x, DSX510 microscope. | 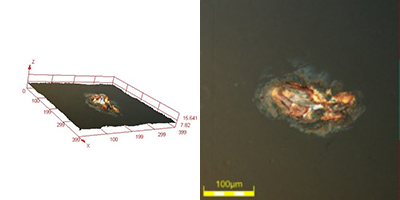 Rust defect under polarized light—693x, DSX510 microscope. |
Layer thickness
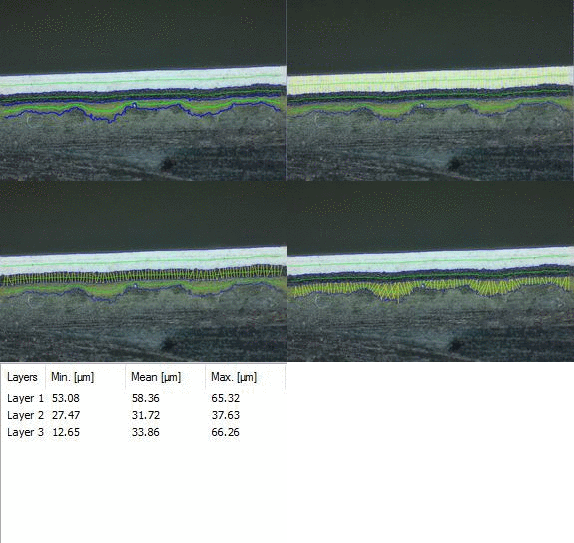
In most automotive plants, the entire vehicle painting process, from primer to clear coat, is entirely automated. In an ideal world, this would mean the same finish every time. But, it’s important to verify the quality of the finish by performing layer measurement. This will confirm that the correct amount of each layer is being deposited evenly. By placing a paint chip under the microscope, the entire length can be imaged, with hundreds of measurements applied automatically, giving a truly representative and objective reading. By performing these measurements regularly, the performance of the paint booth can be tracked and any variation quickly corrected before problems arise.
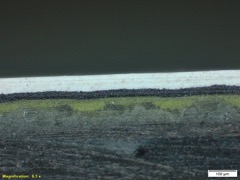 Automotive paint on composite- top to bottom, topcoat, primer, sealant, composite. |
Related Content
Measuring the Coating Thickness of Automobile Fuel and Brake Pipes
Get In Touch
